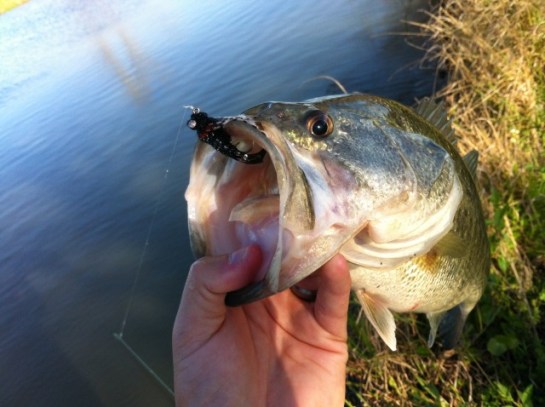
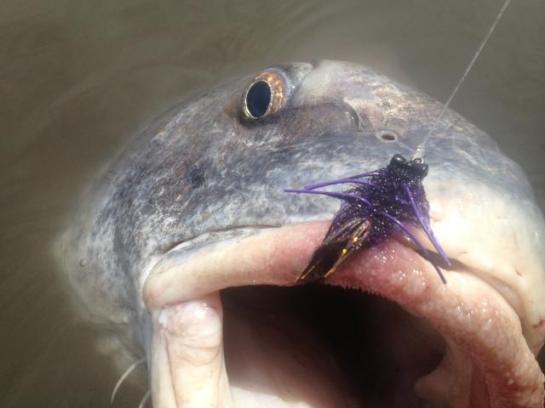
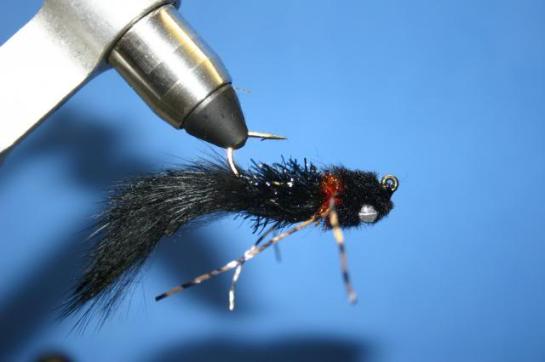
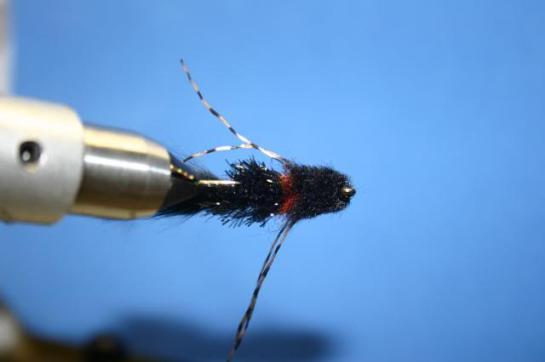
Fly of the month for April is the fly that was effective on black drum my last trip out. It was something Blake had tied up and given to me a while back to try out on sheepshead (I’ve found sheepshead to be fond of the color purple). Didn’t see too many sheep out this past weekend, or reds for that matter, but it worked pretty well on the big uglies. Try it, you might like it. Oh, and why a black crab, well, after 2010, why not?

Photo: Patrick Semansky / AP
Materials:
Mustad 34007 size 2
Zonker strip
EP fibers
Spanflex legs
Dumbbell eyes
Flashabou
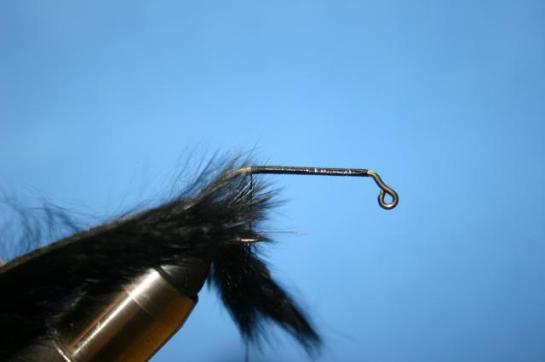
Step 1. Start a thread base behind the eye and wrap back to the bend. Put down a layer of glue to keep everything secure. Tie in a few strands of flash at the bend.


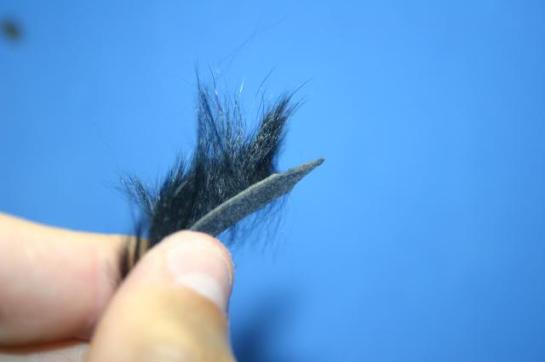
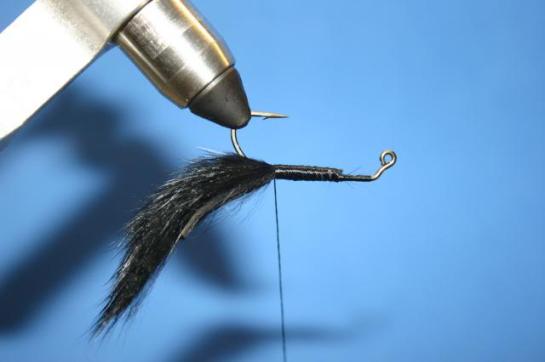
Step 2. Cut the hair off the end of the zonker strip and trim the hide to a point so that you don’t end up with a bulky tie-in spot. Turn the fly over and tie it in right before the bend.
Step 3. Make a dubbing loop at the bend of the hook and pull it out of the way. We will use this in a later step.

Step 4. Tie in your legs.
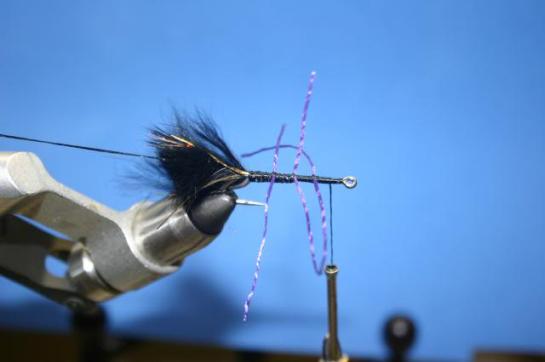
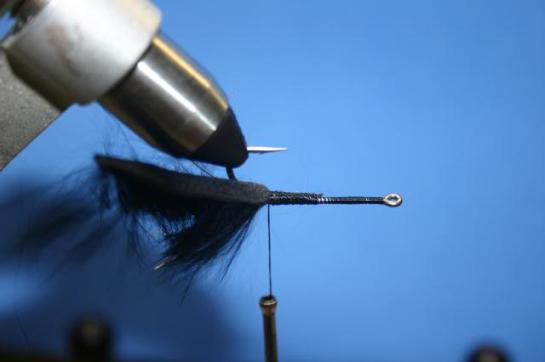
Step 5. Tie in dumbbell eyes leaving room between the hook eye and the dumbbells to tie down the zonker.

Step 6. Cut enough small sections of EP fibers to fill your dubbing loop. (It would be easier here to use a dubbing brush if you have one, I didn’t have time to make one.) Put the sections of EP in your loop, spin it, and brush it out to untangle any trapped fibers.


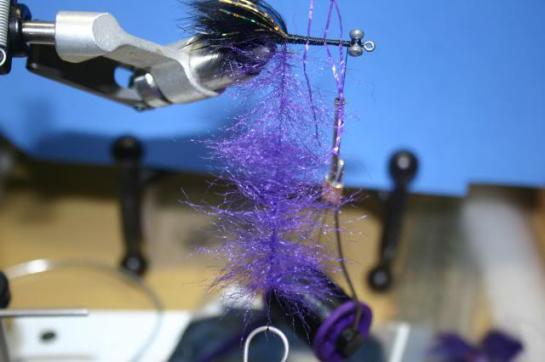
Step 7. While pulling the fibers toward the rear of the fly, palmer the dubbing loop to behind the dumbbell eyes. The legs tend to get in the way, so I use a piece of lead to wrap them all up in front of the dumbbell eyes. As I wrap up the hook shank, I use my bodkin to pull the different leg sections out from under the lead. Tie in the dubbing loop behind the dumbbell eyes.

Step 8. Comb out the fibers on the fly. Part the fibers on the top of the fly and run a line of hard as nails down the part line. Next, pull the rabbit strip over and tie it in between the dumbbell eyes and the hook eye. I forgot to get a picture of the rabbit tie in, but you can see it in the final fly pics.

Step 9. Here, you can do one of two things on the bottom of the fly. One is to cut the fibers on the bottom of the fly (do this if you have too many fibers), or the other is to part the fibers to either side as you did on the top of the fly and add some superglue along the shank (do this if you want a fuller fly). I decided to cut the fibers along the bottom of the fly leaving only the sides.
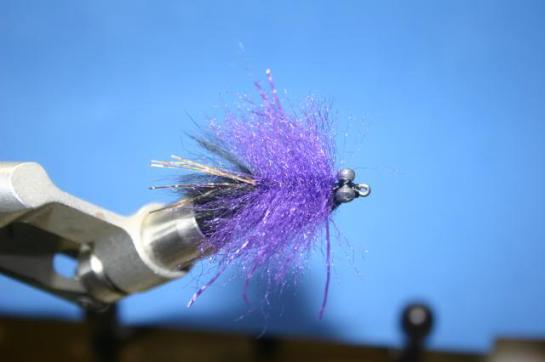
Step 10. Trim the fly to your preferred shape. Use a clip to hold all the legs out of the way while trimming. I like to use a round shape. Flip the fly, clip the other legs out of the way and do the same trim pattern.
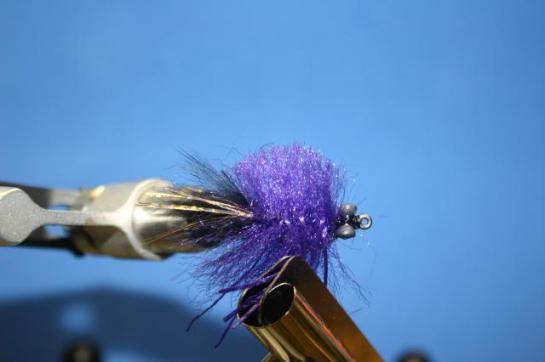
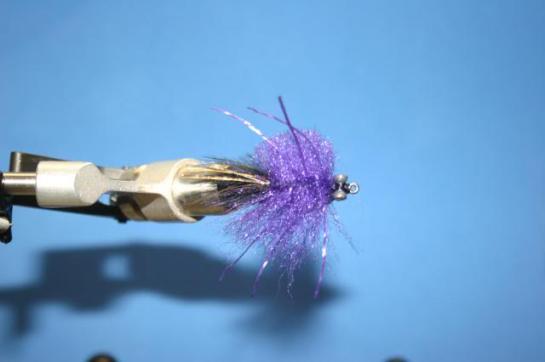
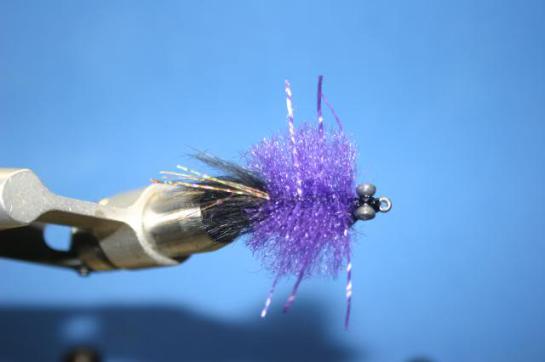
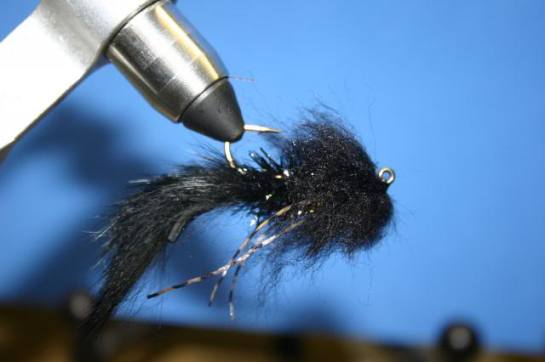
Step 11. Put a little glue on the head and trim the legs to your desired length. Finished fly.

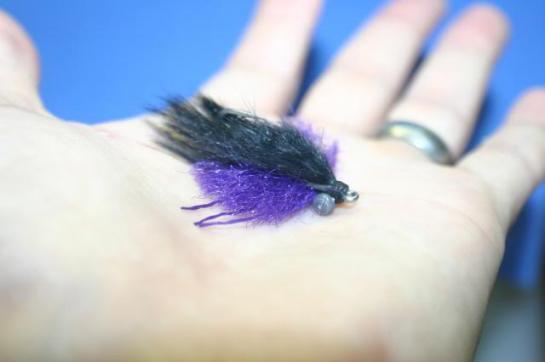
Proof of Concept:
Bass Bully Variant – March fly of the month
Pattern is a variant of the Wilson’s bass bully, located here: http://www.warmwaterflytyer.com/corner.asp?page=9.
Blake has modified a few of the tying steps and substituted a few different materials.
Materials, in order of application:
Size 2, 60 degree bend jig hook
Zonker strip for the tail
Estaz chenille
Krystal flash chenille
Dumbbell eyes
Pseudo marabou
Step 1. Measure the hide of zonker strip to be equal to the length of the hook shank. Be sure to measure the correct end of the zonker so that the hair points towards the rear when tied in.

Step 2. Poke a hole in the hide and insert the hook point through the hole from the bottom of the strip to the top. Start a thread base and wrap back to the bend. I like to put a little glue on my thread base to make sure it doesn’t spin on the shank.
Step 3. If you have a rotary vice, spin the fly upside down for the next few steps. If you don’t have a rotary function, it may be easier to finish the fly by re-setting the hook upside down. Pull the zonker so that it is butted up against the thread base. Pinch the zonker with your thumb and finger. Make a few pinch wraps here. If you want to, you could just cut the zonker strip a little longer than the shank length and tie it in by the tip of the strip. I prefer to do it this way because the extra hair at the tie-in point makes a little smoother transition between the body and the tail.


Step 4. Cut the zonker about ¾ the length of the shank and tidy up the shank.
Step 5. Turn the fly back over and tie in the estaz chenille.

Step 6. Bring thread to the eye and tie in the dumbbells at the 60 degree bend.

Step 7. Lay down a layer of hard as nails and wrap the extaz chenille about 2/3 of the shank.

Step 8. Tie in the flash chenille. Make a couple wraps and tie it off.


Step 9. Tie in legs. I used the spanflex legs with two (one folded in half around the thread) on either side.

Step 10. Cut two pieces of pseudo marabou (wool or any number of other items would work here also) and spin them around the shank, one behind the dumbbells and one in front. I just push the wool over the eyes, make two soft wraps, and tighten them down. Pull the material back, bring thread forward of the dumbbells and repeat the process.


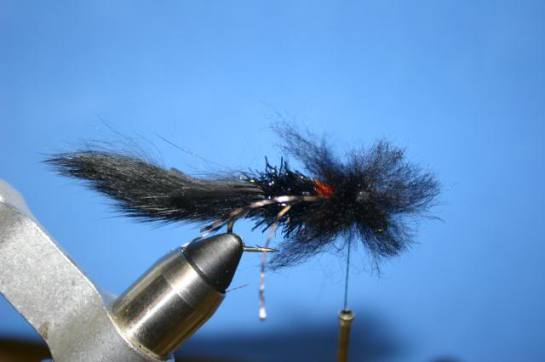

Step 11. Whip finish the thread. Trim the head to reveal the flash. Careful not to cut the legs. I like to trim mine pretty short. Finished Fly, enjoy.

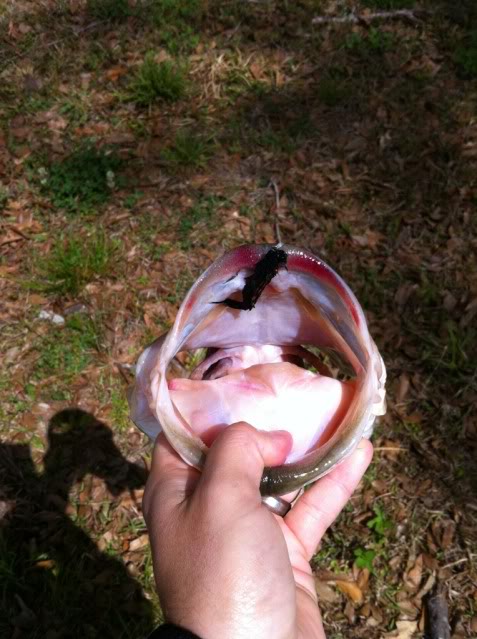
Proof of concept: