Archive

Rigging

Picked up a couple new boats yesterday, an urban camo Cuda 14 and a green hornet Cruise 12 angler. I was sad to part with the 12 but going with the 14 will give me a little more speed, without sacrificing stability. I went rudderless again, kind of hard to use one when you stand and fish most the time. I plan to mount a different tool off the back that I will be able to use while standing….

IMG_2638

IMG_2639

IMG_2565

I’ve had a few requests recently to show how I mount my camera while in the kayak. If you’re looking to get the “over-the-shoulder” angle that you see in most of my videos, this is how it’s done. You can see the angle here:


If you use a milkcrate or a BlackPak or anything else that gives you vertical rod holders in the tankwell than this set up will be simple and effective for you. If not they are different products out there that will achieve the same results. I’ve been happy with the products available from YakAttack.

Here’s how I do it – first let’s take a look at the milkcrate:

IMGP8397

IMGP8398

It’s a standard milkcrate that I’ve attached 4 rod holders to. With the 2 that come standard in the Cuda 12, I have 6 total vertical rod holders behind me, which is plenty of storage for rods, a net, and a camera mount. The rod holders were purchased at Academy and are fairly inexpensive. Make sure to install the rodholders as snug as possible to the milkcrate as any looseness will allow for camera shake. Try not to overtighten though because you’re mounting them to plastic, which can, and will break. If you screw them in like I have, use flathead screws to allow for your camera mount to slide in the holder, also use washers on the backside to distribute the load.

Next you will need a pole of some sort that will fit in the rod holder. I use an extension pole that I bought at either Lowe’s or Home Depot. The extension pole came at the suggestion of either Drew Gregory or Sean Brodie, who have been filming much longer than I have and are much better at it as well. The extension pole allows for higher camera angles if I want to do something different, but I’ve found that I just use the lowest possible one because the higher the angle, the more the shake. You also have to turn the camera on and off somehow and it’s easier to reach when it’s lower.

IMGP8412

IMGP8400

IMGP8402

IMGP8403

IMGP8404

As you can tell from the photos the extension pole doesn’t fit snug in the rod holder, and if it’s not snug the camera will shake. I wrapped the end that goes into the rod holder with Gorilla tape, but regular old duct tape will work, or you can get creative and figure out another way to bulk up the bottom of the extension pole. Tape is nice because you can layer until you get the right amount or reduce if you’ve put too much on there.

Now you’ve got a pole in a rodholder that’s attached to your milkcrate in the tankwell of your kayak. You still need to mount your camera to the pole. I use a GoPro Hero 1 to film. I got it a few years back and it is still kicking so no need to upgrade yet. The GoPro is nice because it is easy to use, comes in a waterproof housing and has several accessories that make mounting it easy. The best way I’ve found to mount a GoPro to an extension pole is with their handlebar/seatpost mount.

IMGP8406

IMGP8405

IMGP8407

IMGP8409

IMGP8410

That mount will slide over the extension pole with ease and you can tighten it as much as possible to prevent slippage. The angle of the GoPro you see there is what I generally film at. With the wide angle lens on the GoPro you don’t have to point it downward too much at all to capture everything in front.

IMGP8411

That’s all there is to it. It’s simple, snug, and fairly inexpensive. I don’t see too much shake whether I’m sitting or standing in the kayak. You will want to make sure that you use the provided tankwell bungees to strap the milkcrate down, you don’t want it sliding. Here’s how it looks in the kayak:


IMG_1660


IMG_0592

IMGP7791

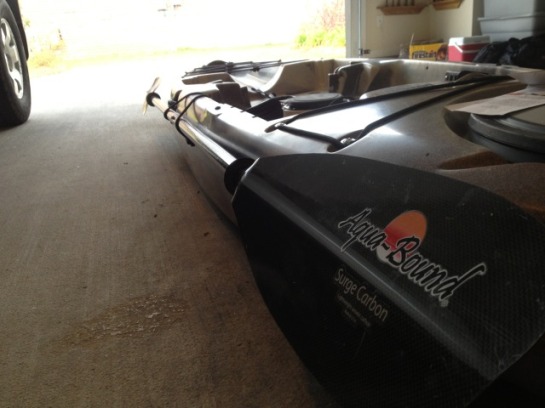
The new Cruise from Jackson Kayak doesn’t come with a paddle keeper of it’s own, so I needed to install them. A paddle keeper makes a handy place to store a stake out pole while on the water. It’s convenient and out of the way in that spot. Well I just so happened to have a paddle keeper kit from Yak-Gear sitting in my garage. It was a raffle prize at a tournament I was in and now I could put it to use.

There is a set of instructions that come with the kit. They are adequate at best, not very detailed, but most folks will manage to get the kit installed with them. I’ll offer my help below.

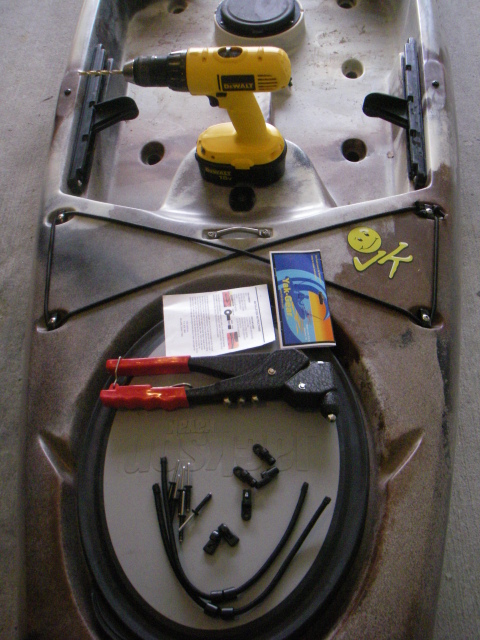
1. Besides the parts included with the kit, you’ll need to gather these supplies:

– Drill with 7/32 bit (5/32 if you use the stainless screws and lock nuts)

– Pop rivet gun (or a Phillips head screw driver)

– Pliers

– Sharpie

– Tape measure

IMGP7841

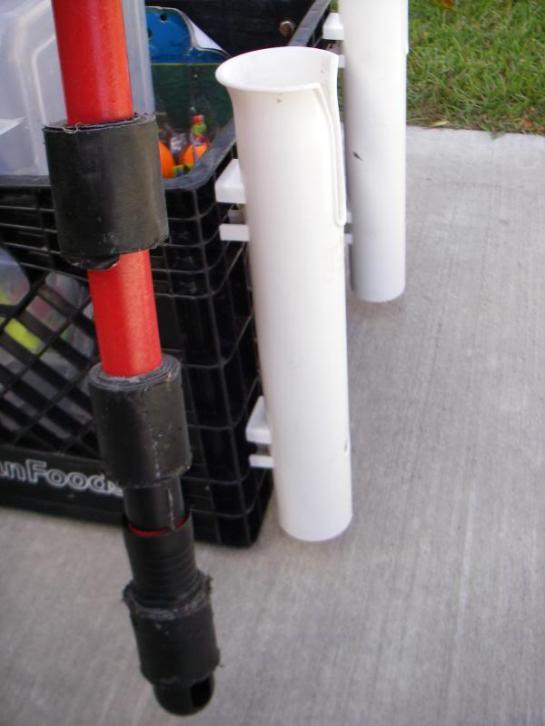
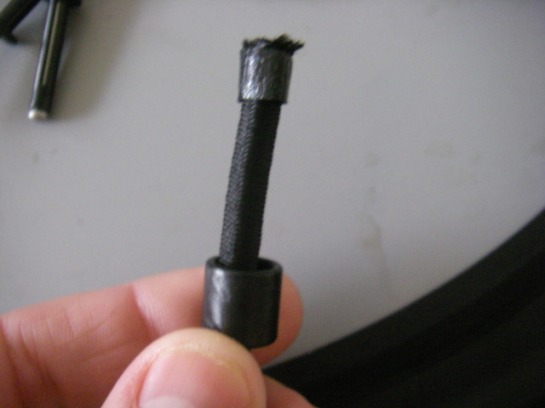
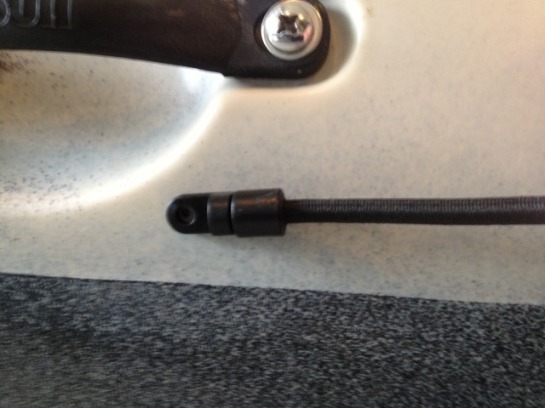
2. Next you’ll have to put together the bungees. You’ll start by sliding a sleeve over the end of the provided bungee cord.

IMGP7842

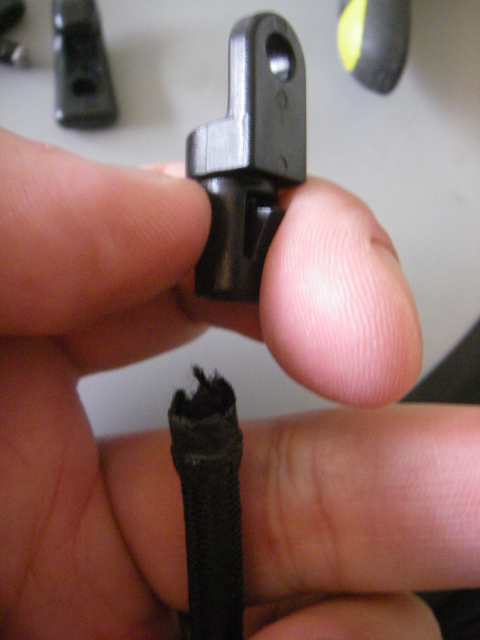
3. Then you shove the end into what they call a terminal end. Depending on how fat the bungee cord end is it might take a bit of squeezing and pressing to get the bungee to fit in the terminal end.

IMGP7844

IMGP7846

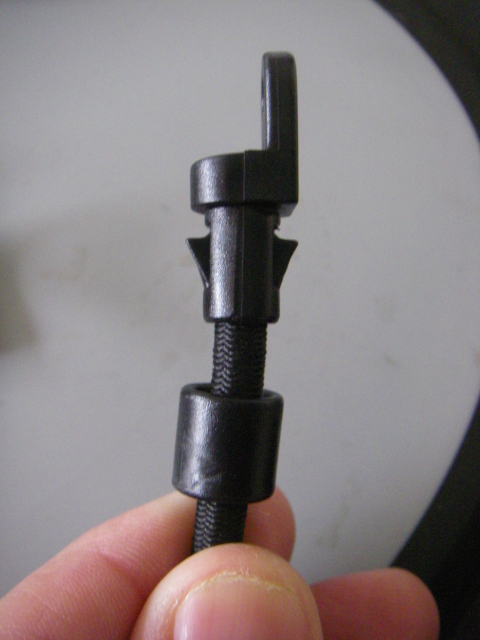
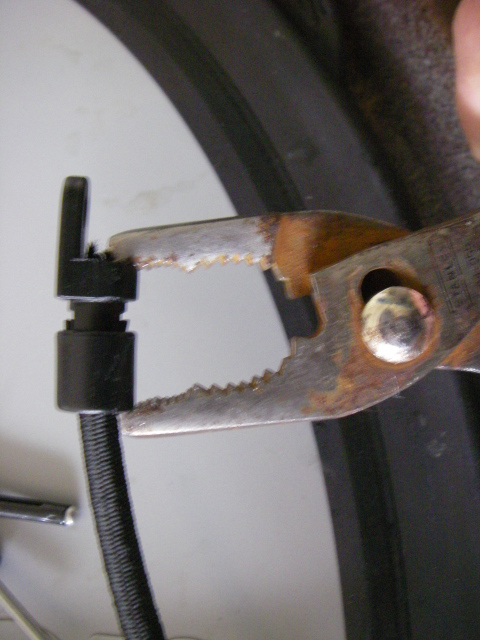
4. Once the terminal end is on you can take the pliers and squeeze the sleeve over the terminal end.

IMGP7845

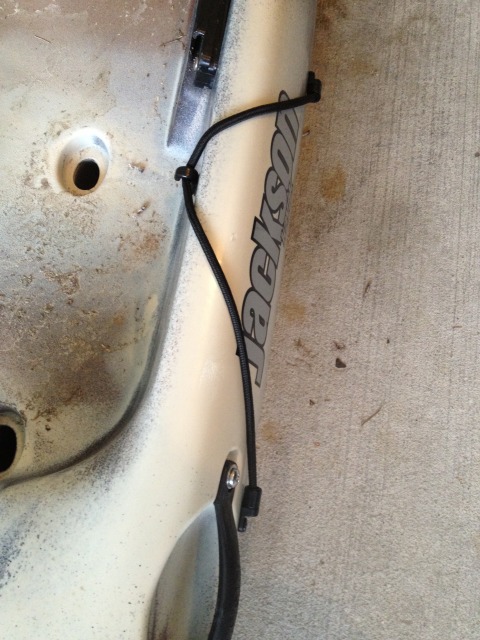
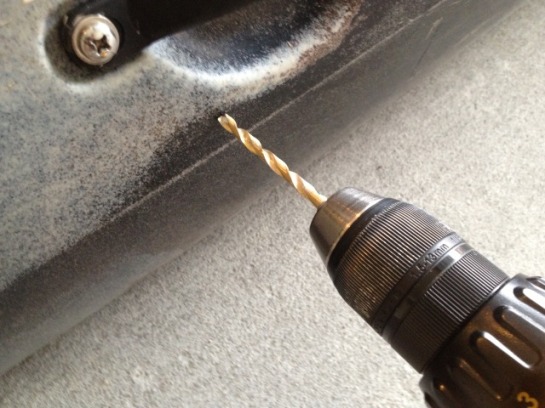
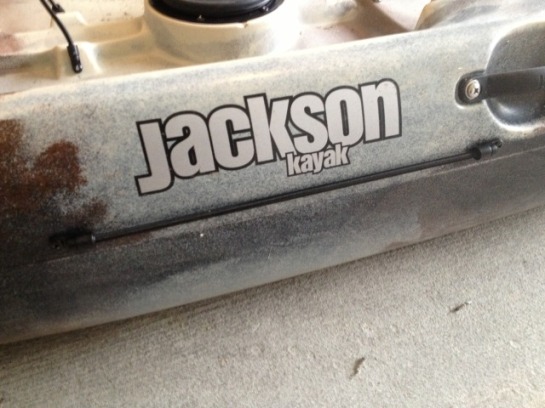
5. Next you’ll want to pick out where your paddle keeper will go. On the Cruise I decided that right under the Jackson Kayak logo was the best place. Mark one of the holes with the sharpie.

IMG_0608

6. Next, drill the hole with that 7/32 bit

IMG_0609

7. Pop rivet one end of the bungee to set the cord.

IMG_0610

IMG_0611

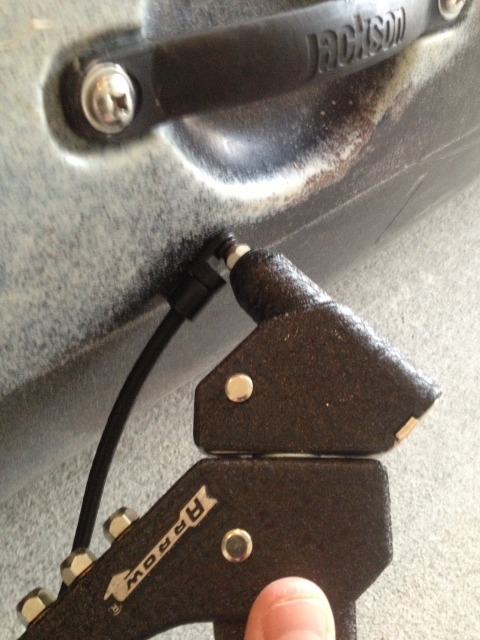
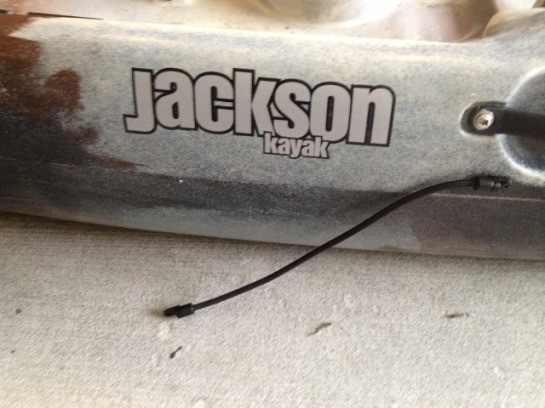
8. Rather than trying to stretch the bungee and mark both sides with the sharpie at step 5, it’s easiest to set one side first, then stretch the cord a bit and mark the other side. Pull the bungee snug, not too tight, and not loose. Then you can repeat steps 5-7.

IMG_0612

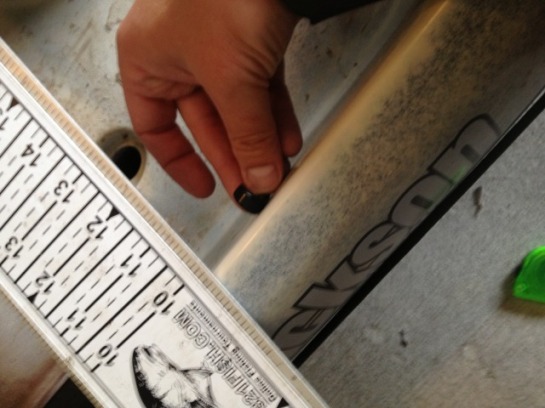
9. All you have to do now is find a good spot for the lash hook. Use the tape measure to find the middle of your bungee and go at least 3″ up. I went a bit further than that and placed the hook on the inside side of the yak. I had to use an ultra fine tip sharpie to mark my spot as a regular sharpie tip was too fat to fit through the lash hook hole. With the hook on the inside I can lash things either to the side, or on top the rails. I used my measure board to make sure the hook didn’t protrude above the rails, I wanted to sit them either flush or slightly below the top of the kayak.

IMG_0613

10. After you drill that hole and pop rivet the hook in place (steps 6-7), you are done.

IMG_0614

IMG_0615

IMG_0616