Blake’s crawfish fly
I mentioned in a previous post that I’d try to get Blake to send me a SBS of the crawfish pattern that I’ve had success with and wouldn’t you know the man came through. See his instructions below if you want to tie up a really effective crawfish fly that various species of bass and sunfish love:
This fly is a variant of the Crayfish X tied by Dron Lee. There wasn’t an SBS on his site and I liked how it looked so I tied it how I assumed it was tied. You can find more patterns by Mr. Lee here: https://flytyingnation.com/
Materials:
- Eagle Claw 410 Jig size 2
- Lead Dumbbell Eyes sized to match hook and sink rate
- Spanflex
- Sow Bug Dubbing
- Fox Squirrel Zonkers
- Mono Eyes
- Furry Foam
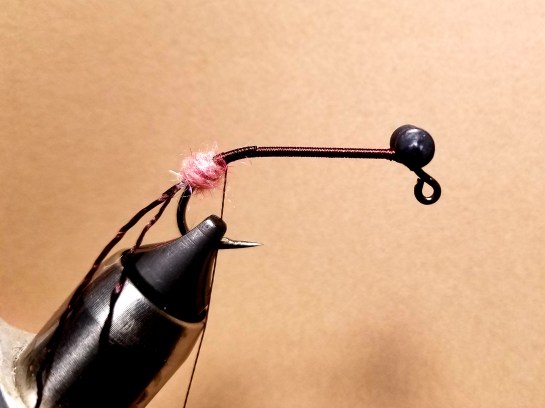
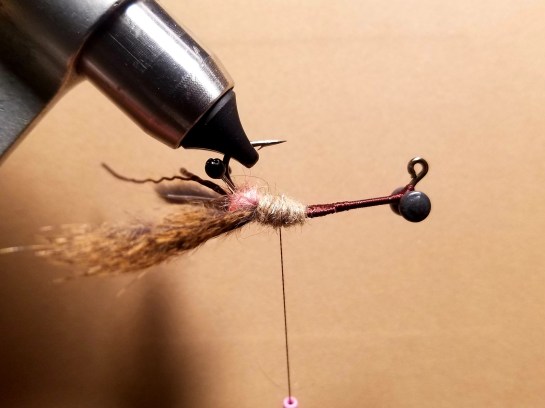
Tie dumbbell eyes in at the front of the hook right at the bend. This helps to ensure that the fly falls hook point up and will allow space to whip finish later in the process.

Tie in the antennae and wrap to a point around the bend.

Make a small ball of dubbing right behind the antennae. This is to help splay out the claws and eyes.
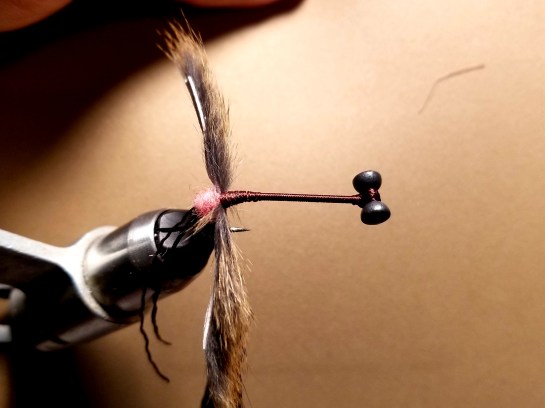
Cut two zonker strips to length. These were 1” of hide that ended up being 1.5” in total length. Wrap them all the way up to the dubbing ball.

Pull each zonker strip out and hit the base with some UV resin (or super glue). Probably not a necessary step but I think it reduces fouling and also makes the claws spread out when the fly is sitting on the bottom.

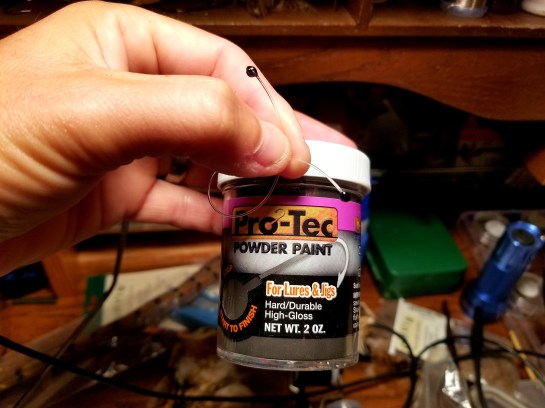
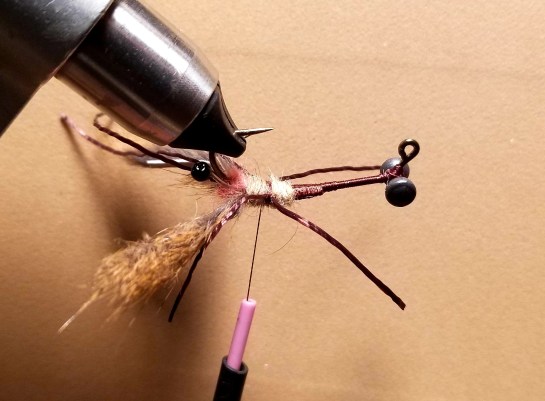
Tie in some mono eyes on either side of the hook. I like to tie them so that they lay right above the claws to further reduce fouling. I make my own by heating up some 50 pound mono and then dipping it in some powder paint. I will then run it through the lighter again to smooth out the powder if needed. The final step is to use a cauterizing tool to bend them how you want them. You don’t have to actually touch the mono with the tool. Just get it close and the mono will bend towards the heat. Takes some practice to not melt other materials but makes setting the eyes in position pretty easy.
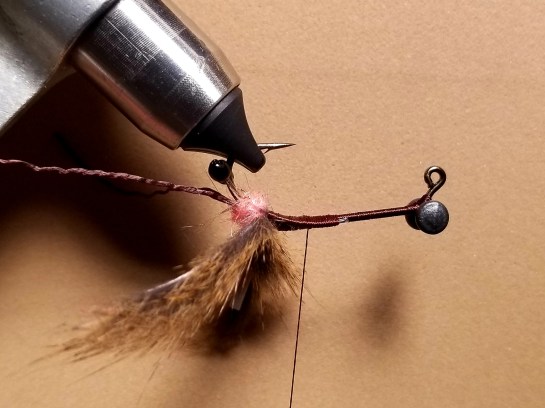
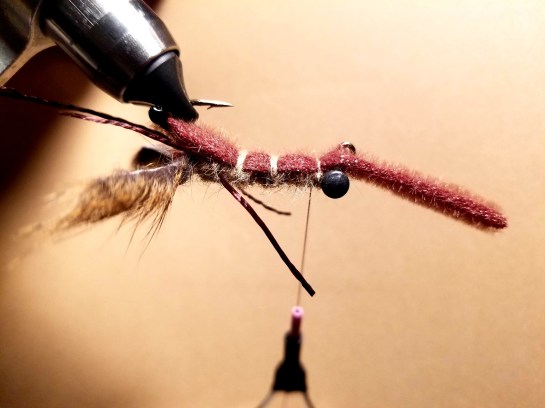
Dub the body to the hook point, tie in a leg on either side, then finish the area off by using figure 8 wraps to set the legs in a position you like. I prefer to add some dubbing before tying in the legs so that I’m not trying to build bulk in the area while having to deal with the legs. Build the bulk, tie in the legs, cover the tie-in.

Bring thread to the hook eye and dub back to the hook point.

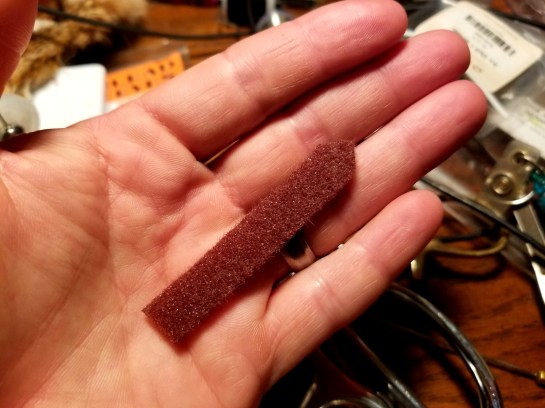
Cut a piece of furry foam that is the size of the hook gap, cut a point on one end, and put it on the hook.
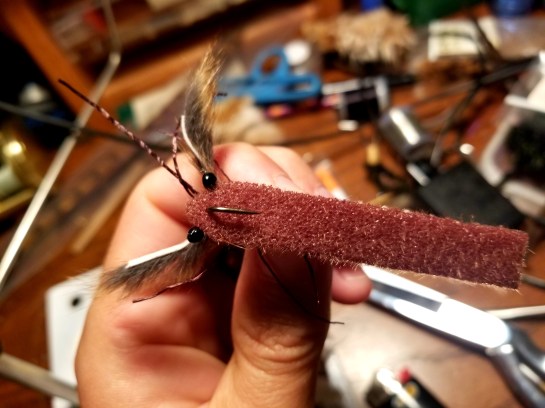
Place the hook back into the vise and tie the foam in somewhere near the point. Dub the tie in point to show some segmentation in the body, then dub your way to a point in the middle between the hook eye and first body segment. Repeat the process to right behind the hook eye.


Finish dubbing the final tie-in and whip finish between the hook eye and the furry foam. Trim the foam to form the tail.

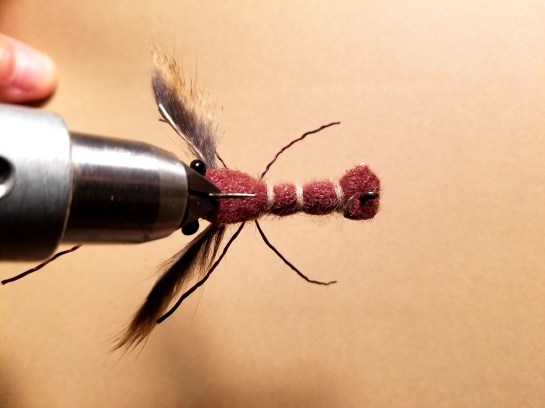
I like to brush out the bottom of the fly with a dubbing brush.

Finished Fly

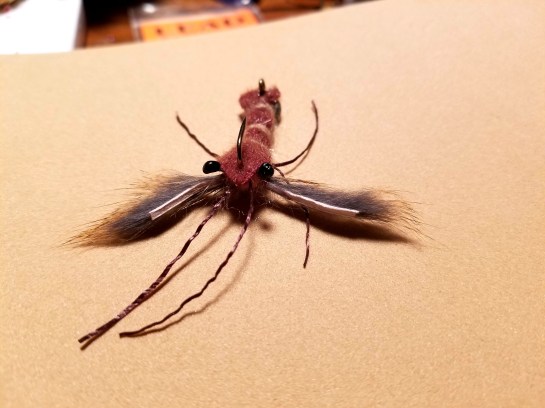


Beautiful fly, going to have to try and tie one up soon!
LikeLiked by 1 person
Pingback: 2023 RSFF Coldwater Trip to Arkansas – Down South Fly Fishing