If you’re in the Baton Rouge area and are looking for something to do on Wednesday May 11th, come on out to Rally Cap Brewing and drink some good beer and tie some flies with us(them). We are hoping to make Flies & Flights a monthly deal and this would be the second time we get together. The pilot run last month went great and we had about a dozen folks turn out. I’m hoping we can double that this time around – it should be a good time.
I mentioned in a previous post that I’d try to get Blake to send me a SBS of the crawfish pattern that I’ve had success with and wouldn’t you know the man came through. See his instructions below if you want to tie up a really effective crawfish fly that various species of bass and sunfish love:
This fly is a variant of the Crayfish X tied by Dron Lee. There wasn’t an SBS on his site and I liked how it looked so I tied it how I assumed it was tied. You can find more patterns by Mr. Lee here: https://flytyingnation.com/
Materials:
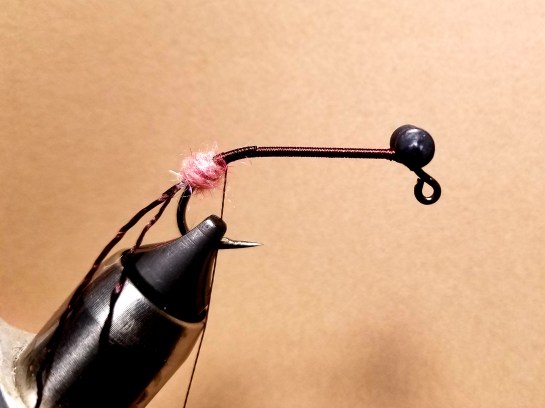
Eagle Claw 410 Jig size 2
Lead Dumbbell Eyes sized to match hook and sink rate
Spanflex
Sow Bug Dubbing
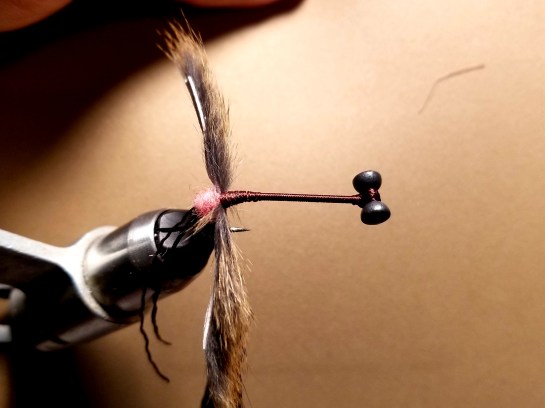
Fox Squirrel Zonkers
Mono Eyes
Furry Foam
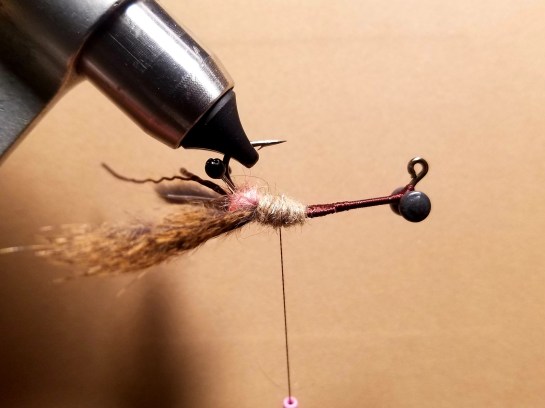
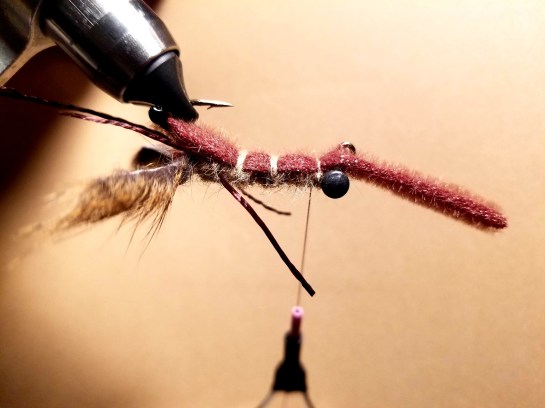
Tie dumbbell eyes in at the front of the hook right at the bend. This helps to ensure that the fly falls hook point up and will allow space to whip finish later in the process.
Tie in the antennae and wrap to a point around the bend.
Make a small ball of dubbing right behind the antennae. This is to help splay out the claws and eyes.
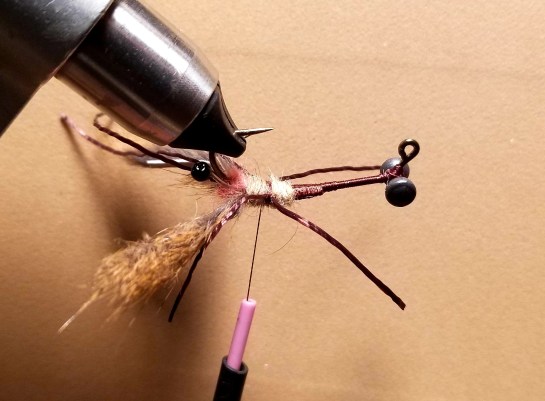
Cut two zonker strips to length. These were 1” of hide that ended up being 1.5” in total length. Wrap them all the way up to the dubbing ball.
Pull each zonker strip out and hit the base with some UV resin (or super glue). Probably not a necessary step but I think it reduces fouling and also makes the claws spread out when the fly is sitting on the bottom.
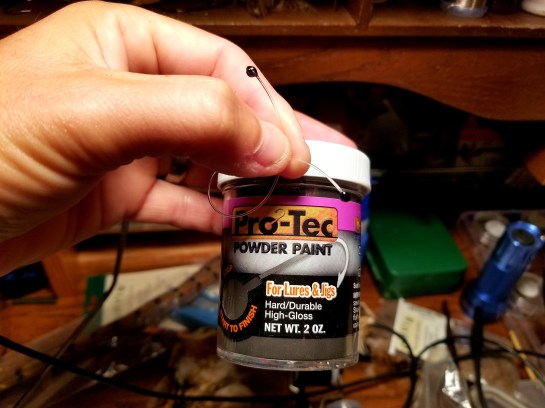
Tie in some mono eyes on either side of the hook. I like to tie them so that they lay right above the claws to further reduce fouling. I make my own by heating up some 50 pound mono and then dipping it in some powder paint. I will then run it through the lighter again to smooth out the powder if needed. The final step is to use a cauterizing tool to bend them how you want them. You don’t have to actually touch the mono with the tool. Just get it close and the mono will bend towards the heat. Takes some practice to not melt other materials but makes setting the eyes in position pretty easy.
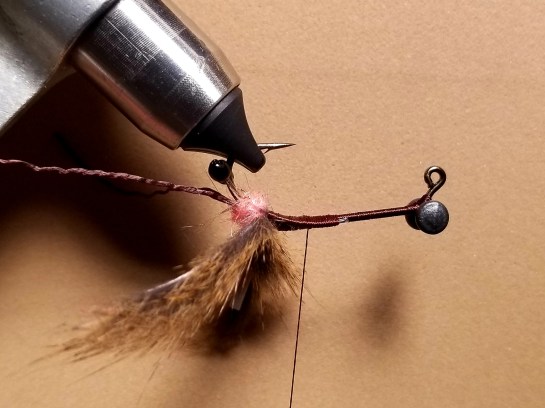
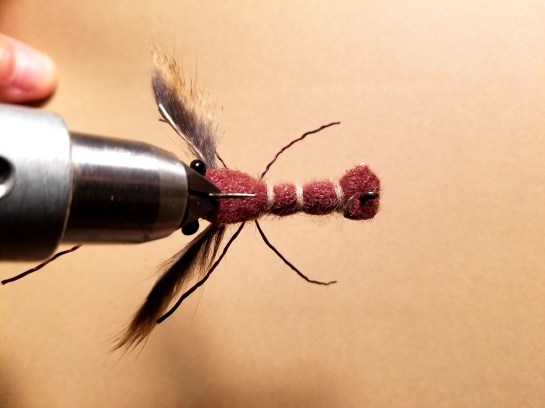
Dub the body to the hook point, tie in a leg on either side, then finish the area off by using figure 8 wraps to set the legs in a position you like. I prefer to add some dubbing before tying in the legs so that I’m not trying to build bulk in the area while having to deal with the legs. Build the bulk, tie in the legs, cover the tie-in.
Bring thread to the hook eye and dub back to the hook point.
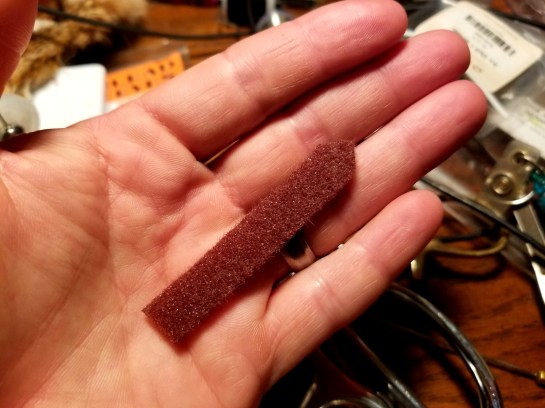
Cut a piece of furry foam that is the size of the hook gap, cut a point on one end, and put it on the hook.
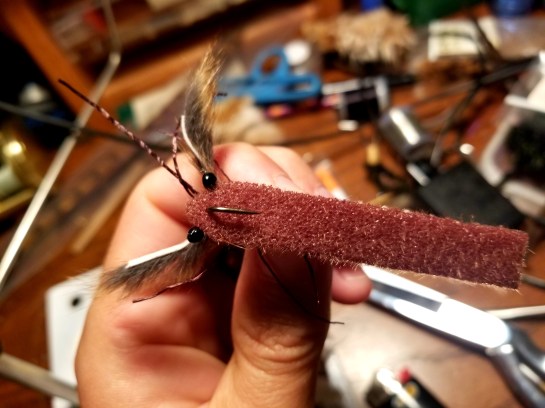
Place the hook back into the vise and tie the foam in somewhere near the point. Dub the tie in point to show some segmentation in the body, then dub your way to a point in the middle between the hook eye and first body segment. Repeat the process to right behind the hook eye.
Finish dubbing the final tie-in and whip finish between the hook eye and the furry foam. Trim the foam to form the tail.
I like to brush out the bottom of the fly with a dubbing brush.
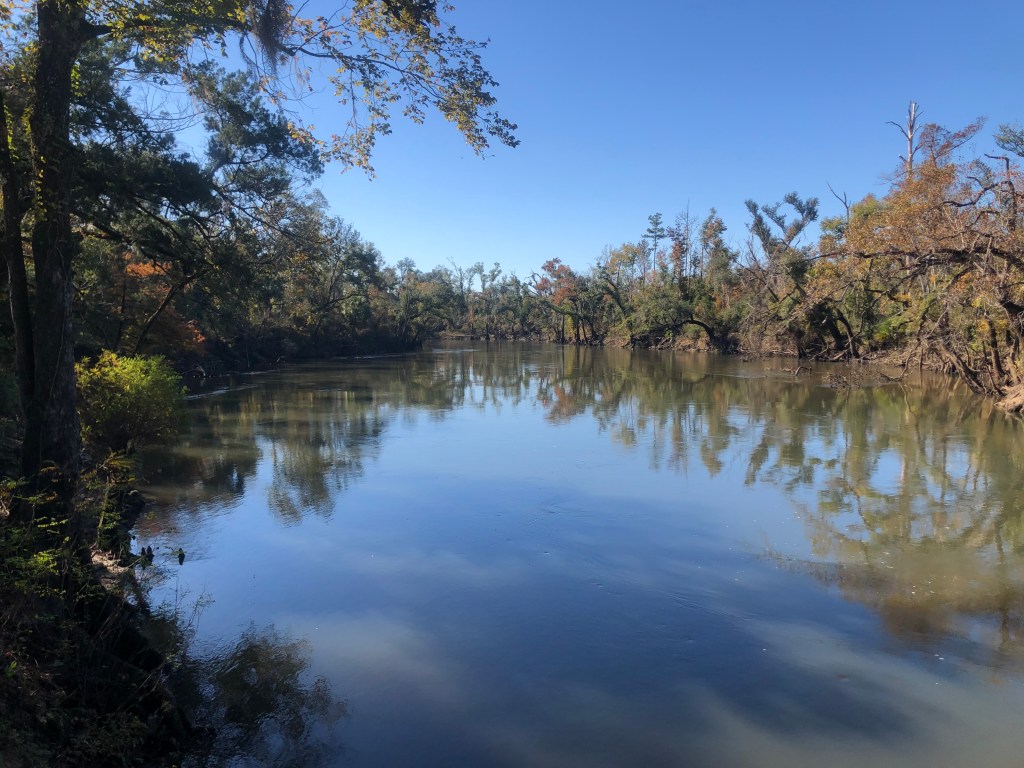
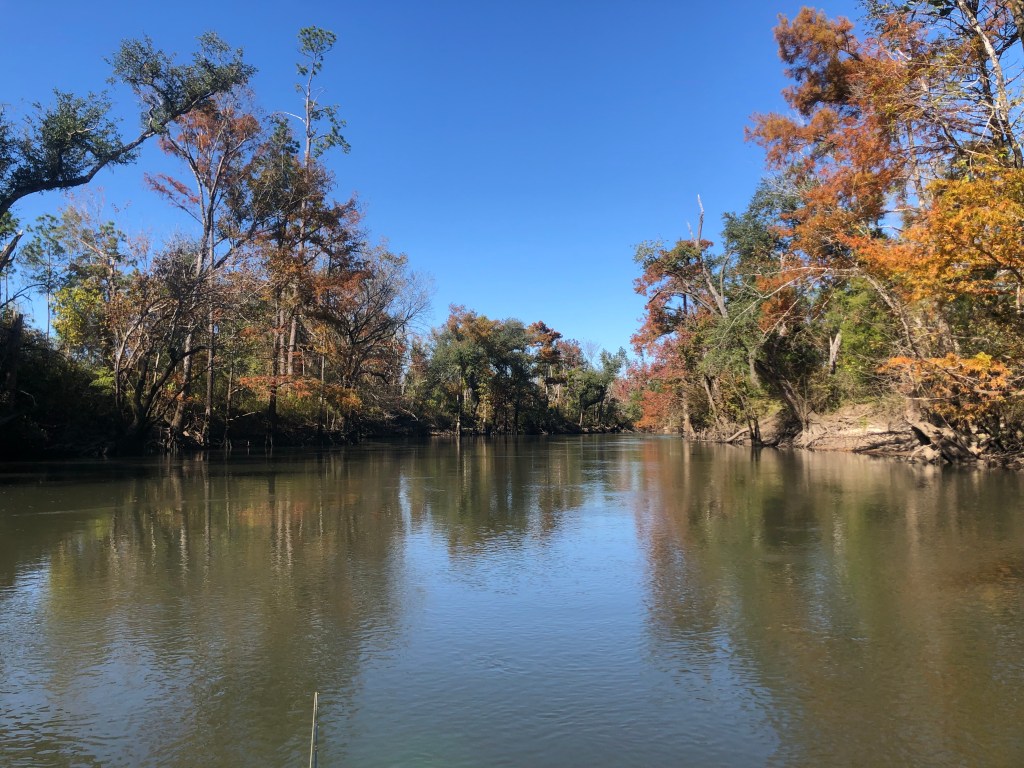
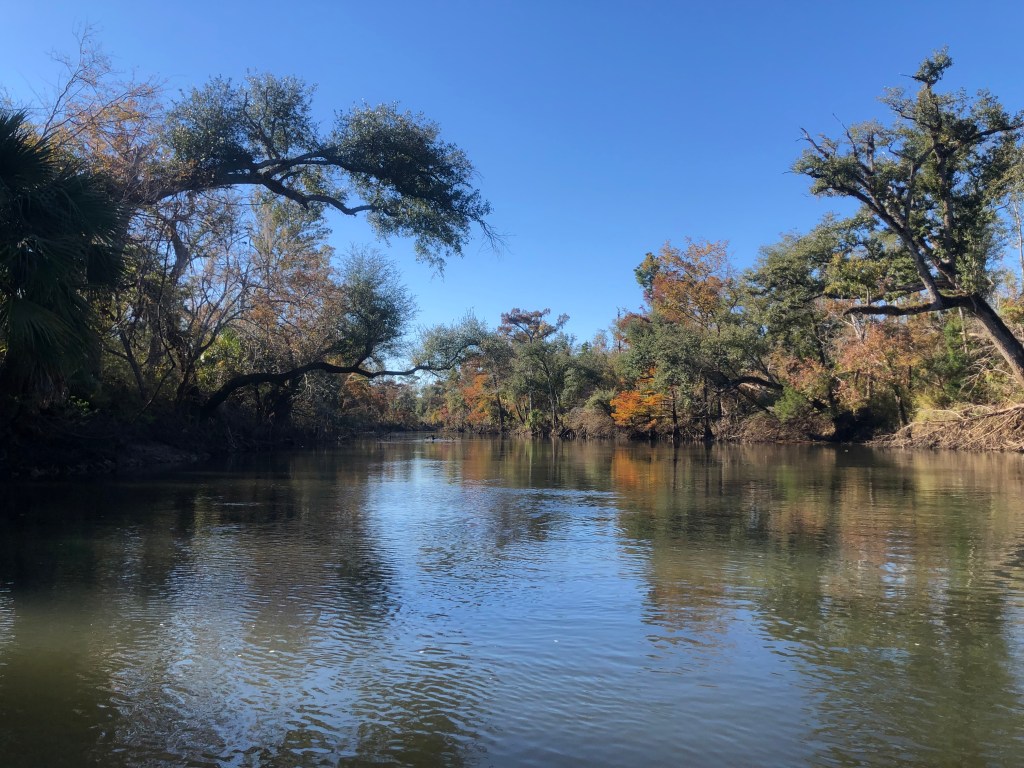
The next day I decided to drive a little further east and check out the only watershed in Florida that held shoal bass – the Chipola River. I scouted a few launch sites and debated my plan before settling on one. I was under the assumption that I had to have shoals to target shoal bass and from what I could tell at each launch site that I stopped at(and from what I saw in imagery online) that was going to be difficult. The water level must have been a tad higher than normal and there were no visible shoals at places where I thought there would be so I was flying blind on this one.
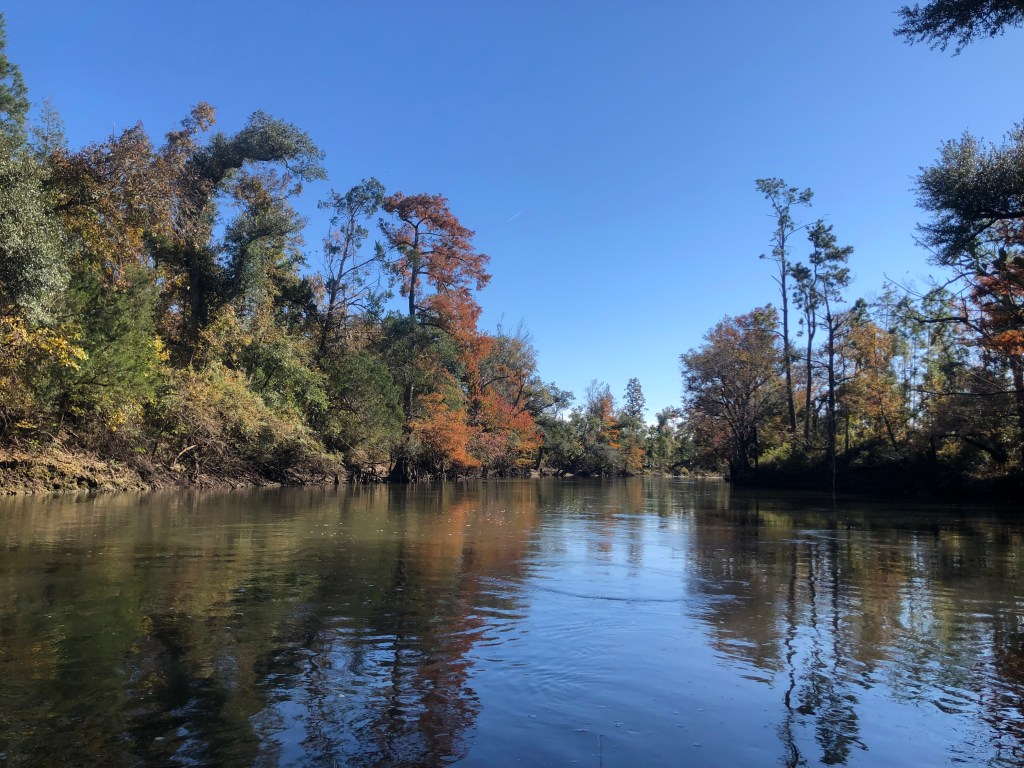
I put the boat in and started paddling up anyway. I drove all the way out here, I may as well fish. The clarity was pretty good and the weather was gorgeous – I took that as a sign that there was a good chance I’d catch something.
I paddled up until I reached a spring run tributary and was amazed at how clear the water was dumping out of this creek. I paddled/walked up the creek a little ways and spooked a ton of small fish – pickerel, bass, sunfish, shiner – there was lots of life here. There was no way for me to effectively fish the creek so I hoped back in the boat and started my downstream float and fish.
Shoal bass, like most bass, are ambush predators so my idea was to just strip streamers around any place I thought looked like a good ambush point – pretty standard bass fishing stuff, I know, it’s not rocket science though. If that area had discernible current around it I assumed that was prime territory.
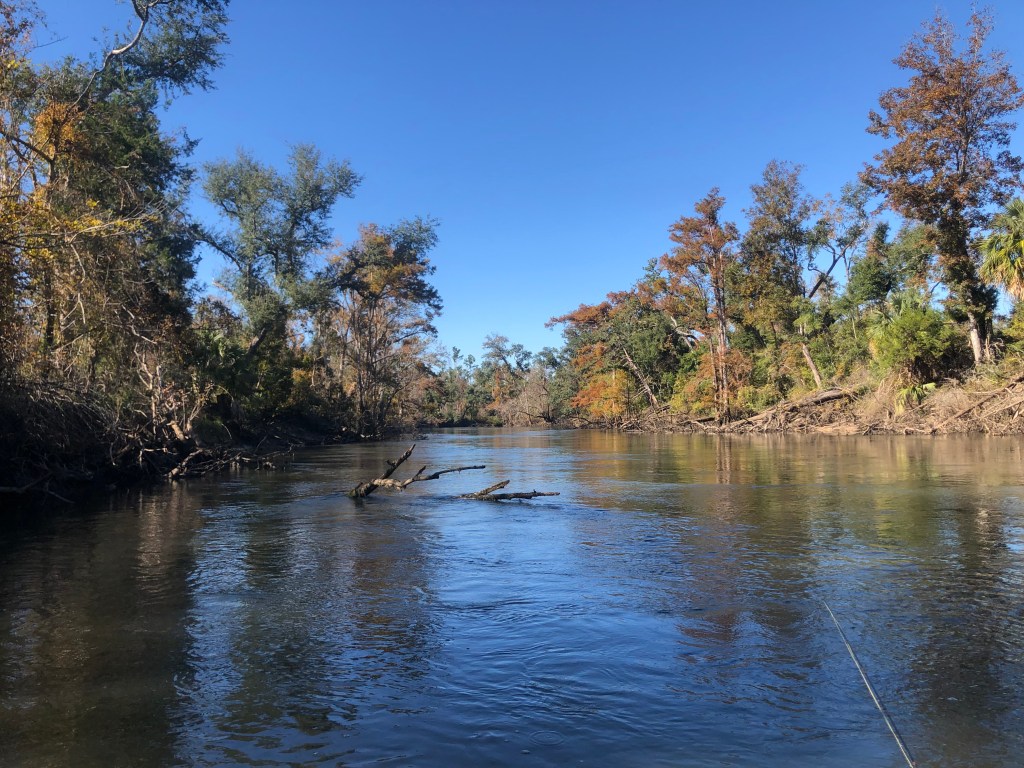
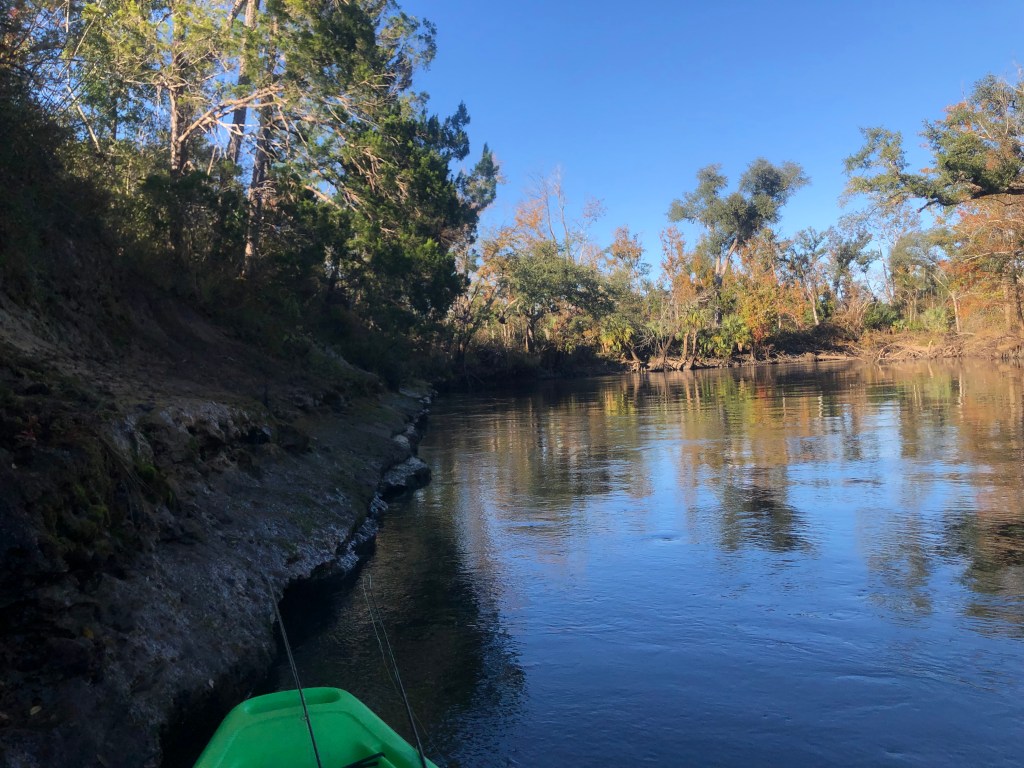
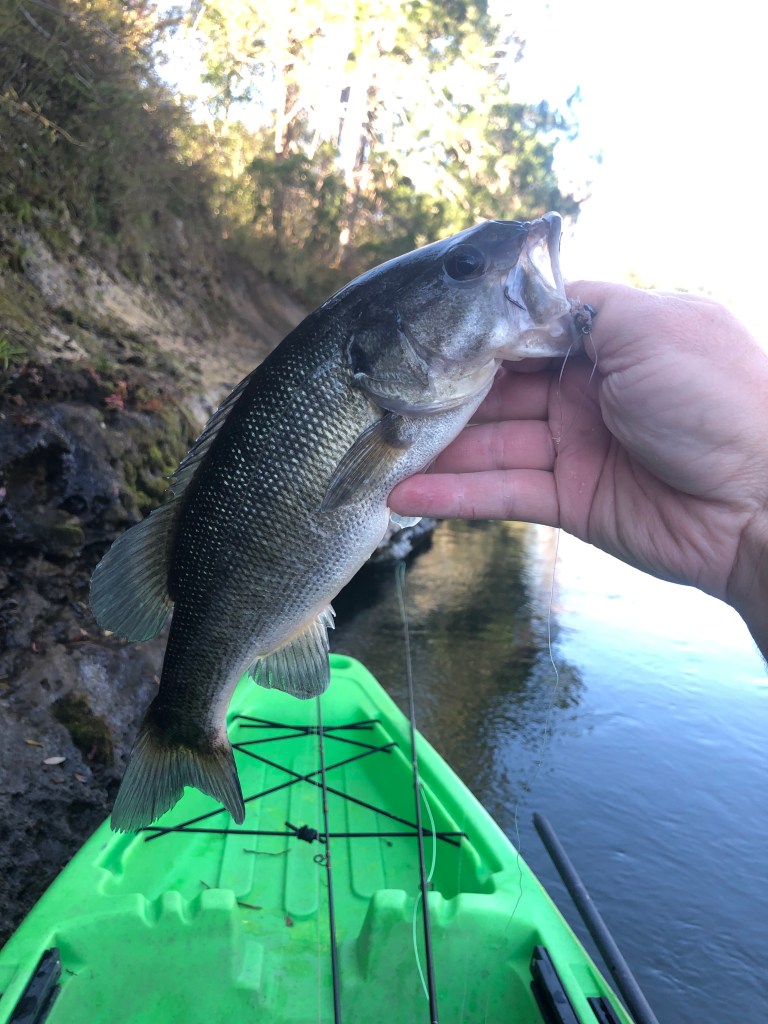
I flogged a good stretch of water, beating the banks and working areas around submerged timber, before I had a strike, which came from the timber pictured above. The eat happened on the bank side of the big limb as the current swiftly carried my boat around on the other side of the laydown. Things were precarious for a bit as I paddled myself back up to remedy the situation. At some point I figured I lost the fish when my fly line was caught on the limb, but as I worked to free the line with my hand I could see him still hooked and fighting. Luckily for me I had a solid hookset and I was able to bring the 12″ shoal bass to the boat.
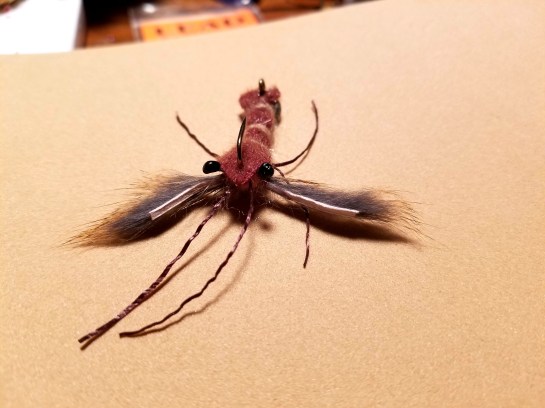
I was pretty stoked for this fish! I did not have a lot of confidence in catching a shoal bass here. Like I said, not a shoal in sight, so I felt a bit out of place. It fell for a beat-up crawfish pattern that Blake had tied up a while ago. This fly has landed bass all over the place, from spotted bass in Louisiana to smallmouth in West Virginia and Arkansas to redeyes in Alabama and Georgia, and now a shoal bass in Florida. I’ll see if I can get him to do a step-by-step for it. It’s been a while since we’ve done one of those here. My favorite flies, and those that tend to be the most durable, are the flies that Blake ties. No matter the pattern, he just does a really great job.
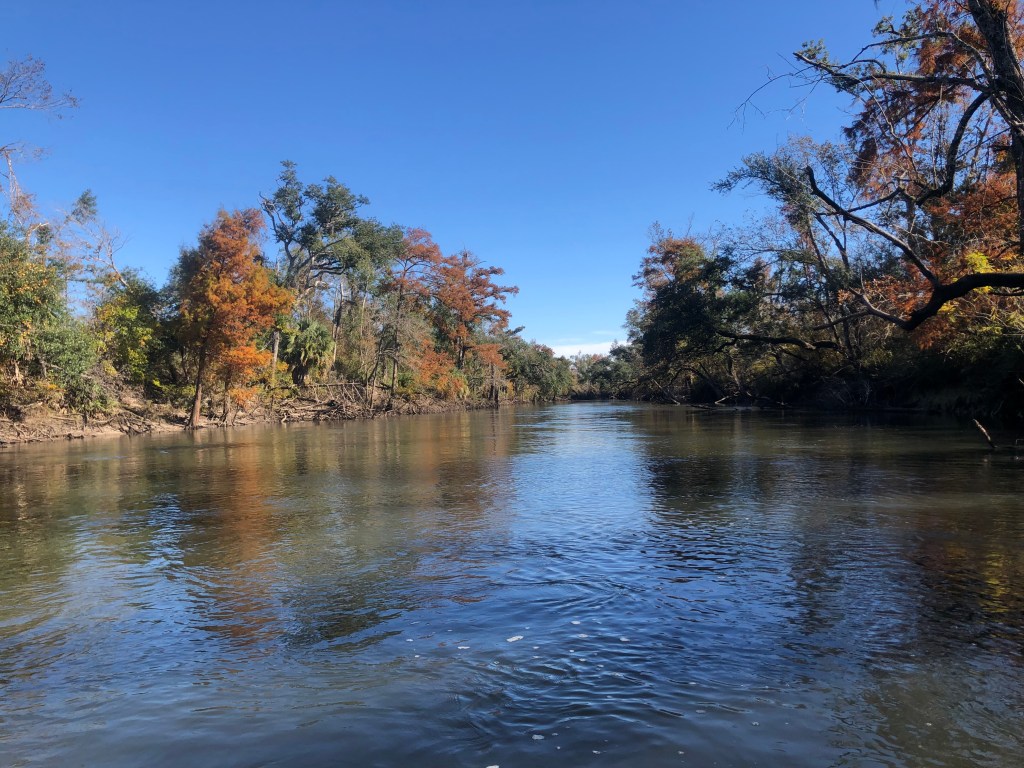
With renewed confidence I kept on swimming that crawfish pattern around anything and everything I floated by and eventually caught the spotted sunfish above. It was a good sized stumpknocker that looked like he’d seen better days. I was happy to have caught something else because despite my confidence the fishing was terribly slow. The river was beautiful though with the cypress trees giving it a little Fall color. Part of me feeling out of place was the river was a little bigger than I like to fish. I’m a small water guy. I dig the creeks. So medium or large rivers always intimidate me.
There were low limestone bluffs every so often that were super pitted, like the one above. Some of the most unique geologic formations I’ve seen along a river. I ended up catching my second shoal bass along one of these walls. It makes total sense too as bass love a bluff wall. They are scoured out far underneath what is visible and make excellent ambush spots. That made it two shoal bass on the day! I was pumped and paddled the rest of my way back to the launch looking to get back to the campsite before dark.
On the drive back I made the realization that I just caught two shoal bass below I-10. That seemed so crazy to me; the fish known as the “fish of the waterfall”, Micropterus cataractae, were still hanging on down here in Florida, well below the fall line.
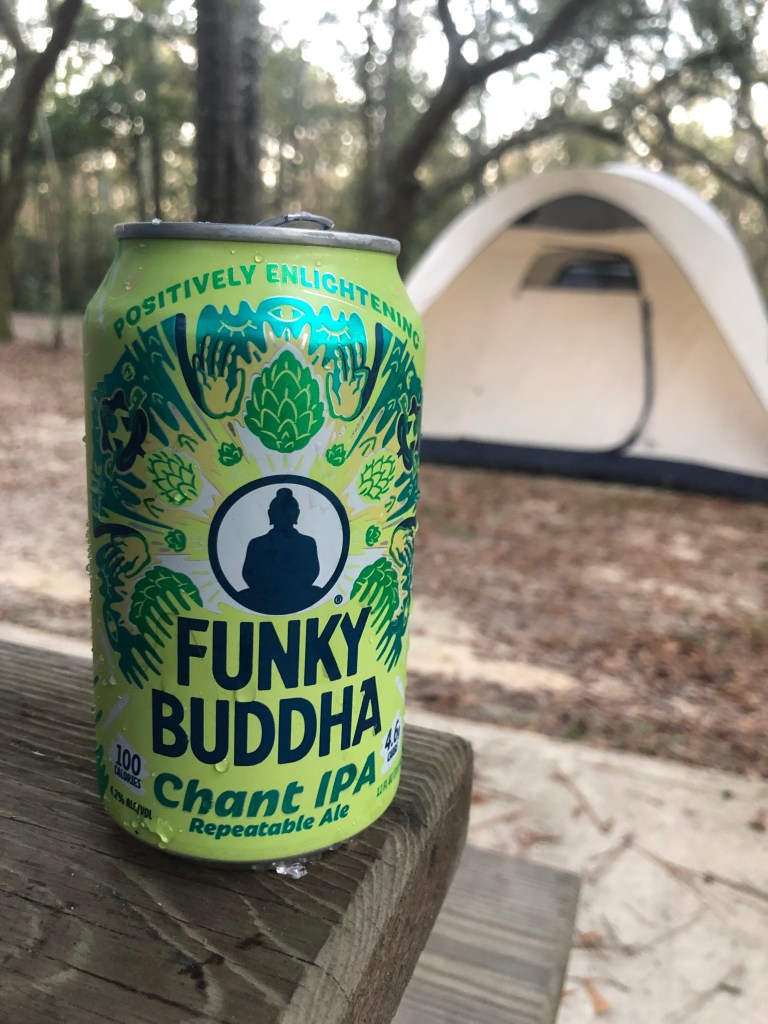
I stopped at a local grocery and bought a steak and whatever beer they had that was local to celebrate accomplishing a goal that was probably meaningless to 99% of the general population. Combine that with a campfire and it made for a much better night than the rainy one I had the night before.