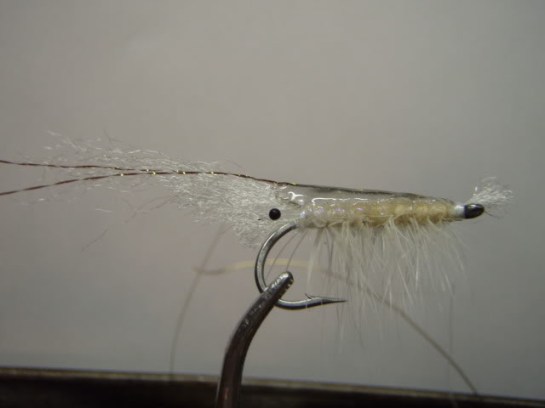
We are in full blown Utah Cutt Slam trip prep down here and Blake has been busy at the vise. We’ve been hearing that the green drakes have been coming off up there in Utah and it’s our hope that they will continue to be hatching by the time we can get up there later this month. He’s put together a little SBS of a fly we hope to have some success on when we get up that way – Yeager’s Neversink Green Drake – tied by Blake Leblanc.
Materials – in order or application:
- Thread of your choice – I used 70 denier
- 2mm foam
- #12 Orvis tactical barbless dry fly hook
- Moose body hair
- EP fibers
- Rubber legs
- Dry fly hackle
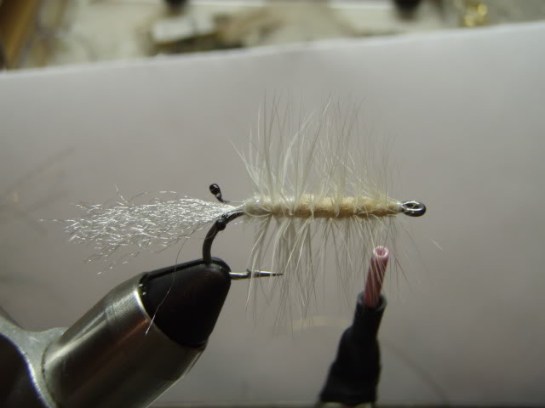
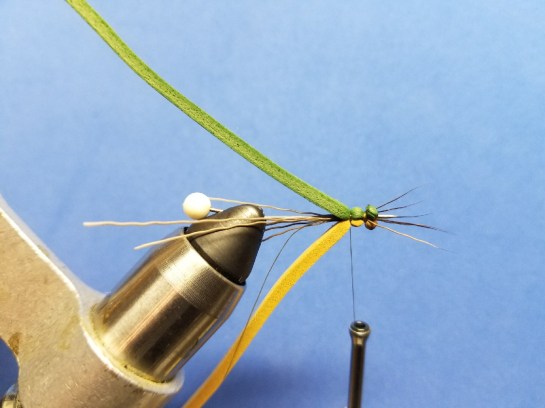
Start thread on a needle with a few wraps, just enough to hold it on there. Leave tag end long.

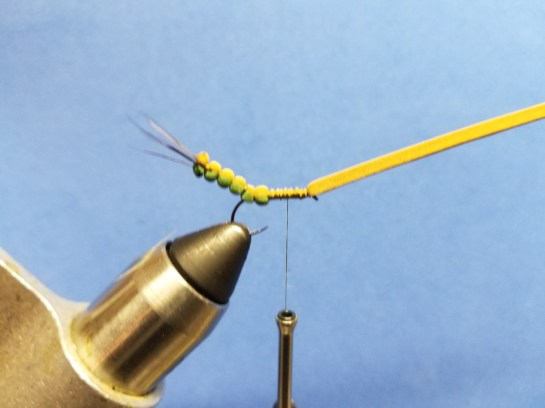
Cut two foam strips. This is 2mm thick foam. I cut them about 2mm wide as well. Tie one on the top and another on the bottom. Colors should match what you are trying to match. Here, I was going for green drake-ish. It could probably pass for a decent hopper or stonefly with a few modifications.

Tie in a few strands of moose body hair(or whatever tail material you like) on either side. Leave the butt ends long so you can catch them on the shank in the next step.

Bring the thread between the foam strips and advance it a little ways down the pin shank trapping the moose hairs in there. Then pull the foam back and start your segments.
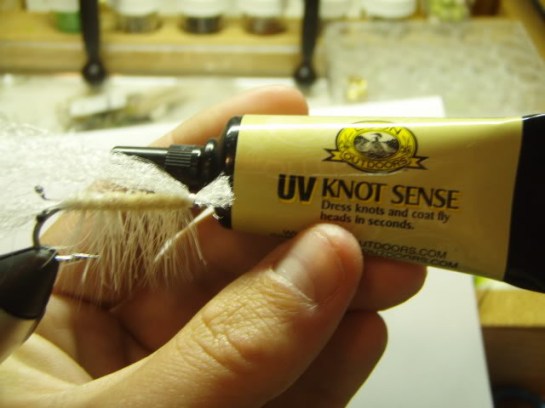
Cut the moose hairs(leave the thread tag end) and continue with the segments. Whip finish the thread on the last segment. Hit it with some glue.
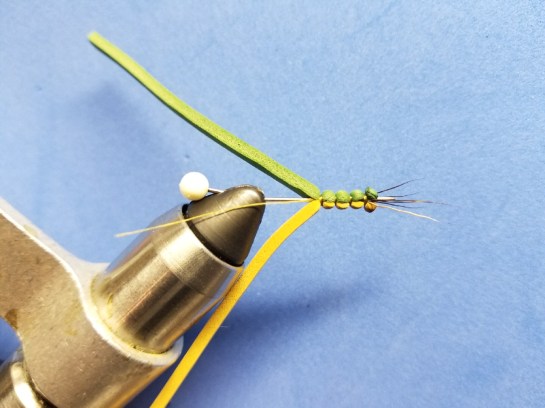
Pinch the tail and slide it off the needle. Pull the thread tag to tighten any loose thread that is in the body.


Choose a hook you like and pierce the foam near the last body segment.
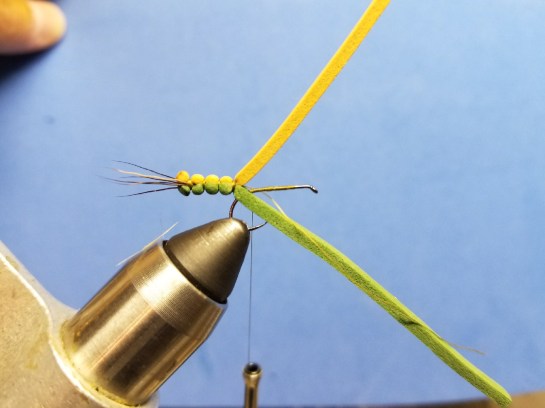
Start the thread near the eye of the hook and bring it back to the hook bend. I slide the body up to the thread location to make sure I like how it sits. When you’re happy, tie down both foam strips making another segment. Make sure the thread tag is still there.

Pull one of the foam strips back and wrap the thread down the shank making sure to tie your tail thread tag in tight. Make another segment, then tie down the bottom foam strip to the eye. I find it easier and neater to do one stip, then the other.
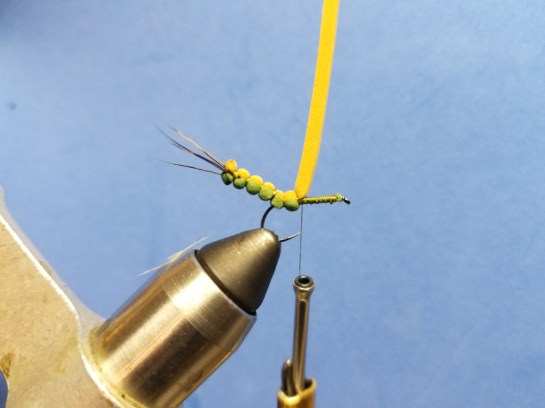
Tie the top foam strip down to right behind the eye.
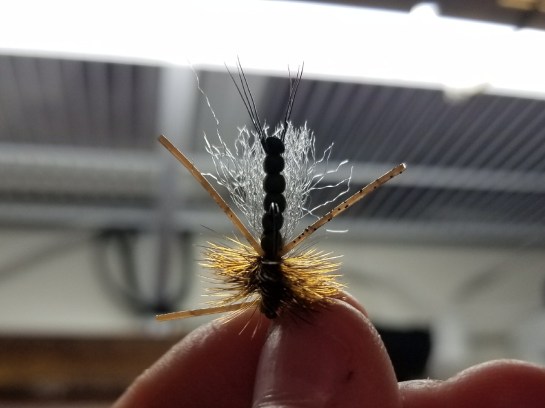
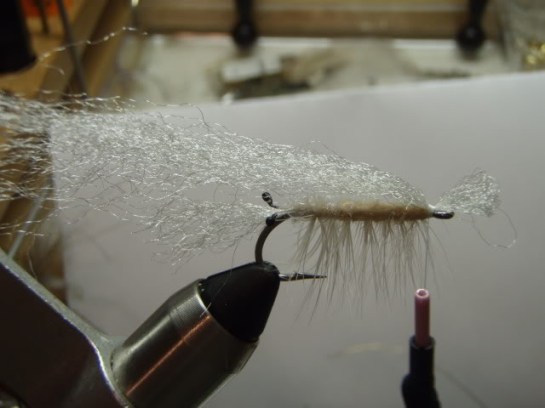
Tie in your wing material. I used EP fibers here. They float like a cork when treated with floatant. I leave them long and trim later.

Pull the foam back making a little round head behind the eye.

Tie in your choice of legs on either side. Trim to desired length.

Cut foam leaving a little.

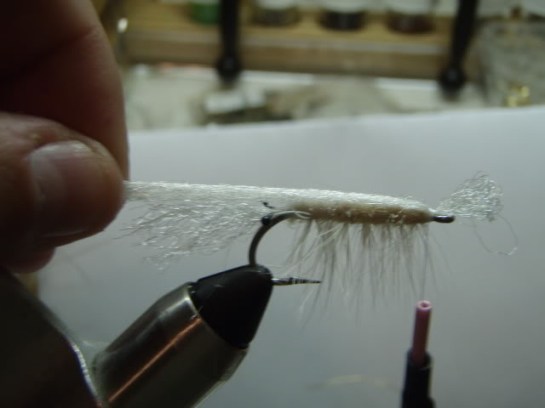
Cut wing about as long as abdomen.

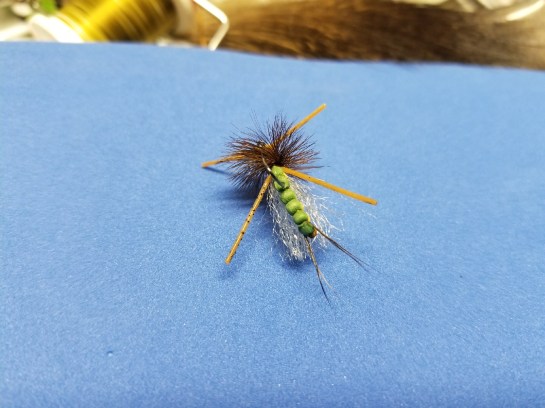
Tie in dry fly hackle.
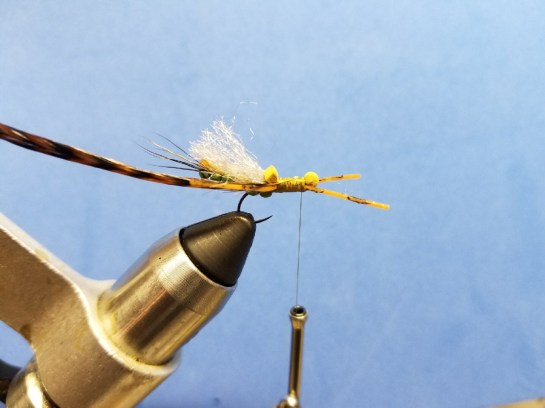
Palmer to the head. Tie in the hackle and whip finish. I whipped around the eye of the hook, but you can tie off between the hackle and head. Whatever floats your drake….

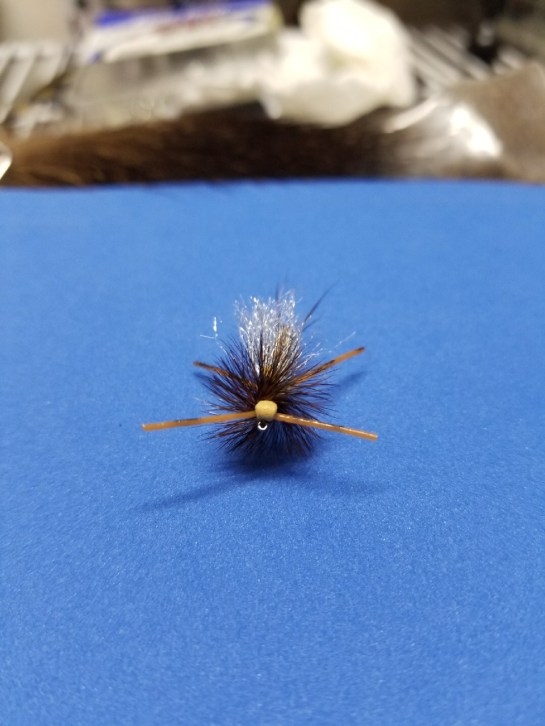
Hit it with a little glue and you have yourself a really buggy, buoyant, attractor fly that is sure to catch some cutthroat.