Blake has his own version of a paddle clip belt and he has shared with us how he made it below. The only similarity with the one I initially made is the fact that it holds a paddle. He made his own clip out of PVC and used a lashing strap for the belt. Both versions work as designed and we’ve found them to be extremely helpful when stand up kayak fishing. Not satisfied, he went a step further and made one similar to the Dawgknots belt out of braided paracord. He showed us how to do that as well.
Materials will be listed as they are used in the steps below.
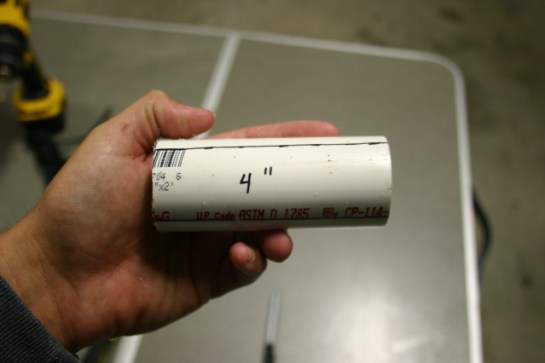
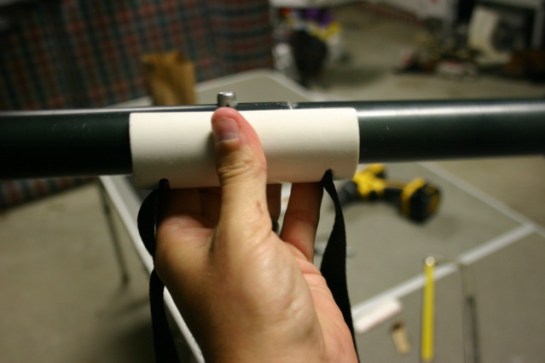
Step 1. Start off with a 4” piece of 1 ¼” PVC pipe. If your paddle has a thin handle, you may be able to get away with 1” pipe, but the bigger diameter is more universal. I also make marks on the top and bottom of the printing on the pipe (it’s just an estimation that is a little narrower than the diameter of your paddle handle).
Step 2. Using a hacksaw (I tried a Dremel tool, but it had too much power and I ended up messing it up), cut along the lines that you drew. Use some sandpaper to smooth out any rough or sharp edges. I used 100 grit. Test the clip on your paddle to make sure that it snaps over and that it’s not too tight that it won’t fit in or too loose that the paddle falls out.

Step 3. Take your strap (purchased at Walmart in the camping section for $2 and change) and place it along the back of the PVC. Use a marker to put a dot on the PVC on the top and bottom of the strap ½” from each end of the PVC. Use a drill to make a hole at all the spots that you made


Step 4. Connect the edges of the holes and then use your hacksaw to cut out the material in between the holes. Sand all edges smooth.


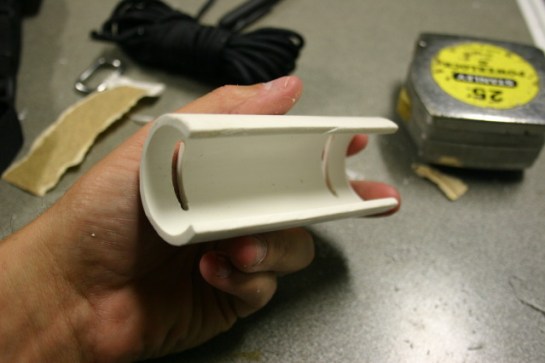
Step 5. Cut a piece of 3mm craft foam (purchased in sheets at Hobby Lobby) and use some contact cement to attach it between the two slots. You may have to use some thicker/thinner foam to suit your paddle, but 3mm seems to be pretty versatile.

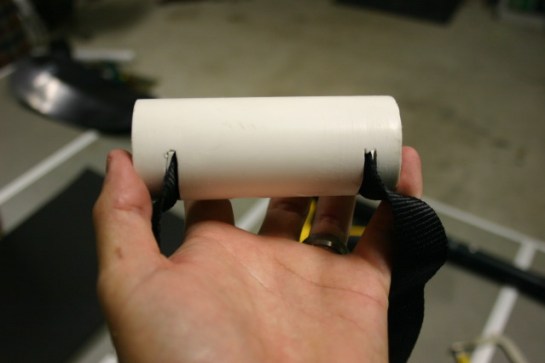
Step 6. String your strap through the holes in the clip. I like to clip it onto the paddle and let the cement set.

The paddle clip belt will work perfectly as is. However, if you are anything like me and can’t leave “well enough” alone, then check out the next few steps on adding a braid onto the strap.

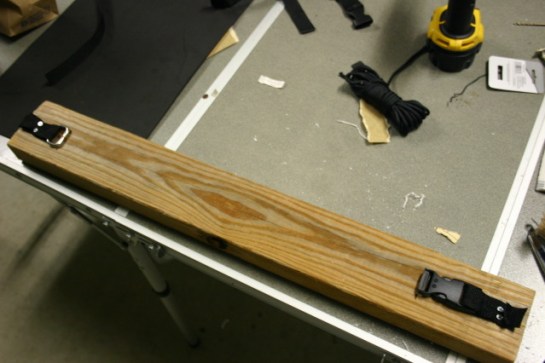
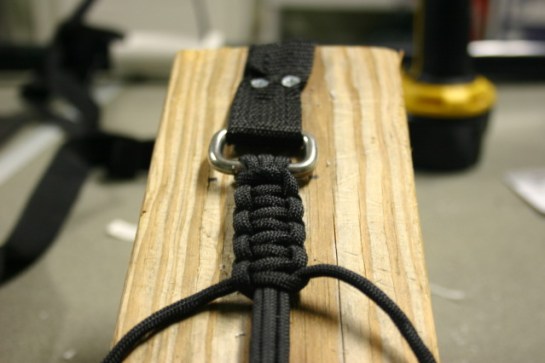
Step 7. The first thing to do is to make a jig out of a spare piece of wood. The jig I used is 20” from end of metal ring (purchased at West Marine) to the end of the female end of the clip (use the male end and some extra strap to secure the clip and ring to the jig.)
Step 8. I purchased the Paracord at Lowe’s. It came in 50’ length of 550lb strength (think it was around $10). To make a 20” braid, you’re going to need 25’ of cord. String the cord through the ring. Then string both strands through the female clip, then back through the ring from the bottom to the top.

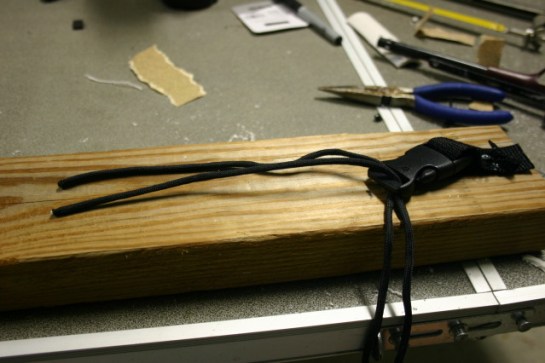

Step 9. Even out the tips of the cord and pull all the slack from between the clips and ring. The first not of the braid is a simple overhand knot

Step 10. Looking at your first overhand knot, you will notice that one cord comes out of the bottom of the knot and the other comes out of the top. Always start with the cord coming out of the bottom. Bring the bottom cord over and across the top.

Step 11. Bring the top cord over the bottom cord, under the strands, and through the loop made by the bottom cord. Pull tight.

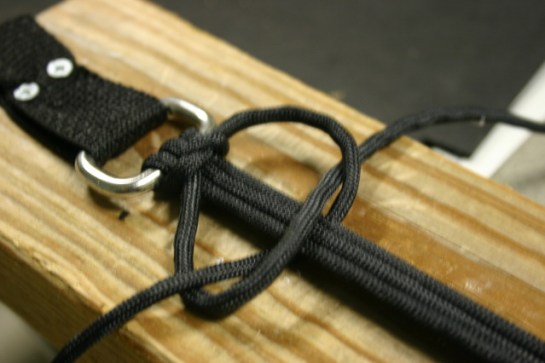

Step 12. Repeat the steps 10 and 11. Pull tight.


Step 13. Repeat the steps all the way down the strands to the clip.

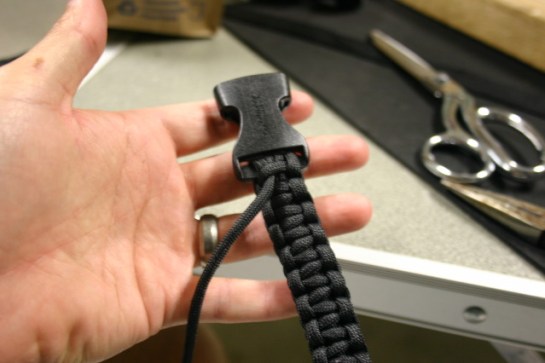
Step 14. String the tag ends through the clip with one going each way so that you end up with a tag on either side of the clip.
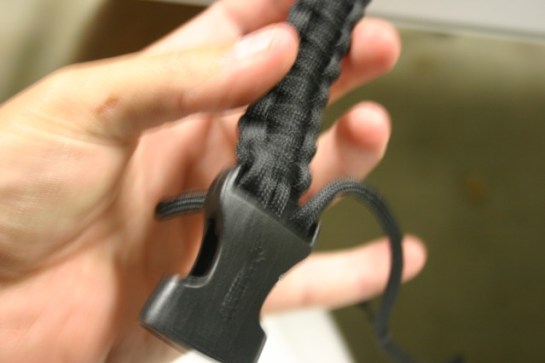
Step 15. Use a leather puller (I used a tire plug tool, but a baseball glove leather puller would work better as it is not open on the end) to pull one tag end under one knot on the braid. After it’s pulled through, do your best to tighten up the knot that you just went under.


Step 16. Keep threading the tag end under the knots until you are confident that it is secure. I went under 5 on either side. Trim the tag end and tuck it under one of the knots. One side done.

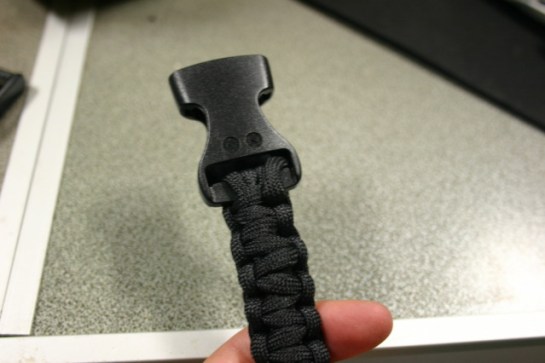
Step 17. Do the same on the other side. The braid is complete. Now you have 25’ of unknotted cord to use if you should ever need it. I will just take a while to undo the braid

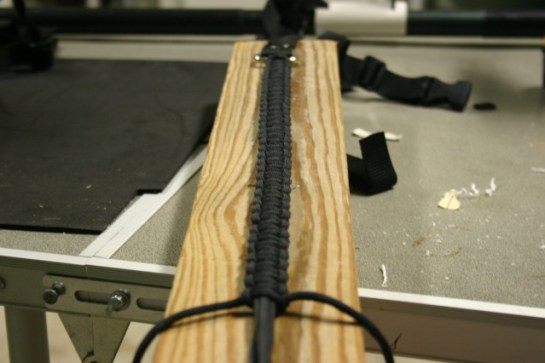
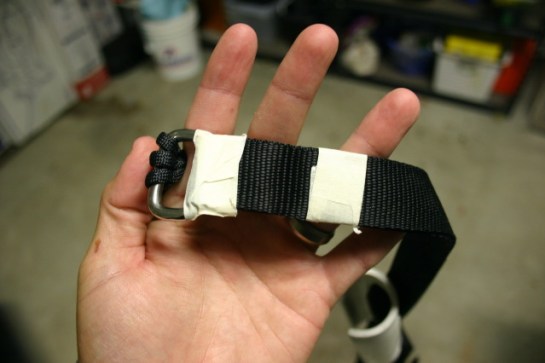
Step 18. With one side of the strap attached to the male end of the clip, thread the strap through the ring at the end of the braid. I like to tape off the strap so that it does not slide in the ring. Sew/glue/knot the strap at the ring. I chose to sew it.

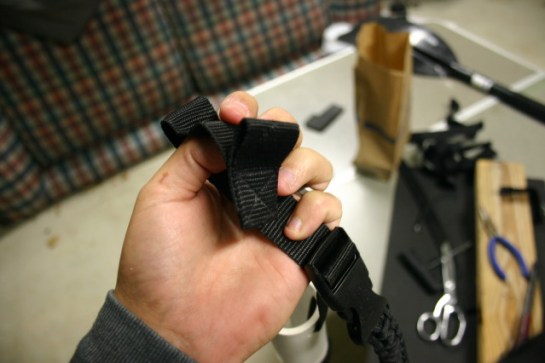
Step 19. Measure the amount of strap that you will need to fit the belt around your waist and trim it. String the strap through the paddle clip, through the male end of the clip, then sew the tag end so that it can’t pull back through.
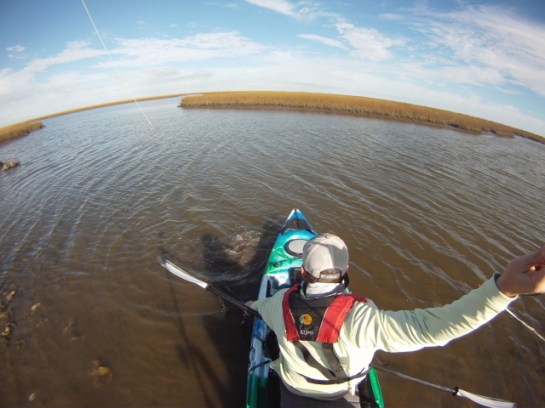
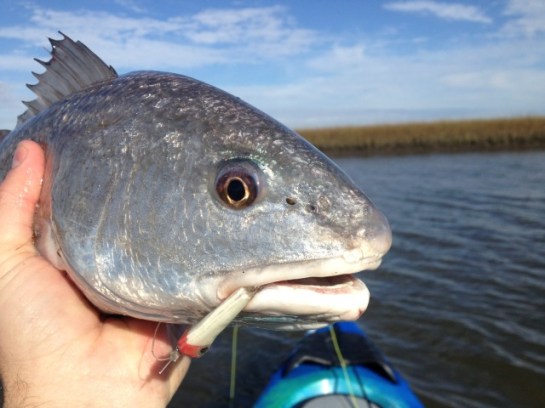
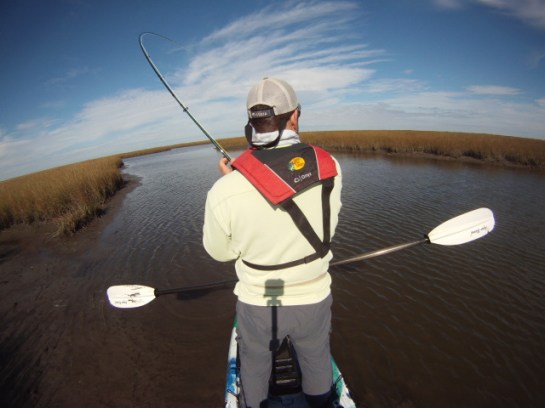
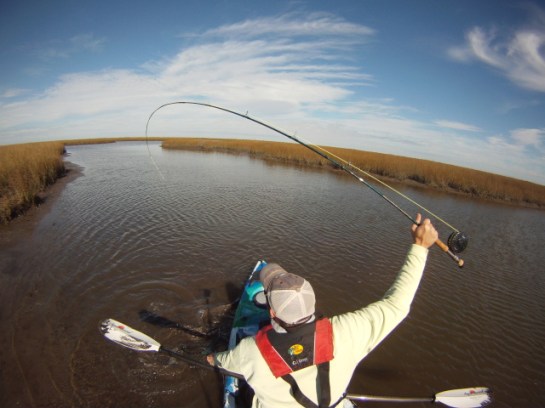
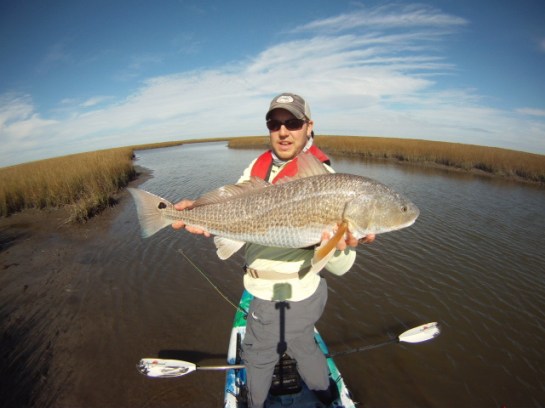
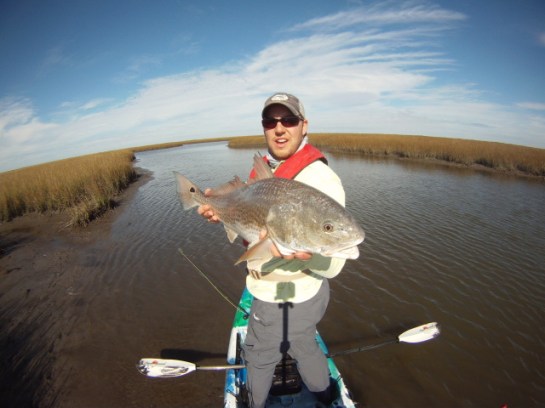
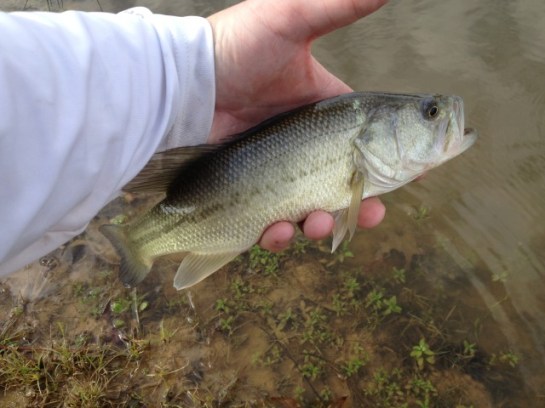
That gives you a completed paddle clip belt that has helped me catch many reds while sight fishing. Hope it works out for you.