Silver Lining
1 Comment
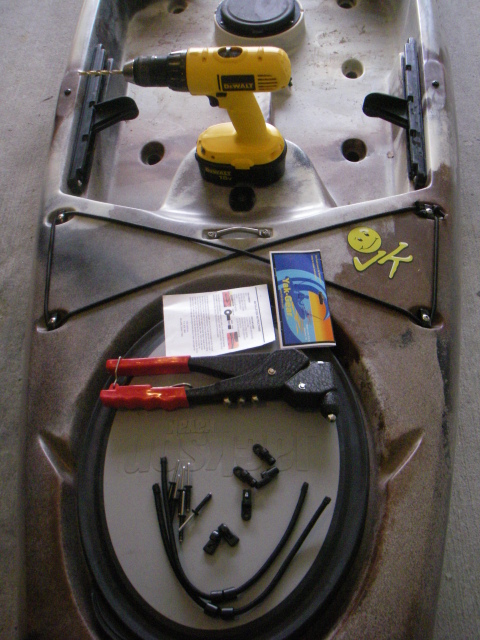
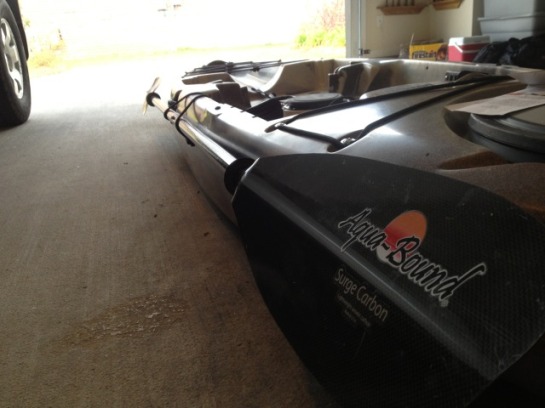
The new Cruise from Jackson Kayak doesn’t come with a paddle keeper of it’s own, so I needed to install them. A paddle keeper makes a handy place to store a stake out pole while on the water. It’s convenient and out of the way in that spot. Well I just so happened to have a paddle keeper kit from Yak-Gear sitting in my garage. It was a raffle prize at a tournament I was in and now I could put it to use.
There is a set of instructions that come with the kit. They are adequate at best, not very detailed, but most folks will manage to get the kit installed with them. I’ll offer my help below.
1. Besides the parts included with the kit, you’ll need to gather these supplies:
– Drill with 7/32 bit (5/32 if you use the stainless screws and lock nuts)
– Pop rivet gun (or a Phillips head screw driver)
– Pliers
– Sharpie
– Tape measure
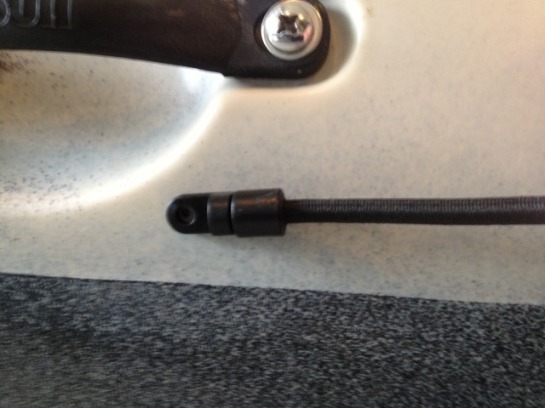
2. Next you’ll have to put together the bungees. You’ll start by sliding a sleeve over the end of the provided bungee cord.
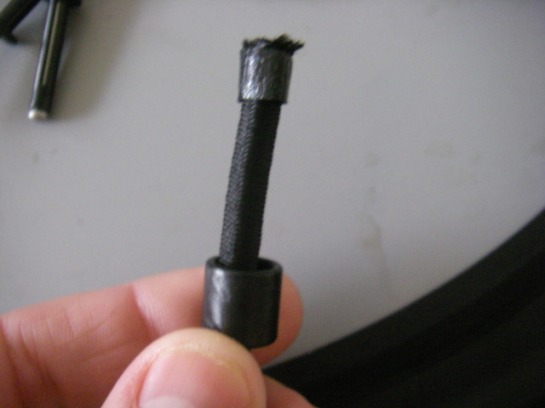
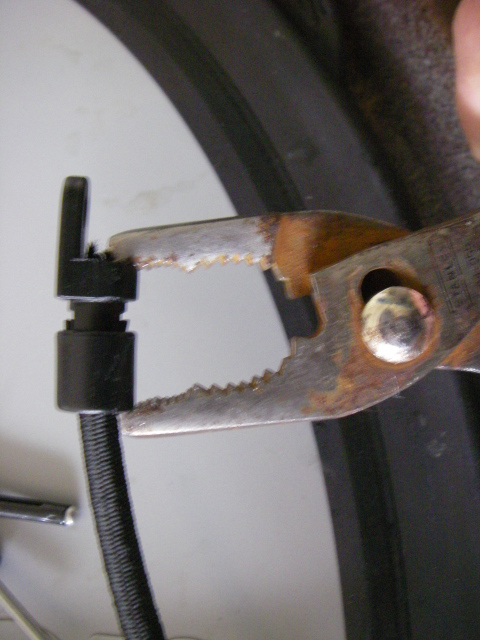
3. Then you shove the end into what they call a terminal end. Depending on how fat the bungee cord end is it might take a bit of squeezing and pressing to get the bungee to fit in the terminal end.
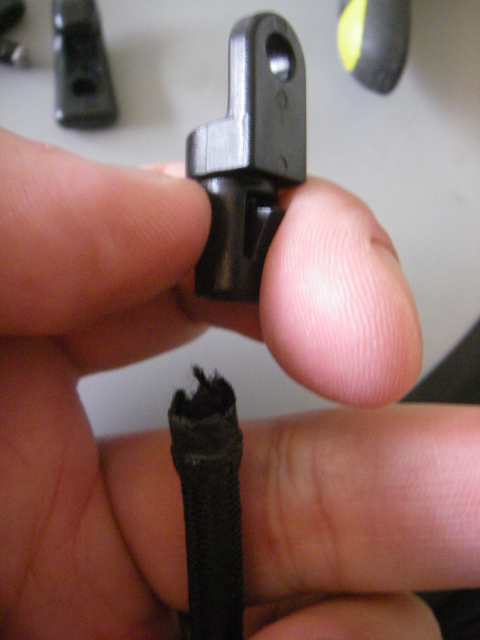
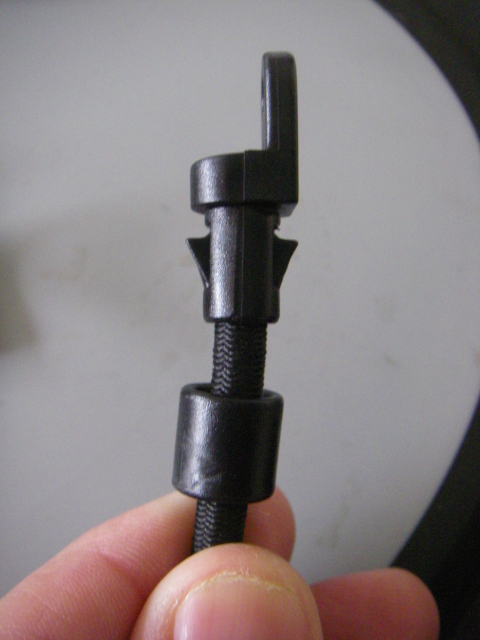
4. Once the terminal end is on you can take the pliers and squeeze the sleeve over the terminal end.
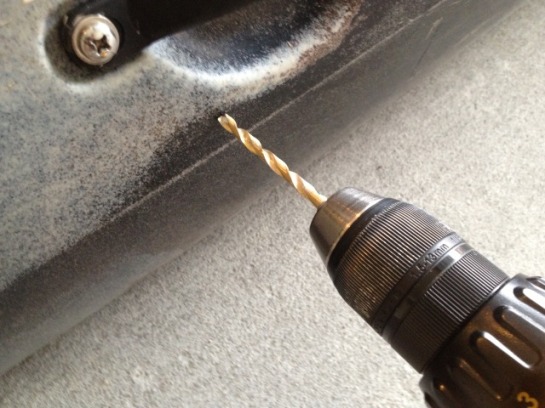
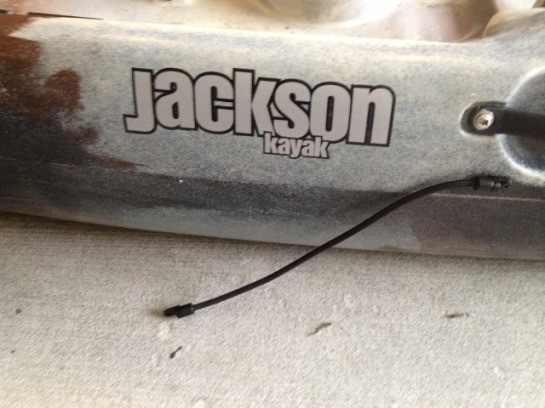
5. Next you’ll want to pick out where your paddle keeper will go. On the Cruise I decided that right under the Jackson Kayak logo was the best place. Mark one of the holes with the sharpie.
6. Next, drill the hole with that 7/32 bit
7. Pop rivet one end of the bungee to set the cord.
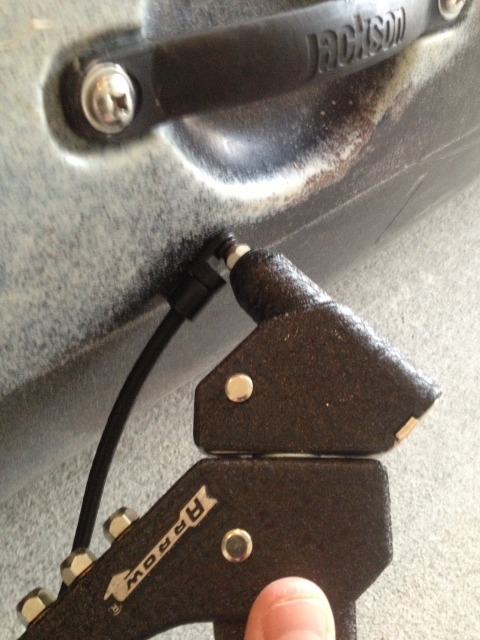
8. Rather than trying to stretch the bungee and mark both sides with the sharpie at step 5, it’s easiest to set one side first, then stretch the cord a bit and mark the other side. Pull the bungee snug, not too tight, and not loose. Then you can repeat steps 5-7.
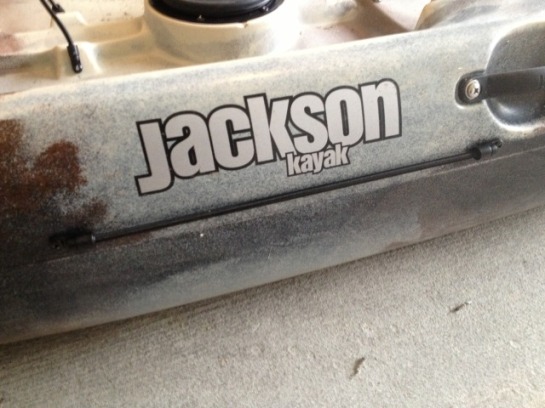
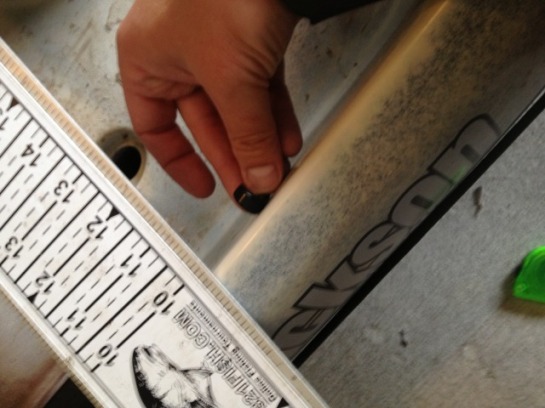
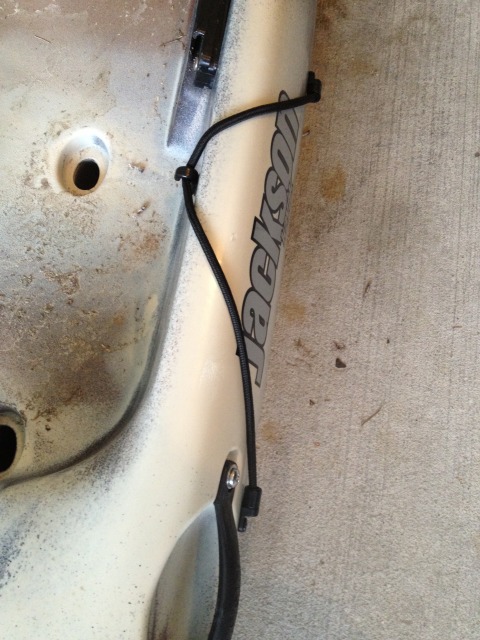
9. All you have to do now is find a good spot for the lash hook. Use the tape measure to find the middle of your bungee and go at least 3″ up. I went a bit further than that and placed the hook on the inside side of the yak. I had to use an ultra fine tip sharpie to mark my spot as a regular sharpie tip was too fat to fit through the lash hook hole. With the hook on the inside I can lash things either to the side, or on top the rails. I used my measure board to make sure the hook didn’t protrude above the rails, I wanted to sit them either flush or slightly below the top of the kayak.
10. After you drill that hole and pop rivet the hook in place (steps 6-7), you are done.

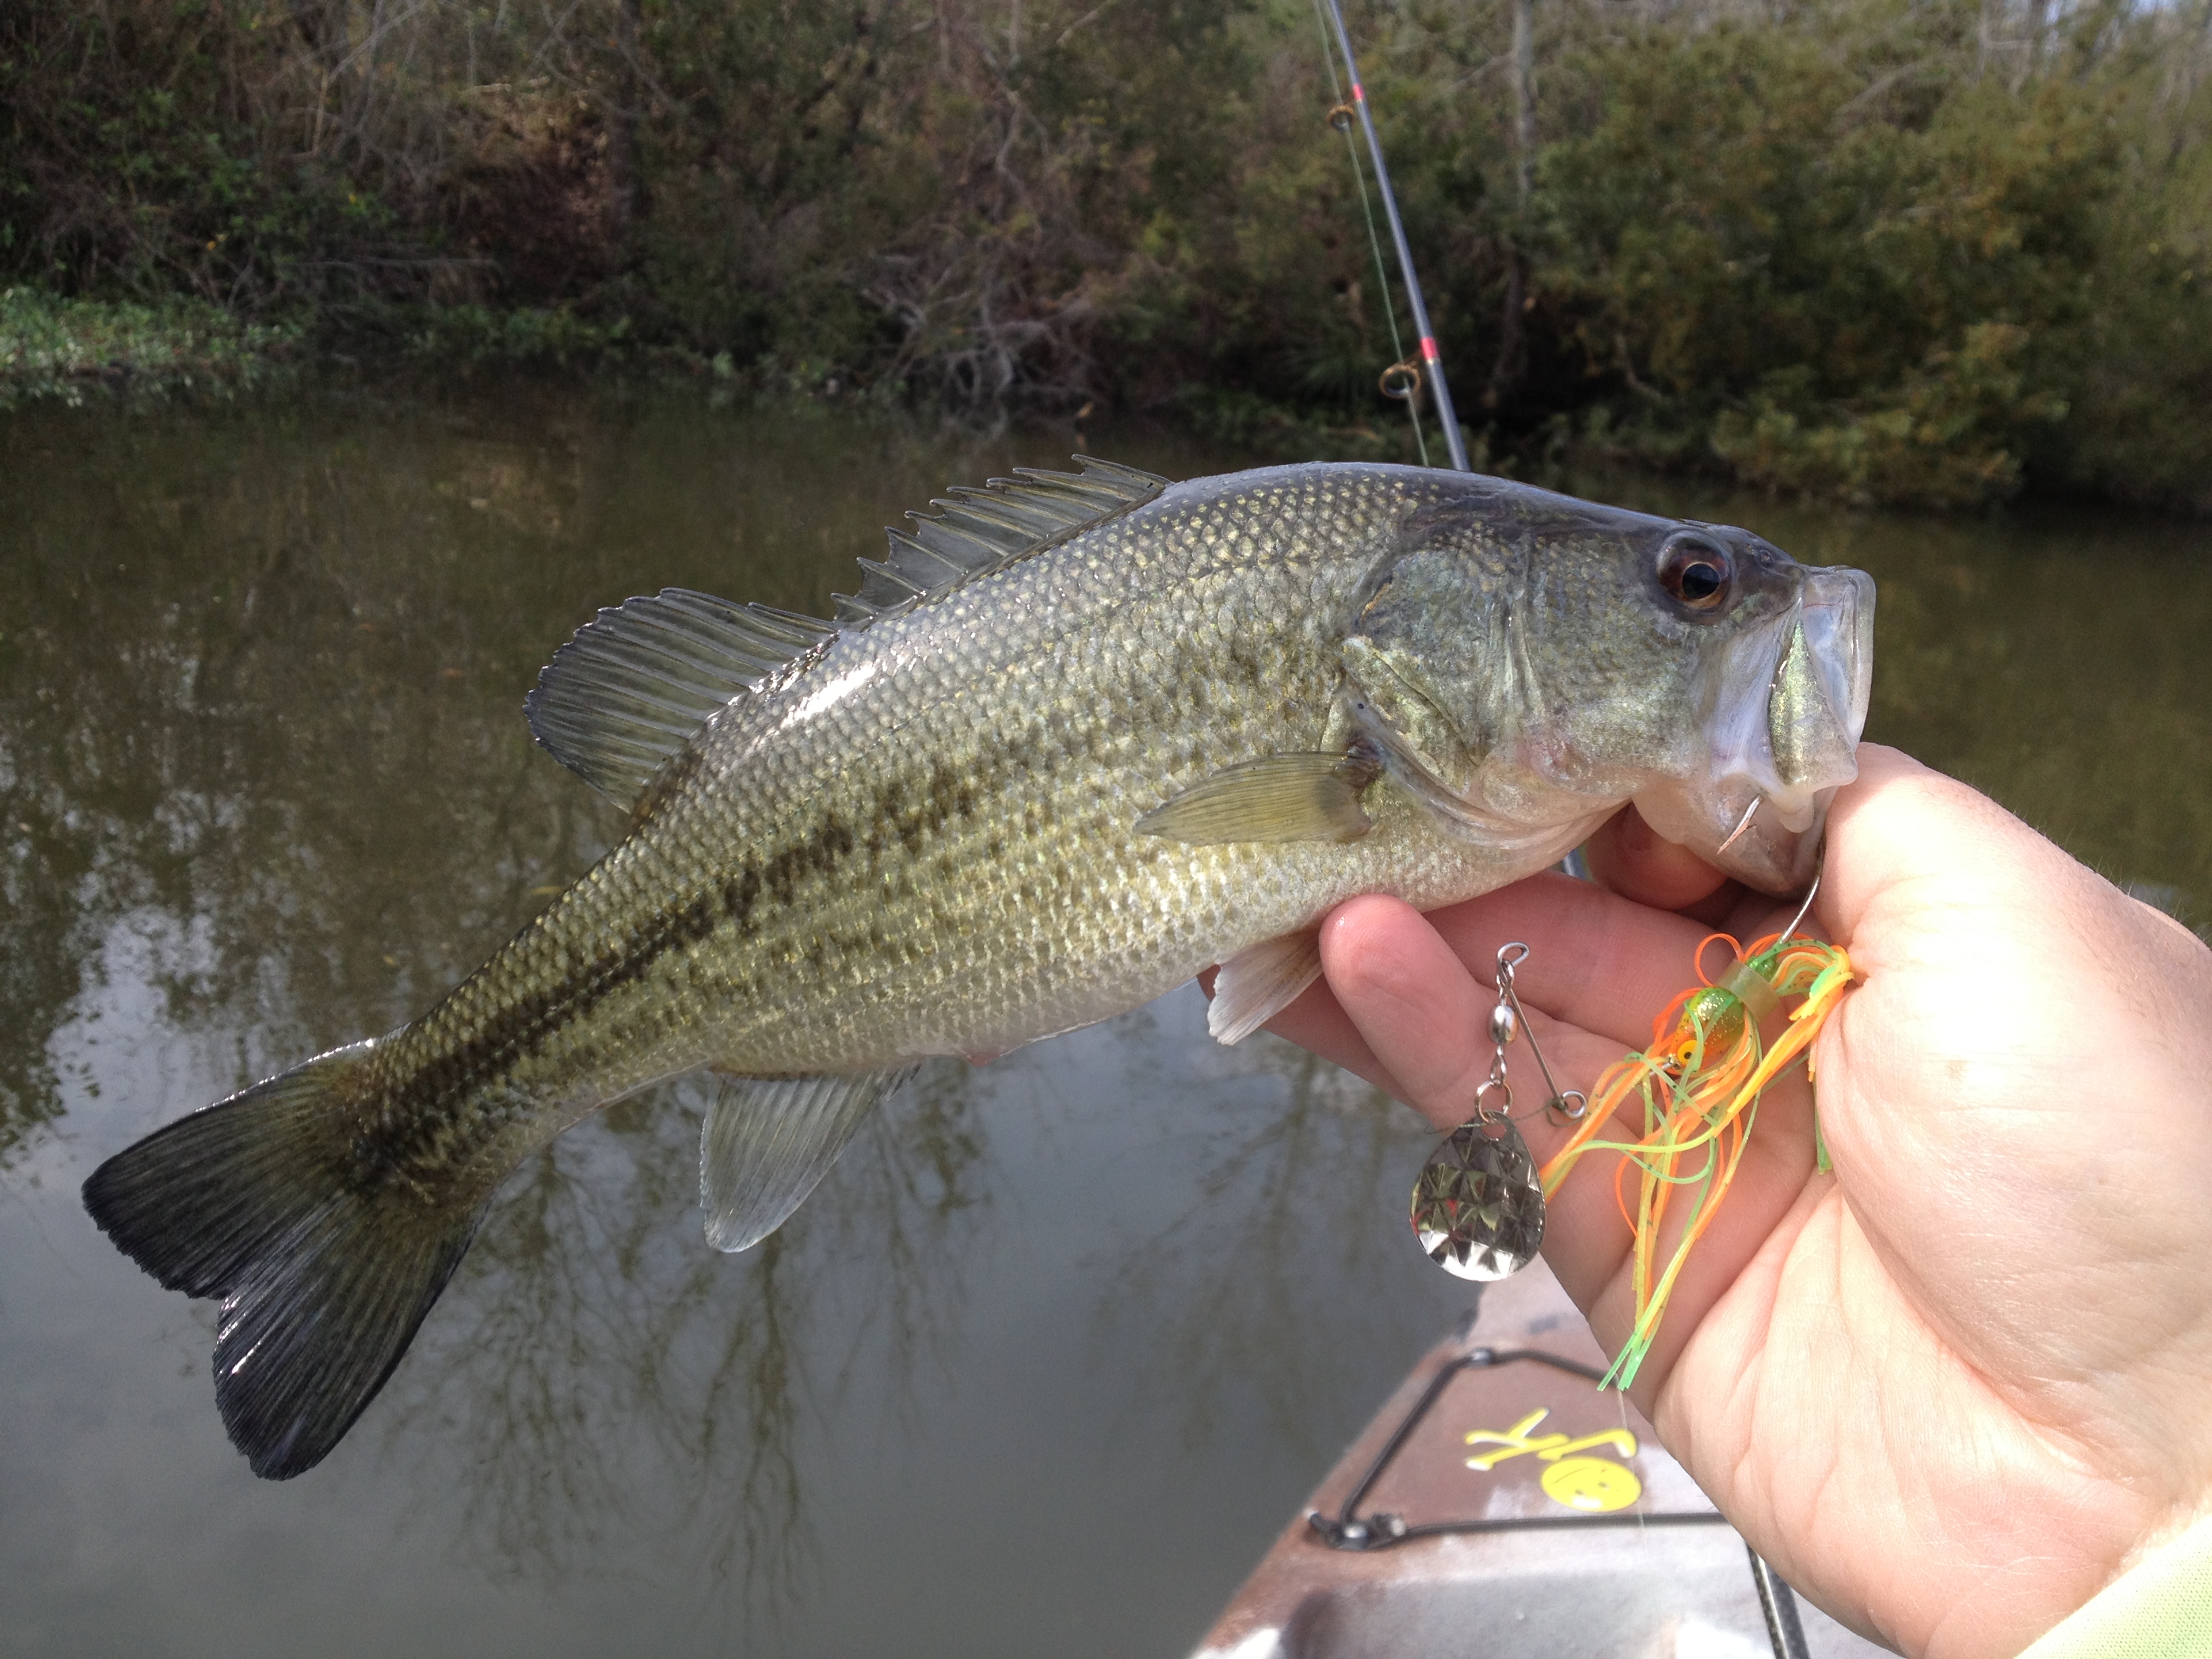
Took the Cruise out for the first time Sunday, before the rain moved in. I went to a local pond where I’ve had good luck on sacalait in the past. I only managed one small bass, but what I did accomplish was some seat time in the new Cruise.
 The weight of the Cruise feels similar to the Coosa, which is a little lighter than the Cuda 12. One thing I’ve noticed about the Cuda 12 that I love is that the weight of the kayak from front to back is centered on the grab handles on the side when lifting the boat above your head. Makes transport from the top of the FJ to wherever I’m launching super easy. The weight of the Cruise is not quite centered on the handles, but because it is a tad lighter, it is easy to adjust your hands to support the heavier end.
In the water the Cruise feels pretty quick for it’s length and tracks pretty well. It turns a bit easier than the Cuda 12, but not quite as easy as the Coosa, which you can turn at right angles with super aggressive paddle strokes. I felt a little tippy in the high position at first, but once I got comfortable I was standing in no time. I would rate the stability as slightly less than that of the Cuda 12. One thing I noticed about the Cruise was that there is no paddle keeper or molded in paddle stager like you see in on the Cuda 12, so no convenient way to store a paddle while on the water. That’s an easy fix, I actually took care of it today and will write up something about that soon. Another thing I noticed is that the elite seat on the Cruise doesn’t come with the seat back pouch like those in the Fishing line. Another easy fix, I just have to order the pouch. I find myself using that pocket a lot on the water.
I enjoyed my short trip in the Cruise, look forward to using it more throughout the year. It’s not as ready for fishing right out of the box like the Cuda 12 is, but it will be really easy to get it ready. Paddle keepers and rod holders aren’t a big deal to install, though it’s always tough to drill that first hole in a boat. I love the openness of the deck on the Cruise, it should be a really fly-friendly boat. I could see it becoming my go-to boat when I head out with the fly rod.
