The fly of the month for December is a pattern that will catch a variety of species. I’ve seen it catch bass, redfish, speckled trout, even the overzealous sunfish. Blake use to tie up a bunch of regular crease flies, but we had problems getting hook sets on the spotted bass we would frequently fish for. So, the articulated crease fly was born. To be honest I’ve got no clue whether the articulation helps or not, but it seems to, of course that could just be a mental thing. Whatever the case may be, this fly gets vicious strikes and that is what we all live for as fishermen.
Materials:
Hooks – Back hook is your favorite, relatively short shanked, hook for whatever species you are pursuing. The front hook will be cut off , so I normally go with a long shank eagle claw hook.
Deer hair and flash for the tail
Bead and 65 lb braid for the connection.
Marabou and foam for the body.
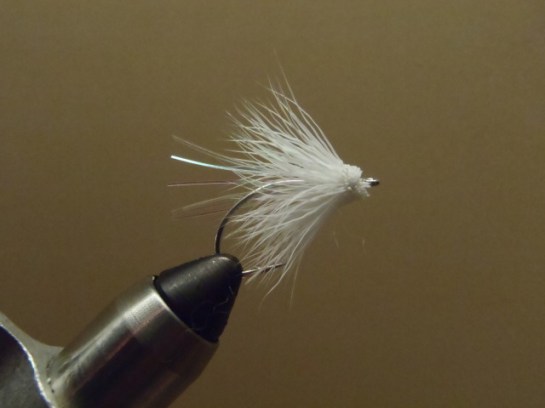
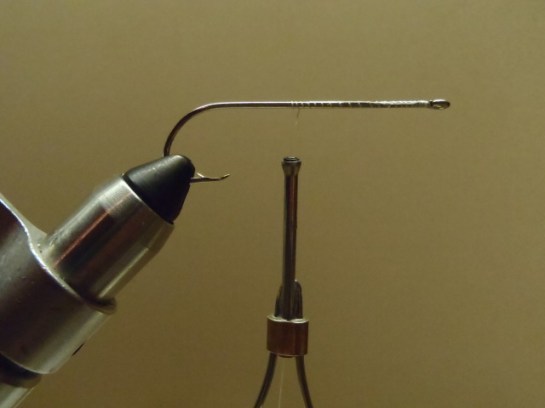
Step 1. Start with the rear hook. Start thread, and make a short base. Apply some superglue to keep the thread from spinning on the shank. Tie in a few pieces of flash.

Step 2. Spin a clump of hair on the hook. I don’t like a lot on there, but the hollow hair aids in flotation of the back of the fly. Tie off the thread and trim the butts to your liking.

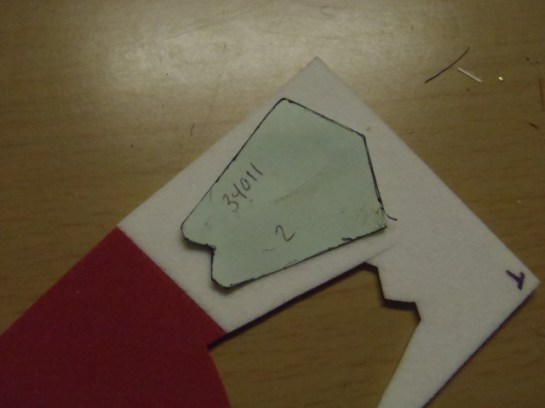
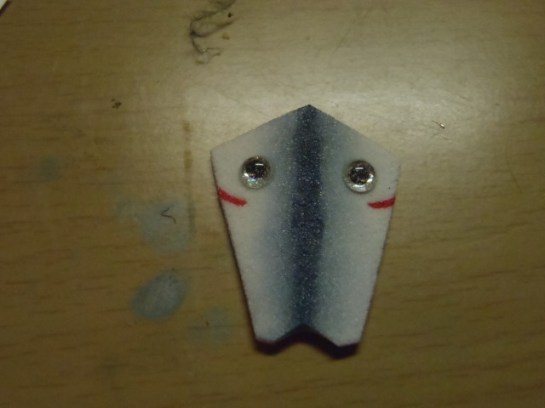
Step 3. Cut out the foam for your body. I made a template that I use to get a consistent shape. To color the body, I use sharpies and my finger to blend it. An airbrush is another option here. Sharpies are surprisingly easy to blend on the foam. I also stick on my eyes at this point using a little super glue.
Step 4. Put the front hook in the vise and start the thread. Use the foam cut out to measure where the foam body will end. Stop the thread at that spot.

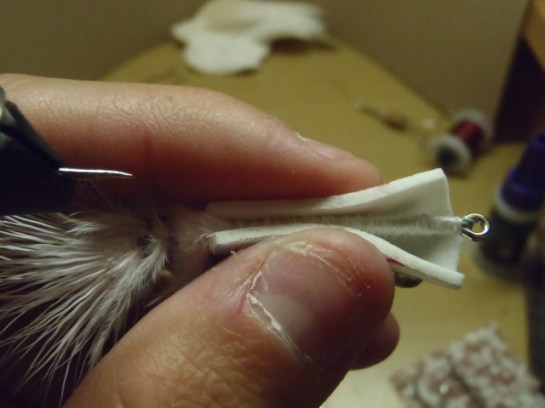
Step 5. Attach the braid to the rear hook. I like to put a loop through the eye, bring the loop around the hook, and tighten. I have also tied them with the braid just going through the eye and then tying it in. Thread the tag ends of the braid through a bead of your choice. I like red. I’m sure the bead isn’t necessary, but I like how it looks. Tie the braid down on the top of the hook starting where the foam will end and going all the way to the hook eye. Insert the ends of the braid through the hook eye and wrap them back toward the bend on the underside of the hook.


Step 6. Tie some marabou at the spot where the foam body will end. This is also probably not needed, but I think it adds a little movement so I put it. It also shrouds the bead. Tie down the marabou butts to the eye. This will thicken the hook shank which will give the foam a little more to stick to. Here, I wrap some lead wire around the tail to keep everything out of the way and tie off the thread.


Step 7. Turn the fly upside down and run a good layer of super glue on the bottom of the hook shank. Take your colored foam body and pinch it together along the bottom of the fly making sure that it is also butted against the shank.
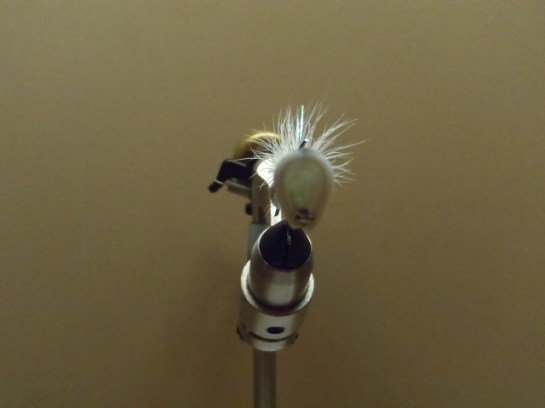
Should end up with something like this.


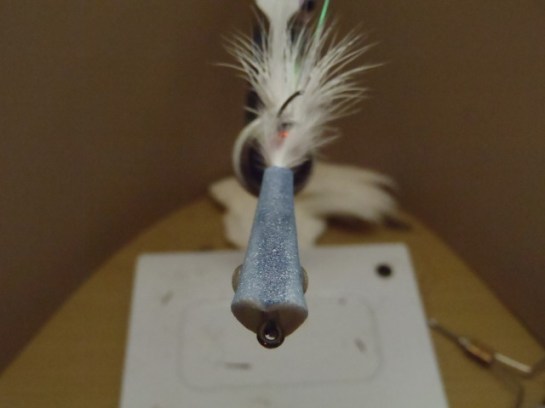
Step 8. Finish up any color that you want. I color the lips red and finish the gills on the underside where the two pieces of foam meet. Mix up some epoxy (if I only do one fly, I use 5 minute. For anything more, I use 30) and apply to the surface of the body and inside of the body. Put on a spinner to dry.

Step 9. The last step is to cut off the front hook using wire cutters. Completed fly.


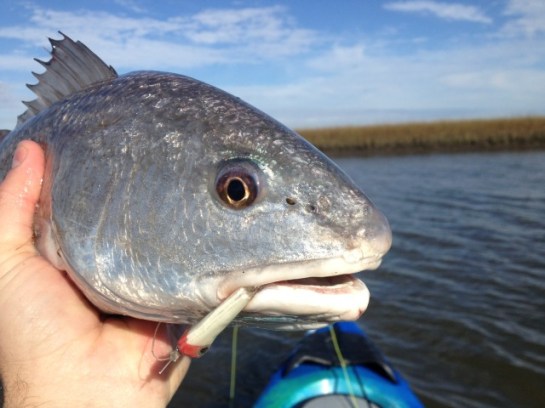
Proof of concept: