Archive

Fishing

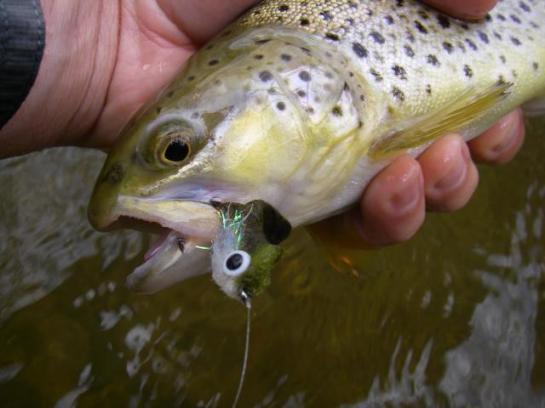
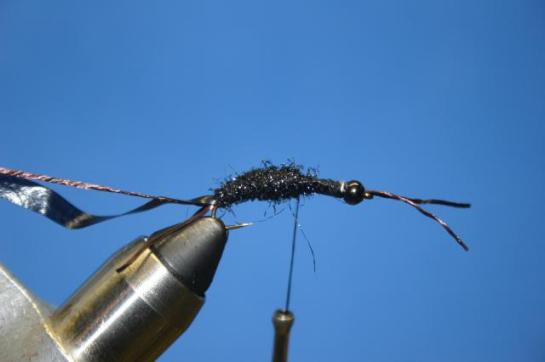
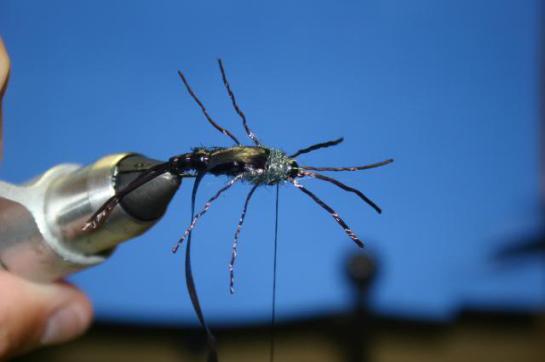
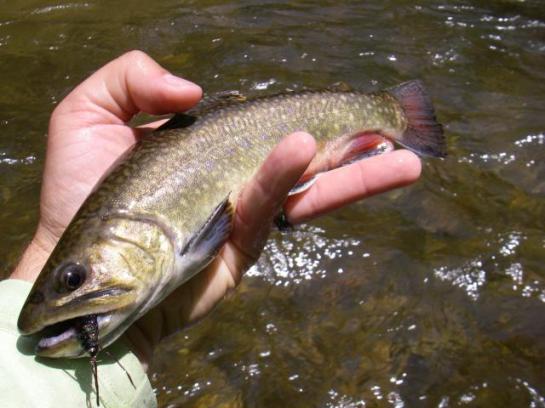
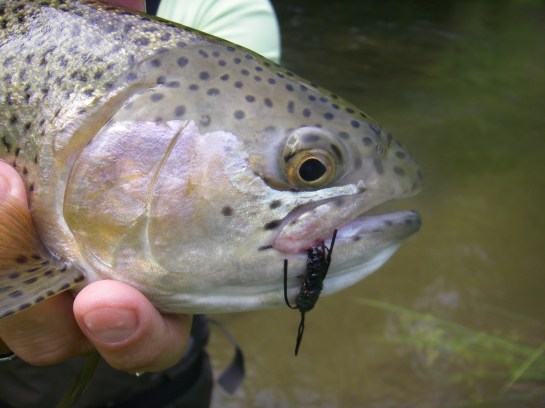
June’s fly of the month is one that I had some success with for trout in Georgia back in April, it should also be a killer bass and redfish fly though as it’s one of the most realistic looking flies I’ve seen in the water. Blake tied this up and provides his instructions below:

Materials:

– Flashabou

– Zonker strip

– Flash chenille

– Wool roving

– Doll eyes

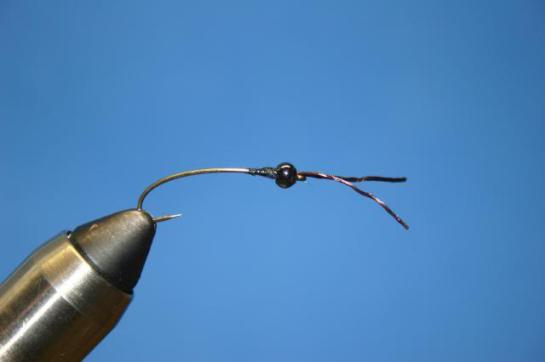
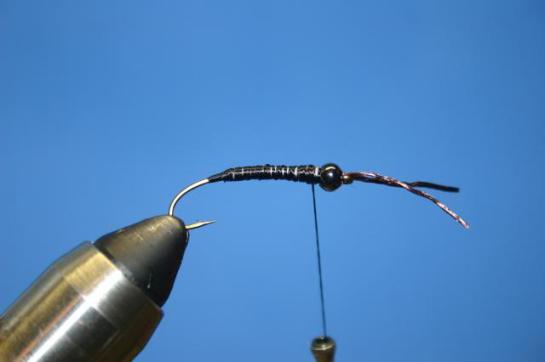
Step 1. Use your bodkin to punch a hole at the end of the zonker strip. Use your bobbin threader to pull a few pieces of flash through the hole.

IMG_0785

IMG_0786

IMG_0787

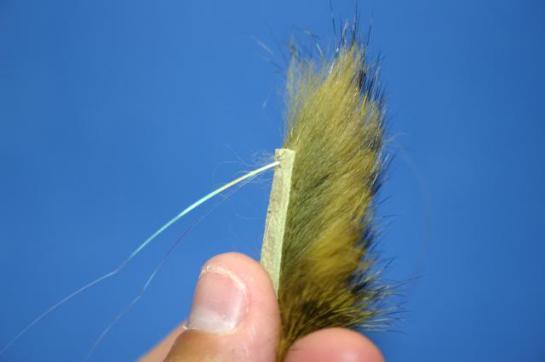
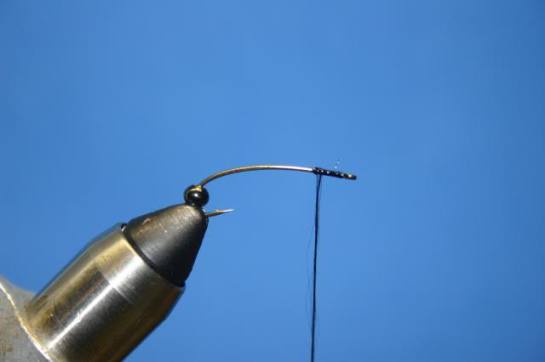
Step 2. Mount a needle in the vice and start the thread on the end with only a few wraps.

IMG_0788

Step 3. Tie the flash together behind the zonker keeping it from falling out. I’m sure I could have just tied it in to the shank of the hook, but I just wanted a little flash at the back of the fly, so I did it this way.

IMG_0789

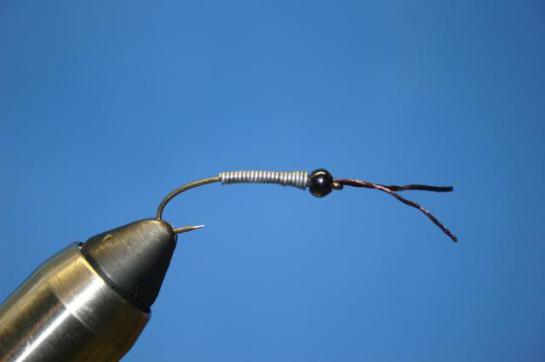
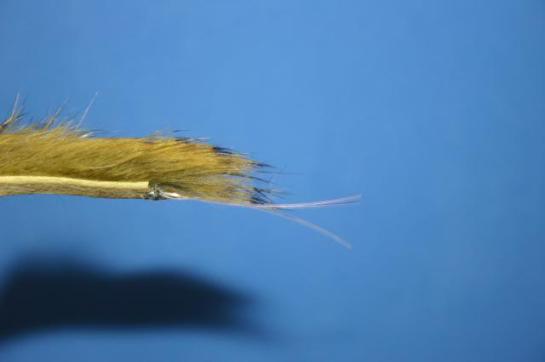
Step 4. Whip finish, pull the whole thing off the needle, use your choice of cement on the threads.

IMG_0790

Step 5. Mount hook in vice and lay down a thread base to the bend of the hook.

IMG_0791

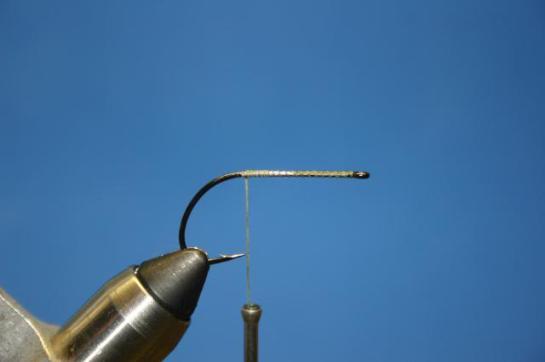
Step 6. Add whatever amount of lead that you want along the hook shank and cover with thread.

IMG_0792

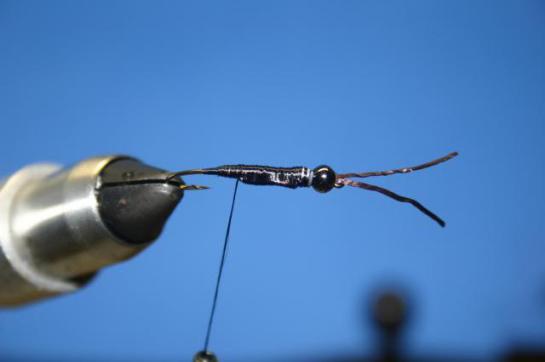
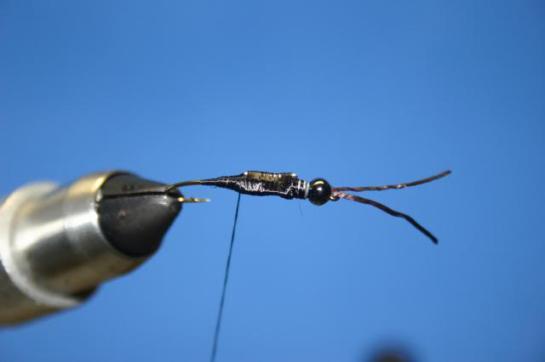
Step 7. Tie in zonker with a couple wraps at the start of the hook bend.

IMG_0793

Step 8. Tie in the flash chenille and palmer up the fly leaving enough room for the zonker tie in and the head.

IMG_0794

IMG_0795

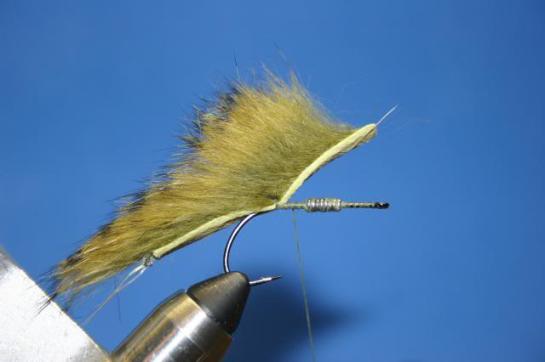
Step 9. Do your best to part the flash on the top of the hook, pull over the strip, and tie it in.

IMG_0796

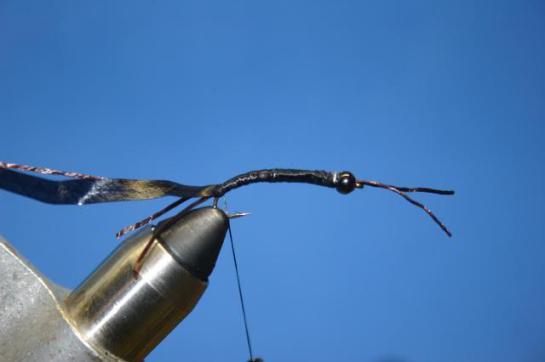
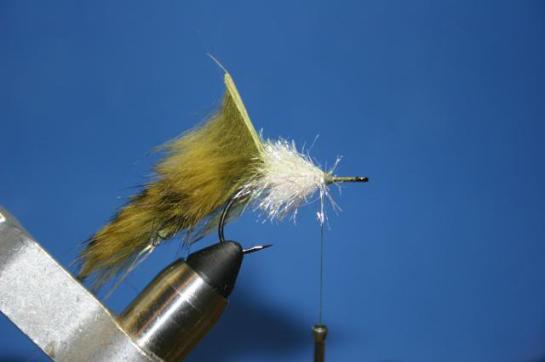
Step 10. Use whatever material you like to make the head. I used some wool roving that I got from Joann fabric. It’s a lot of material. I don’t remember the cost, but since it isn’t made for fly tying, I’m sure its cheap. I skipped some steps here by accident. I tied one clump of white on the bottom, then one clump of green on the top. Pull back and make a couple wraps on the shank to secure, and then repeat behind the hook eye. I only used 2 separate tie ins, but if you use less material, you may need more. You end up with something like this.

IMG_0797

IMG_0798

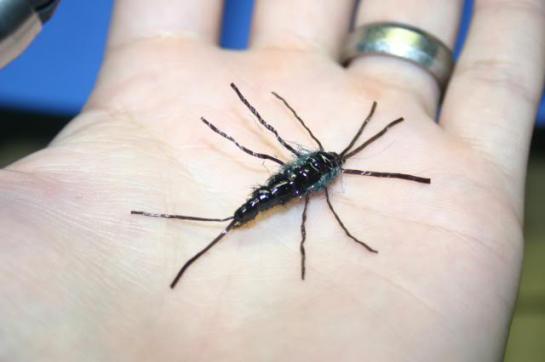
Step 11. Whip finish behind the hook eye and trim the fly to the desired shape. I like to go pretty tall on the top and bottom, and pretty short on the sides.

IMG_0799

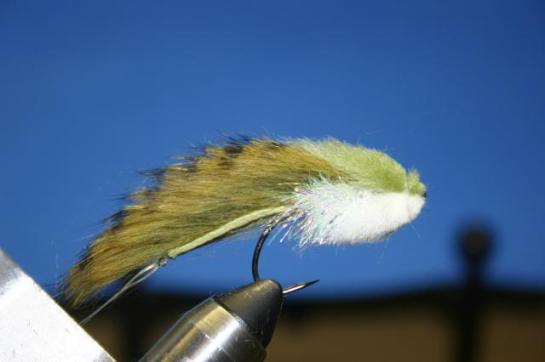
Step 12. Cut the extra plastic off the back of a doll eye and glue on. I like to use household goop. It doesn’t run, gets in the fibers well, and holds the eyes on well. A little more trimming after the eyes are on and I’m left with a finished fly.

IMG_0802

IMG_0804

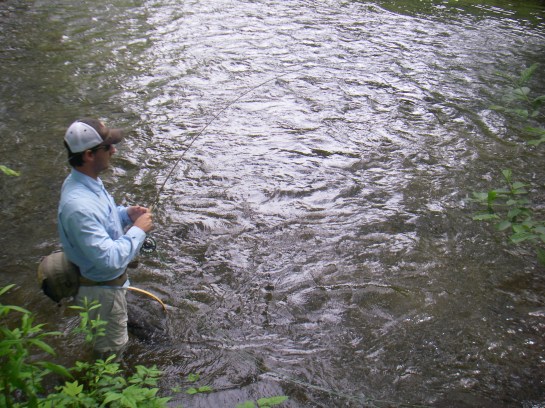
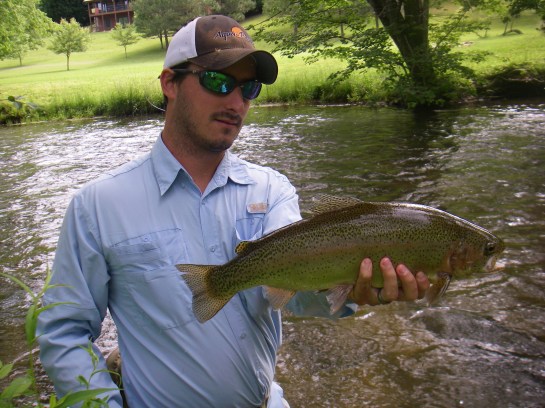
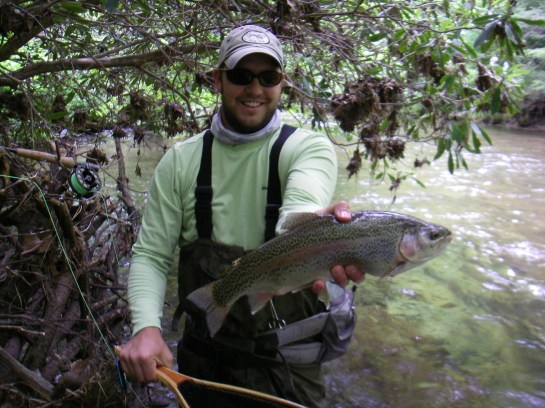
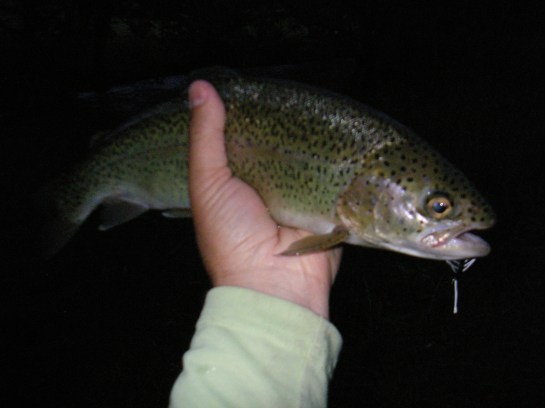
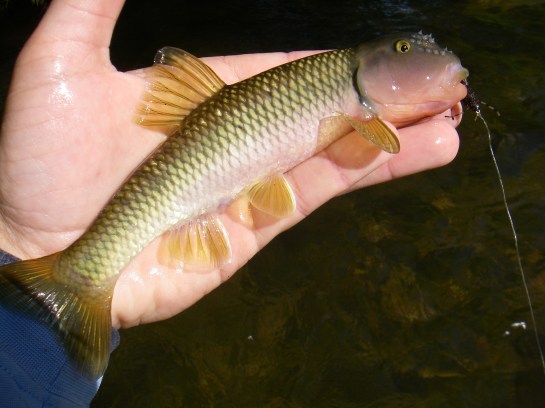
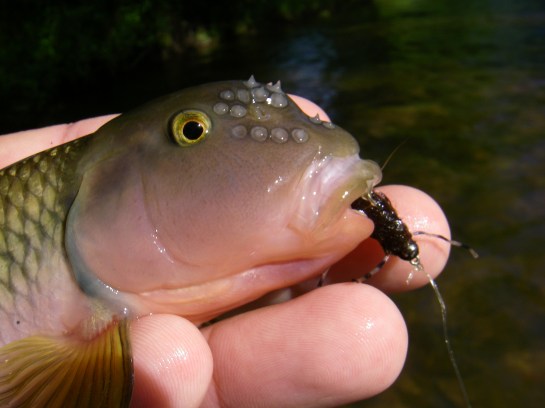
Enjoy, and as always, a little proof of concept:

IMG_0720

IMGP7872

IMGP7878

May’s fly of the month is a stonefly pattern that Blake had tied up that proved very effective on the trout at the cabin. Blake notes that “this fly is an amalgam of several different patterns. I just chose the different things I liked from them and put them all together.” Truth is, this wasn’t the pattern that slayed them on Thursday, that was a Pat’s Rubber Legs, a much easier tie, but what fun is that for a SBS.  Pick whichever you prefer, as Blake so eloquently stated, “or you could just tie the easier and equally effective “pickle” and not be as ticked off when you lose one on a snag.”

Materials:

– 3x long curved shank hook

– Spanflex legs and ribbing

– Stretch skin for back and casing

– Black and peacock ice dub

– Bead

– Lead wire of various sizes 

Step 1. Put bead on hook and start thread behind the eye. Make a small thread base and coat with glue.

IMG_0753

Step 2. Tie in legs to create two antennae. Push bead up over the tie in area to make sure that it will fit. Pull bead back, then whip finish and part off the thread. Add some glue to the tie in area and push bead to the eye to secure it.

IMG_0755


Step 3. Start to build up the body with a layer of lead along the shank up to the back of the bead. I use a good bit of lead on this fly to reduce the amount of shot that I have to put on the line to get it down to where the fish are.

IMG_0756


Step 4. Start thread and lay down a layer over the lead.

IMG_0757


Step 5. Tie in a piece of lead length wise along either side of the hook shank. I used a larger diameter lead wire here. My goal is to make a heavy, vertically compressed body shape with a gradual taper from tail to head.

IMG_0758

IMG_0759

Step 6. Tie in two legs at the back of the fly just as you did at the eye. Notice the shape of the body from the top view above to the one below,  vertically compressed with a gradual taper from tail to head.

IMG_0760

Step 7. Tie in another piece of spanflex for the ribbing.

IMG_0761

Step 8. Tie in the stretchy nymph skin for the back/casing.

IMG_0763

Step 9. Dub the body to a point a little over half way point. I like to make a little contrast between the abdomen and the thorax so I used black ice dub here and peacock ice dub in a future step.

IMG_0764

Step 10. Pull the shell back up and tie it in.

IMG_0765

Step 11. Rib the abdomen.

IMG_0766

IMG_0767

Step 12. Cut off the ribbing material and pull the casing back. Tidy up the shank to the spot right before the dubbing starts.

IMG_0768

Step 13. Tie in a leg on either side. Dub around the legs and a little down the hook shank.

IMG_0769

IMG_0770

Step 14. Pull the shell casing over and tie it in. then pull it back and prepare the hook shank for the next leg tie in.

IMG_0771

Step 15. Tie in another set of legs, dub, then pull shell casing forward same as you did above.

IMG_0772

IMG_0773

IMG_0774

Step 16. Tie in two more legs. I tied them more forward facing. Dub between the bead and the casing. Pull casing over and tie it in between the legs and the bead.

IMG_0775

IMG_0777

IMG_0778

Step 17. Whip finish and you have a completed fly.

IMG_0782

IMG_0780

Enjoy, but first some proof of concept.

IMGP8095

IMGP8108

IMGP8120

Day 4

Our last full day at Georgia was spent fishing at the cabin. Hard to argue the decision after the success we had our first day there; we were basically having withdrawals not hitting it the the day before. It was another good day with some quality fish caught, though not quite as many as on day one. On day one trout were holding all over the place, by day four water levels had dropped and clarity improved a good bit. Instead of getting hits on lousy drifts, you actually had to concentrate and work the water over, hitting every seam where they might be holding. When you got a hit though it was usually a quality fish. I finally lost the Upper Colorado rig that worked well the first day, but Blake had tied up similar stonefly patterns that worked nearly as well, one of them I’ll have up for an SBS pretty soon.

The first fish I tied into on the day was a strong fighter, made several jumps and ran me downstream to the point where I had to actually follow the fish (not quite River Runs Through It style).  It may not have been the biggest fish on the trip, but I’m really happy I didn’t screw it up and was able to bring this fish to hand.

IMGP8095

IMGP8096

IMGP8097

Then Blake got in on the action with a couple nice fish, the second one on actually came on the dry. Always a treat to watch a big trout rise and sip (or clobber) a big dry.

IMGP8102

IMGP8103

IMGP8105

IMGP8106

The day went on like this as we picked our spots and worked them over. The first (and only) snake encounter we had on the weekend was with a black rat snake that just wanted to be left alone.

IMG_1548

IMGP8108

IMGP8109

IMGP8110

IMGP8113

IMGP8115

IMGP8116

Later on I landed a brookie, a rare treat on this stream which gave me a slam on the day.

IMGP8120

After that we grabbed a beer at the cabin then headed to the spot where we doubled on day one and I tried (and failed) to document with the GoPro. We approached the hole a little differently as the fish weren’t holding in the same spot. These fish were stacked up under some rhododendron so Blake stood on the bank and told me where my drift needed to go and after a short while I was rewarded with a good eat.

IMGP8124

IMGP8129

We let the spot settle down, then tried our luck drifting through again, this time a bit further downstream. It wasn’t long before I had another eat and this time it was a better fish. The fish ran sideways and after a very short fight my tippet gave way. What a heartbreak. We pushed further down, beating the bank with nymphs and streamers. Blake threw at a downed tree and I remember telling him that looked like a good spot. I threw at it and had a massive take, then as I laid into him to set the hook deep, I came up empty. My entire rig broke off above the dry! Not quite sure how it happened, there was a lot of structure down there, so it could have run me up into there, all I know is that this fish seemed larger than any other we caught all weekend, now maybe he’s sporting some lip jewelry. Another heartbreak, I really wasn’t in the mood to tie anything else on after that. Blake fished on and caught one last fish before we went back to the cabin.

IMGP8130

It really didn’t take much to convince me to rig up again and I was able to land one more before it got too dark to see.

IMGP8132

Day 5

We woke up a little bit earlier to fish before the long drive back to Louisiana. Not much doing for me on the day, but I did land a couple of fish of note – another brookie and a “trophy” bluehead chub.

IMGP8139

IMGP8133

IMGP8135

IMGP8136

BBQ and Lazy Magnolia at The Shed in Ocean Springs put a nice touch on the end of the trip – I forgot how good this place was. Another successful trip to North Georgia for Memorial Day weekend in the books. It’s too bad we caught a year when my parents were out of town and the girls couldn’t make it, but that certainly freed us up to do a ton of fishing. It was a good year for it too because the creek at the cabin is fishing better now than I ever remember. Hopefully it fishes the same next time I head that way, not sure when that will be, but I always look forward to it.

IMGP8140