Archive

Freshwater

My parents came in town this past weekend so Dad and I hooked up with my brother-in-law Kurt on a sacalait trip in the Atchafalaya Swamp. It wasn’t a banner day by any means, but we caught some solid fish and had a good time fishing and sight seeing in the Atchafalaya. We had to run a ways to find some good looking water, but we did find it. I think we ended up catching every one of our fish off of stumps and trees and had no action in and around the grass. I ended catching a slab goggle-eye too, it was a 10″ chunk that was probably over a pound in weight. It was pretty cool to see a few raptors during the boat ride, especially the bald eagle right at the launch.

IMGP7849

dad1

dad3

IMGP7850

IMGP7853

IMGP7851

IMGP7854

IMGP7855

IMG_0634

February’s FOTM is a hair wing minnow. A good choice this time of year as the spawn starts to heat up on our local ponds. It can be tied to mimic both minnows that want to eat fish eggs or recently hatched fingerlings.
Materials:
Streamer Hook
Mylar tubing
Bucktail
Stick on eyes
Epoxy
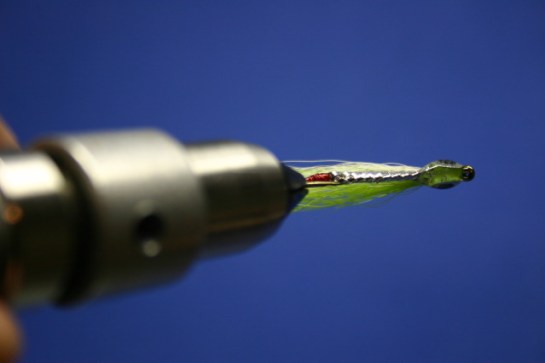
Step 1. Start thread on the hook and bring to above the barb. I like to use red thread here as a tag.
IMG_0441
Step 2. Measure a piece of mylar tubing of your choice that is about as long as the shank of the hook. Tie it in at the bend. Whip finish the red thread at the bend of the hook. If you have a small whip finisher and can’t tie a hand whip finish, just brush some super glue on an inch of thread and make a few wraps. This should hold it good enough till the next step.
IMG_0442
Step 3. Pull back the mylar tubing and start the thread on the hook shank directly behind the eye. Let the tubing go and wrap down the ends of the tubing. Wrap the tubing down the shank so that the length is equal the the diameter of your stick on eye of choice. After this, I like to pinch the tubing on either side to make a flat body. Then, coat the red thread and the body (not the chartreuse thread) with Hard as Nails. I normally do one coat, but two will give you a better finish. Make sure you let the first coat dry thoroughly.
IMG_0443
Step 4. Cut a clump of bucktail for the first color. I like to go sparse. Chartreuse over white is the best color for me, but many combinations will work. I like to even the tips of the bucktail a little before tying them in. I also choose to wait until all have been tied in to trim the butts.
IMG_0444
Step 5. Tie in the chartreuse bucktail over the white trimming the tips just as you did with the white.
IMG_0445
Step 6. Trim the butts of the bucktail on an angle and tie them down. A little extra wax on the thread here will help the thread from sliding down the butts and crowding the eye.
IMG_0446
IMG_0447
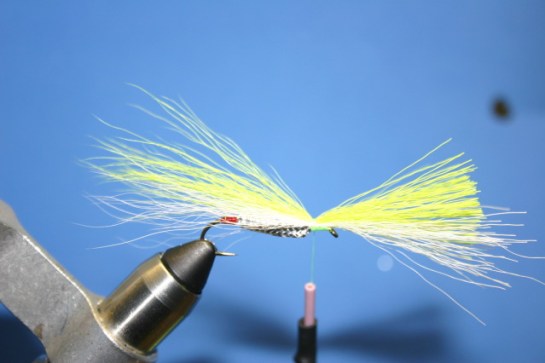
Step 7. Use a little super glue on each side to stick on your eyes.
IMG_0448
Step 8. Mix up some epoxy and let it spin on the drying wheel.
IMG_0449
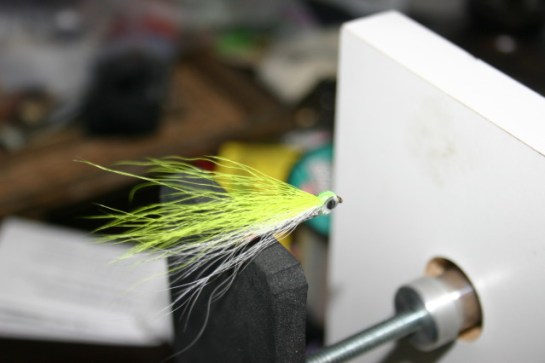
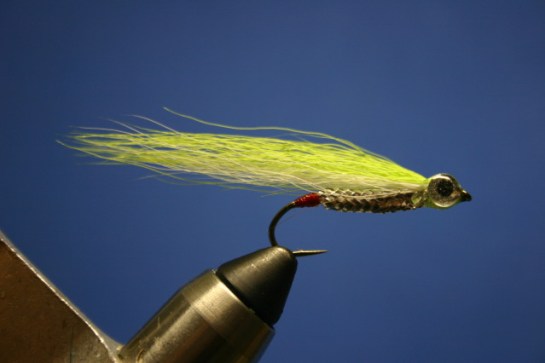
Step 9. Finished Fly. If you are anything like me, the aesthetic qualities of fly tying are as important as the actual tying process. I don’t particularly care for the flared hair look, so I run many of my flies under some hot water and let the hang by the eye to air dry. This helps to get the sleek minnow shape. I’m sure this doesn’t effect the flies fishability, but it just looks better in my opinion. You can see the difference between the pic in step 7 and the finished fly pics. Enjoy.
IMG_0457
IMG_0456
IMG_0455
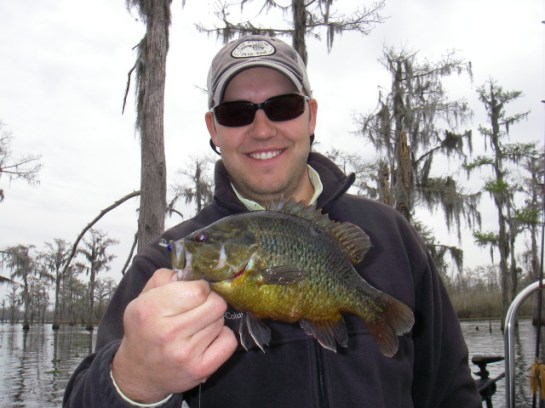
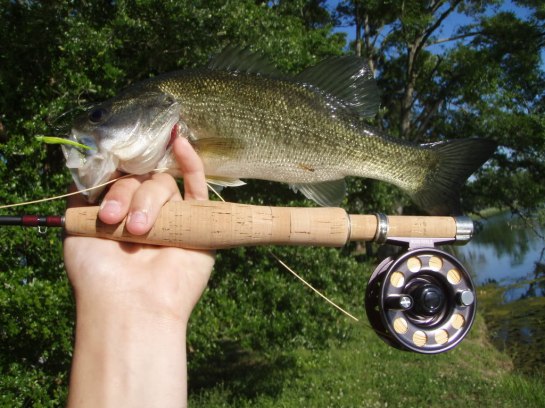
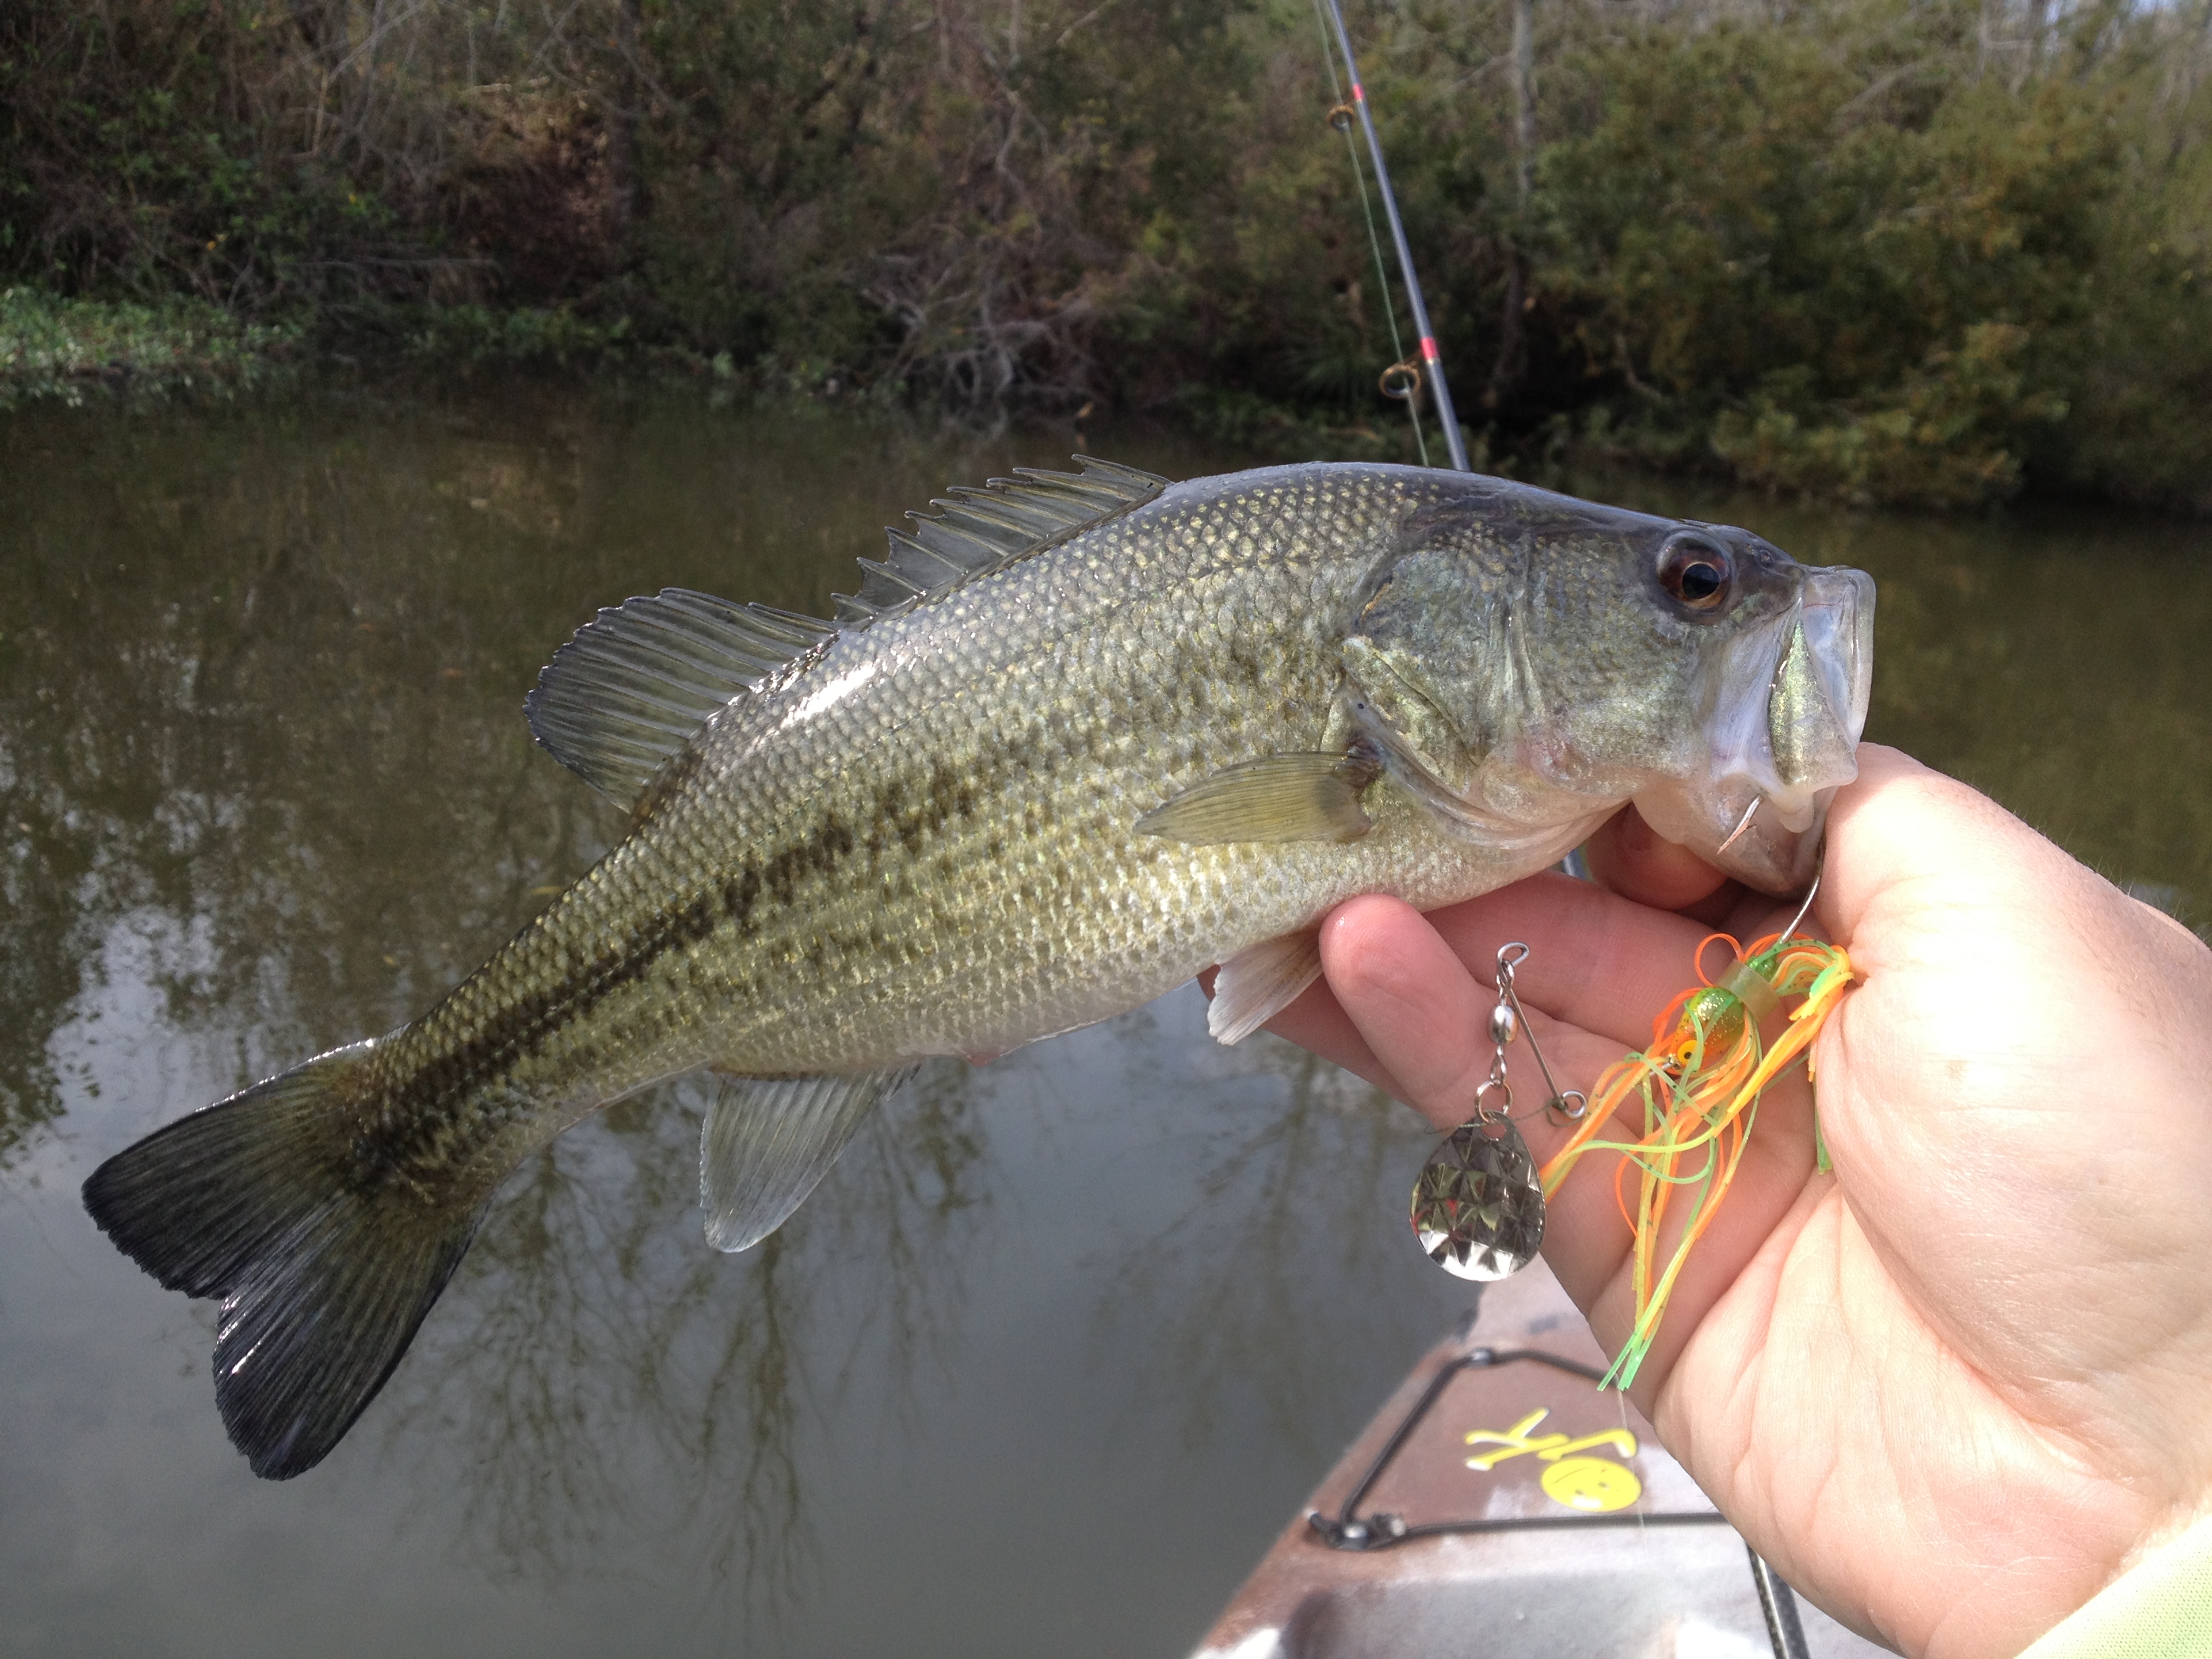
Some proof of concept
OLYMPUS DIGITAL CAMERA

Took the Cruise out for the first time Sunday, before the rain moved in. I went to a local pond where I’ve had good luck on sacalait in the past. I only managed one small bass, but what I did accomplish was some seat time in the new Cruise.

IMG_0607The weight of the Cruise feels similar to the Coosa, which is a little lighter than the Cuda 12. One thing I’ve noticed about the Cuda 12 that I love is that the weight of the kayak from front to back is centered on the grab handles on the side when lifting the boat above your head. Makes transport from the top of the FJ to wherever I’m launching super easy. The weight of the Cruise is not quite centered on the handles, but because it is a tad lighter, it is easy to adjust your hands to support the heavier end.

In the water the Cruise feels pretty quick for it’s length and tracks pretty well. It turns a bit easier than the Cuda 12, but not quite as easy as the Coosa, which you can turn at right angles with super aggressive paddle strokes. I felt a little tippy in the high position at first, but once I got comfortable I was standing in no time. I would rate the stability as slightly less than that of the Cuda 12. One thing I noticed about the Cruise was that there is no paddle keeper or molded in paddle stager like you see in on the Cuda 12, so no convenient way to store a paddle while on the water. That’s an easy fix, I actually took care of it today and will write up something about that soon. Another thing I noticed is that the elite seat on the Cruise doesn’t come with the seat back pouch like those in the Fishing line. Another easy fix, I just have to order the pouch. I find myself using that pocket a lot on the water.

I enjoyed my short trip in the Cruise, look forward to using it more throughout the year. It’s not as ready for fishing right out of the box like the Cuda 12 is, but it will be really easy to get it ready. Paddle keepers and rod holders aren’t a big deal to install, though it’s always tough to drill that first hole in a boat. I love the openness of the deck on the Cruise, it should be a really fly-friendly boat. I could see it becoming my go-to boat when I head out with the fly rod.