A typical fishing trip for me starts early in the week with a decision on what I want to do that weekend. Do I want to wade fish for bass on a local stream? Or maybe do a float trip if I find someone to float with? Or do I want to make that two hour drive down to the coast to sightfish for reds?
I love to kayak fish for redfish, when conditions allow, so that is generally my first choice. There is no greater thrill to me than watching a redfish inhale a fly you’ve placed in front of his path. That’s what I live for when it comes to kayak fishing. Sightfishing is what I seek, it is what I want to do when I get into the kayak. Certain conditions have to be present in order to have success sightfishing, these are taken into consideration when trying to decide where I want to head.
Weather is a big factor in this decision. The first tool I use is www.weather.com. Easy to use, nothing too scientific. I search by city, usually Grand Isle. I find Grand Isle is an accurate litmus for the entire southeastern Louisiana coastline. Then I look at the 10 day forecast and see what the conditions are for the weekend. The forecast gets more accurate the closer you are to that day. For instance, this weekend looks fantastic right now. Saturday’s winds are ENE at 6mph, 10% chance of rain, and it’s mostly sunny, with a high of 83F. Awesome conditions and of course I have to work. That is what I’m looking for though, a general idea of what the winds are and what kind of cloud cover I can expect. If winds were over 15mph, I’m not making that drive south. Sure I could fish in those conditions, but why would I want to when I could go wade fish for bass and have just as much fun. No matter what kayak you’re in, windy days can be miserable.
Next I look at the tides. The tides will not dictate whether I make that run to the coast or not, but it is good to know what they are supposed to be doing the day you plan on fishing. You can have a great day sightfishing for reds (in Louisiana) on a slack tide, even better if you have a little moving water. I use the Rod N Reel tides found here – http://tides.rodnreel.com/tides/select-tide-station.php. Select your station depending on where you want to fish. For example Barataria Pass on Saturday has a nice range of a little over a foot (that’s big for Louisiana), with a high tide early in the morning and a low tide in the afternoon. That means a falling tide while you are fishing. I love sightfishing reds on a low tide, the less water, the better, in my mind. This weekend just keeps looking better and better, sigh…..
After looking at the weather and the tides I would definitely be heading to the marsh this weekend. Where exactly I go is usually not decided until the night before. Google Earth is something I use often when scouting new areas. You really can’t go wrong anywhere in Louisiana’s vast marsh ecosystem. Redfish can be found in abundance from Dularge to Delacroix and everywhere in between. Sometimes I will hit a place that is tried and true, other times I’ll explore somewhere new. We’re blessed to have a seemingly endless amount of marsh habitat, perfect for reds.
Once it’s decided where to go, nothing really has to be done until the day/night before. I like to pack the FJ the night before, so that way when I wake up really early in the morning, all I have to do is take off, everything is ready to go. I have a list in my head of the things that I like to have with me on the boat, or in the car and it goes something like this:
– Rods and reels – If conditions permit, I will be fly fishing, so I carry two fly rods in the boat. One 9ft, 8wt rigged up and ready to go and another broken down stored in the hull. Brand names are irrelevant, spend what you can afford. As for me, I’m pretty cheap, but I like a lifetime warranty too, so most of my equipment is mid-level. You can use 6-9 weights in Louisiana for redfish, just make sure that 6 is a saltwater 6. Floating line is all you need in a kayak and make sure your reel has a disc drag. I also bring spinning equipment just in case sightfishing is dismal. If it’s overcast, or the water is high or dirty, sightfishing can be tough and I’m not one to blind cast with a fly rod all day. I’m much happier throwing a spinning outfit in those conditions. I’ll carry 2-3 rods rigged up with 15-20lb braid. Spinning rods to me are expendable and if you buy them at Academy they pretty much come with a lifetime warranty. Academy with replace broken rods no questions asked. Well, my Academy does. My spinning rods are 6.5-7′ long and vary from medium-light action to medium-heavy action.
– Kayak – Sightfishing is best done standing, so you want something stable and comfortable so you can spend a considerable amount of time on your feet. I’ve found the Jackson line of kayaks suit me well. The Coosa has been great for rivers and performs well in tight marsh. The standing area is flat and the seat is comfy making those long trips in the kayak easier. The Cuda is a better open water boat, just as stable as the Coosa, it also has a flat area for my feet and the same comfy seat. I’m trading it in for 12′ version, the 14′ was just too much boat for my needs. I think the Cuda 12 will become my go-to boat for the salt, whereas before I rotated between the Coosa and the Cuda depending on where I fished.
– Paddle – Perhaps the 2nd most important piece of equipment behind the sunglasses. When sightfishing, I have a paddle in my hands throughout the day more than I have a fishing rod. So you’re going to want something relatively light, but strong, for those times when you have to pull your way through the shallow much. I have found both Bending Branches and Aqua Bound(same parent company) up to the task. The Slice I have is a tad on the heavy side at 35oz, but the Sting Ray hybrid I have is perfect at 30oz. I’ve abuse both of these paddles and they’ve yet to break. They’ve really impressed me.
– Sunglasses – Perhaps the most important item you can have for sightfishing is a good pair of sunglasses. I have a pair of Costa 580p sunglasses, they are worth the expense and have held up very well. The lenses on these things are amazing, I have them in the amber color.
– Safety equipment – Okay, this may trump the sunglasses as being the most important, but only because we’re talking about safety. You need to have a PFD, I like the inflatable kind, whether it be a belt or a chest type. They are light and unobtrusive so you find you’ll be wearing it more often than not. A whistle should also be readily available, you can store in your pocket or a day hatch. A light source is required if you fish before dawn, or after dusk. A head lamp will suffice in Louisiana, this is what I use.
– Tackle – All of my tackle is kept in a milkcrate. I like the milkcrate because of it’s ease of access and the fact that I’ve attached rod holders to it. You can never have too many rod holders. The milkcrate is also a good way not to carry too much tackle, just bring what fits in a milkcrate and you’ll have plenty. As far as lures go, spinnerbaits, spoons, topwater plugs, jig heads, bullet weights, worm hooks, and a variety of soft plastics are all you need for Louisiana inshore waters. Flies you need even less of, just make sure you have some crab, shrimp, and baitfish imitations.
– Net – Often overlooked, but I find necessary in a kayak, check out the EGO line of nets. They float and have rubber netting, you can’t beat ’em.
– Stakeout pole – Really handy to have in areas where the ground is soft, like Louisiana. In fact, I don’t even carry a regular anchor. Anchor trolleys are nice, but I can honestly say that neither of my kayaks have one. I use a Yak-Gear Yak-Stick.
– Rudder (optional) – Just wanted to mention this after mentioning the anchor trolley. The Cuda 14 I owned had a rudder, the Cuda 12 I’m getting will not. Yeah it was nice to have when I was drift fishing, but useless when I was standing up sightfishing. Don’t worry about a rudder, if you feel you need one later on you can always add it.
– Ice chest – A Yeti Roadie 25 fits perfectly in the tankwell of the Coosa, but I often leave it in the car to save weight. It holds the post-fishing beer nice and cold and any fish fillets I end up with (a good fillet knife is not a bad thing to keep in the car as well). When I’m on the water I use a California Innovations (Arctic Zone) soft sided ice chest that is cheap and effective. Eventually it will leak, but if you line it with a trash bag it’s no big deal. You can get these from Wal-Mart or Sam’s. I store it in the front hatch of the Coosa or the center console of the Cuda. You’d be surprised at how many fish will fit in these ice chests.
– Stringer (optional) – This is something I’ll have on a tourney day, but not necessarily all the time, no need to cull fish when you’re fishing recreationally. If you don’t have a soft sided ice chest this will work though. However be forewarned, there are sharks in the marsh and they will steal your fish. With that being said, I like the stringers that are plastic coated and have a big float. They are much easier for sliding fish on and off. Make sure you pierce them through the lip with the float on the top side, this will ensure your fish stays upright and is able to breathe effectively.
– Clothing – Comfort is a huge thing for me when I’m in the kayak. You’re not having fun if you’re uncomfortable. A Buff is something I tend to always wear when I’m sightfishing. I like it because I don’t have to apply sunscreen to my face or neck. There is nothing worse than having sunscreen run into your eyes when you sweat. More importantly it does a great job at keeping the bugs that plague our marshes from biting me. A hat is a must, I like the mesh back style baseball cap, they are lighter, allow for greater airflow to my head (or at least that’s what I tell myself) and you can often find them at fly shops. My clothes are lightweight, breathable. I typically wear long pants and long sleeves, even in the summer, mainly for bugs, but also because I hate applying sunscreen. Columbia makes phenomenal stuff. I love their Omni-Shield Blood ‘N Guts line, very lightweight and comfortable, the right amount of pockets too. I do wear shoes in a boat as well. They help keep my feet protected from the bugs/sun, but also are good in case I find an area I can get out and wade (not likely in the marsh, unless I’m near the beach). Closed toe sandals are usually my go-to, like Keen’s or Teva’s.
– Camera – You’re going to want something to capture the memories of a trip, whether it’s the fish you catch or the places you go. I never leave home without a camera (the iPhone counts). The Pentax Optio has served me well. Takes decent pictures for a point and shoot and I can use it underwater. The waterproof aspect of the camera is great piece of mind. Of course the model I use is far removed from what’s offered now, but it is still pretty badass. I’ve also really enjoyed using my GoPro Hero. Very simple functionality, shoots video in HD, just make sure to buy extra batteries if you plan to fish all day. 32g SD cards are necessities as well.
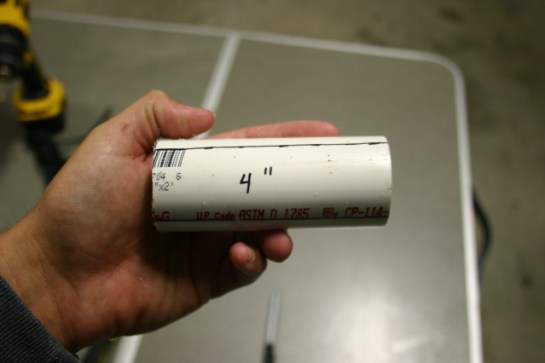
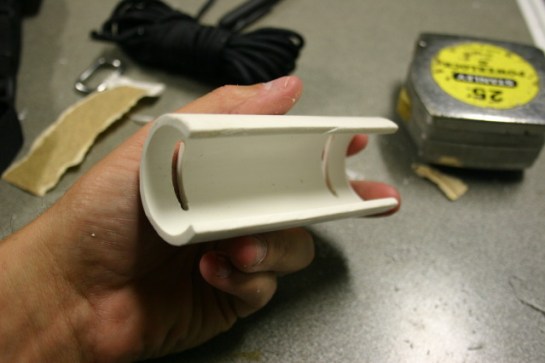
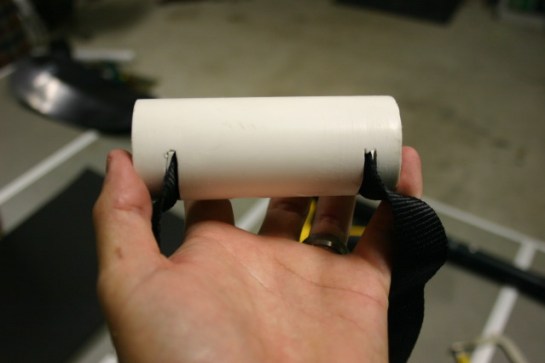
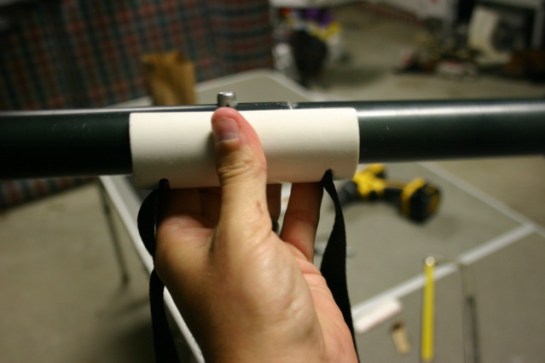
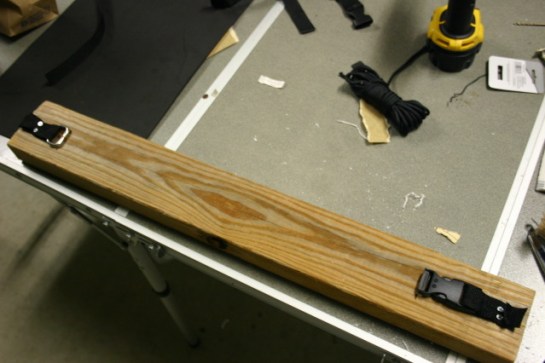
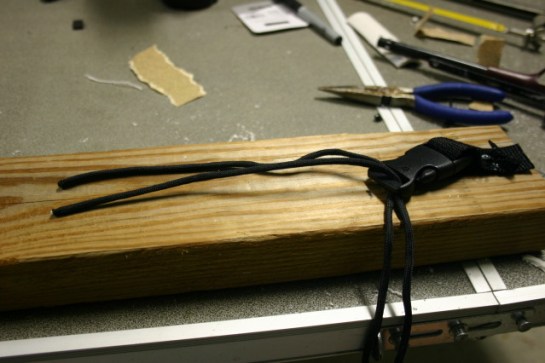
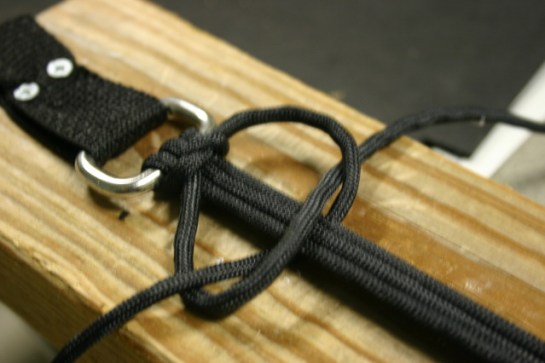
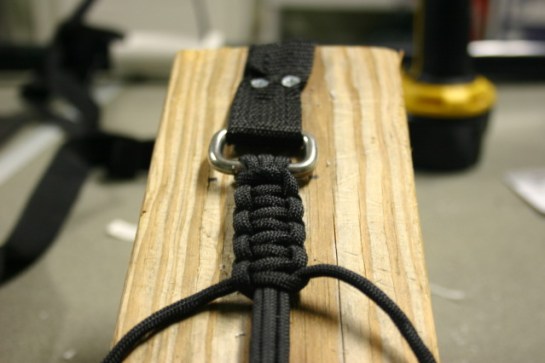
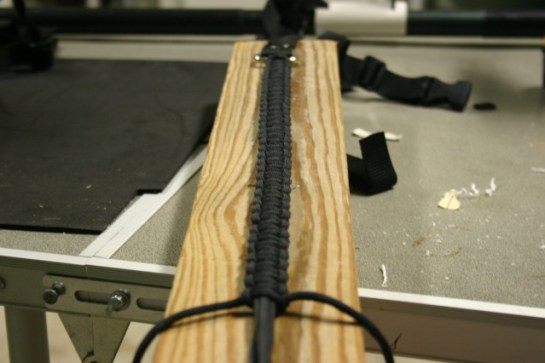
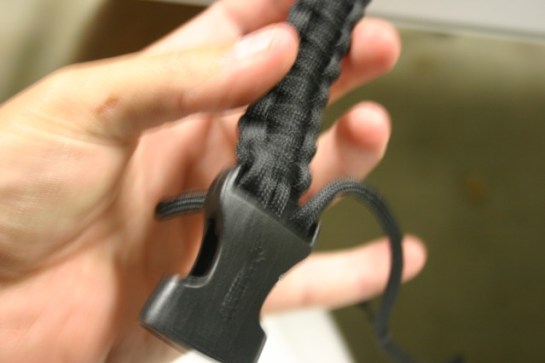
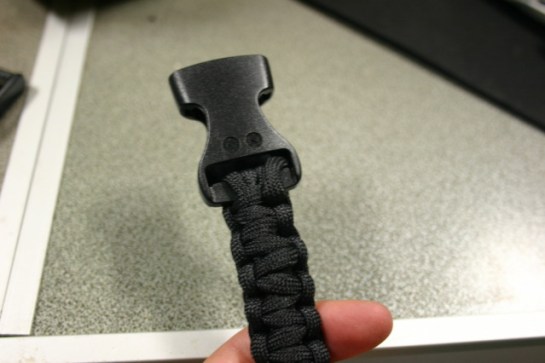
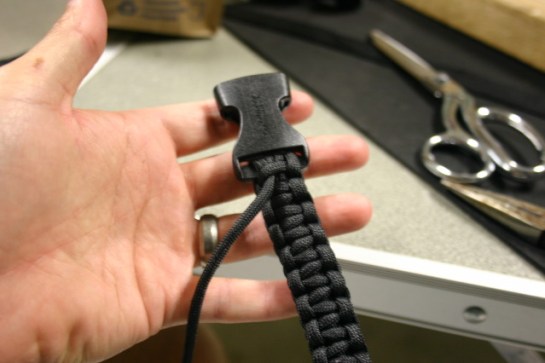
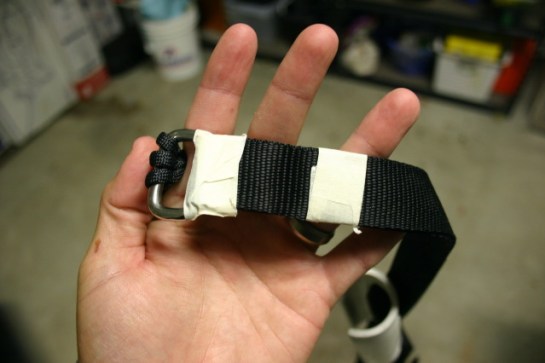
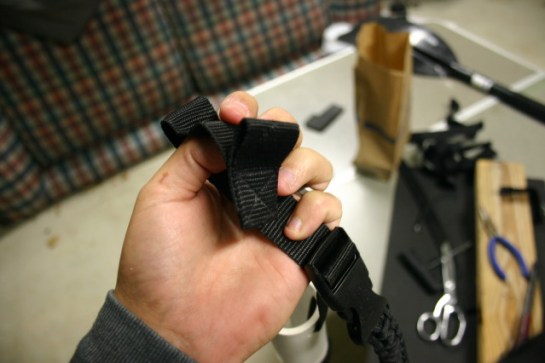
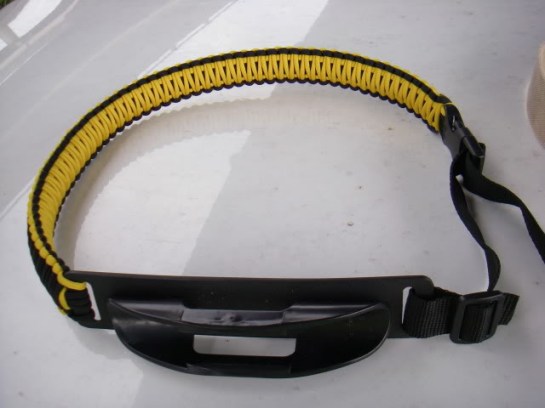
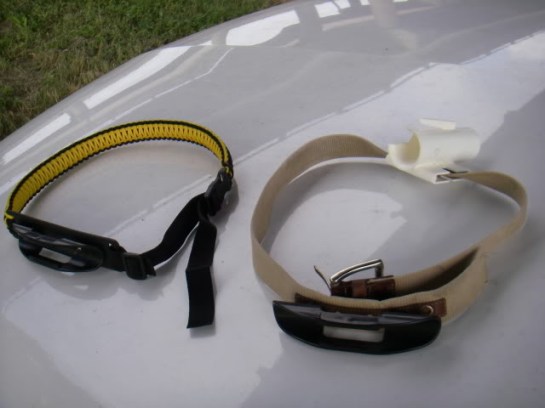
– Paddle clip belt – Whether you make it yourself (I’ve provided instruction in a previous post) or you buy it from someone (check out Dawgknots for that option) this has become a must have item for me when sightfishing. The hardest part of sightfishing is making that transition from holding a paddle to casting the rod, while still maintaining eye contact with the fish. The paddle clip belt makes that transition much easier by allowing you to store the paddle on your person and out of contact with the boat. There is less noise, less shuffling, you can do everything in one motion. It is worth it in my mind to have one.
– Food & Drink – There are times on the water when the fishing is so phenomenal I won’t eat or drink a thing lest I miss out on something. That doesn’t happen often, so expect to be hungry out there. Water is a given, you should have plenty of water and stay hydrated. For food, MREs are exceptional to have if available. If not I’ll eat granola bars, beef jerky, pop tarts, whatever. Anything fast and pre-packaged is usually what I’m packing late at night or early in the morning. Try to get the person you go with, or a spouse, to make sandwiches. Sandwiches are always better when they are made by someone else.
– The little things – There are a number of little things that are not always needed, but make life easier on the water if you have them handy. Hemostats, nippers, tippet material, and extra leaders may not always be necessary, but can be easily stored in a pocket or day hatch if the need arises. My CCA/LDWF tagging kit remains handy as well. If I’m not keeping fish than I’ll try to tag them before releasing them.
These are the things I feel like I need to have each time I go out sightfishing for reds. This list has the potential to change as I discover new things I feel I need or notice I left out. These are merely my recommendations, but I know that with these things you will be fully prepared to catch redfish in Louisiana’s waters.