Archive

Fly Fishing

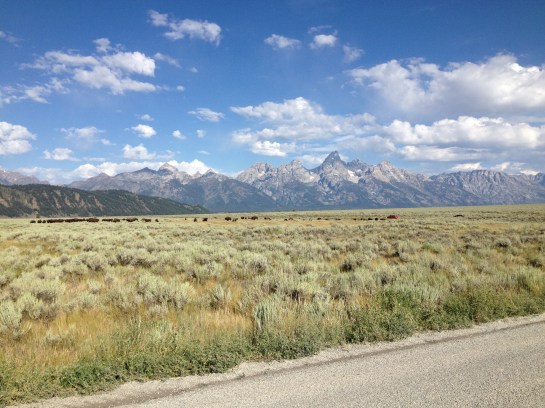
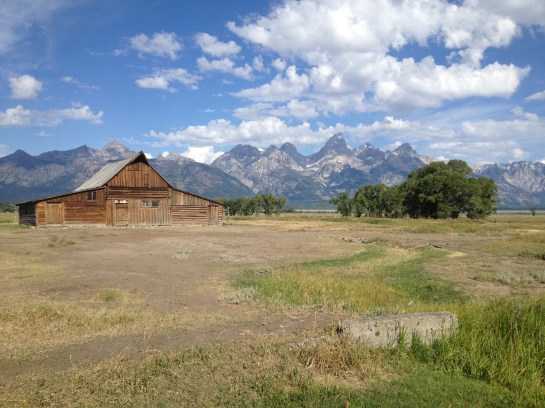
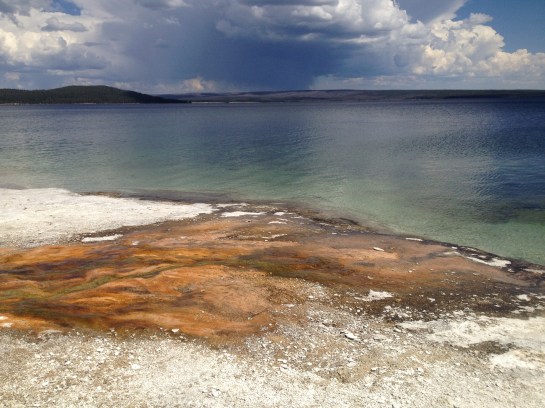
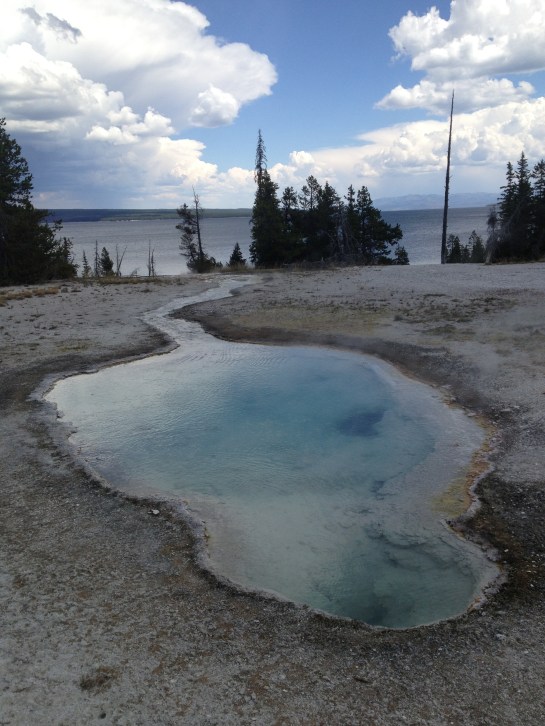
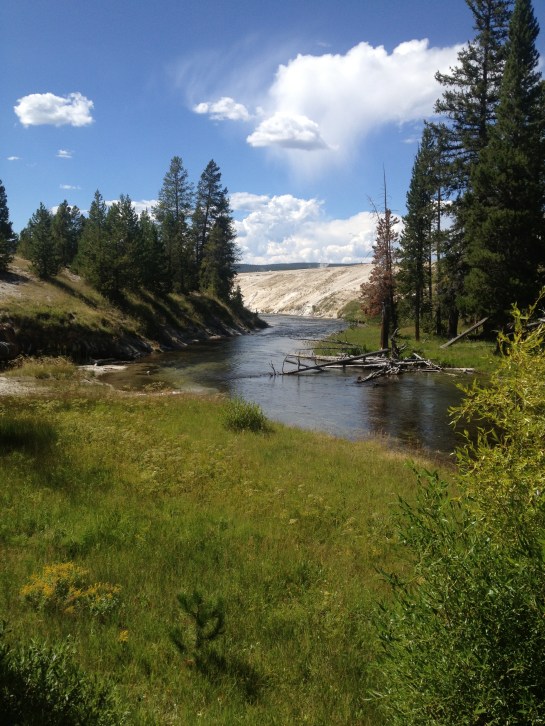
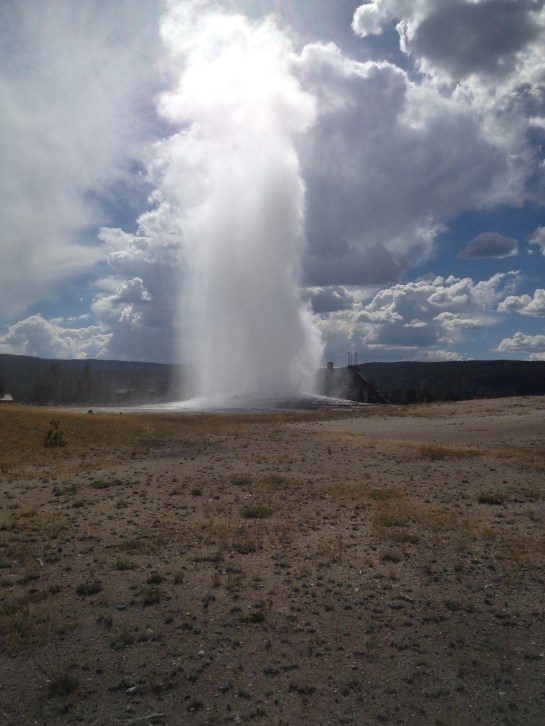
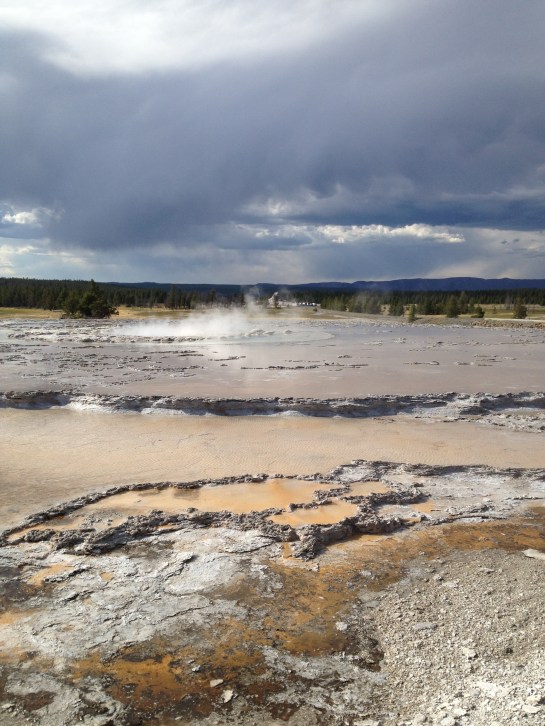
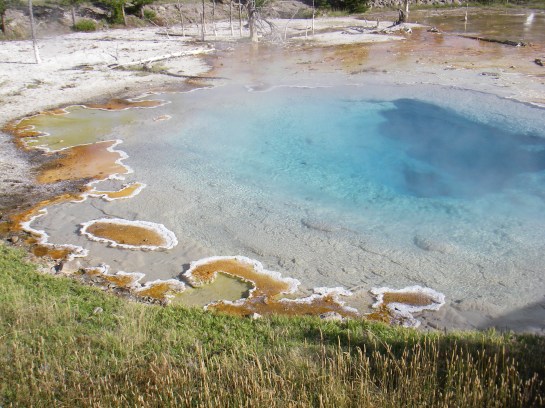
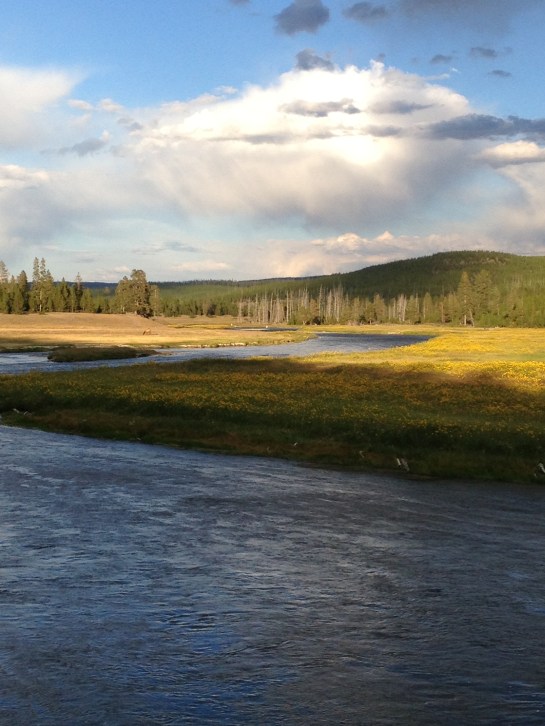
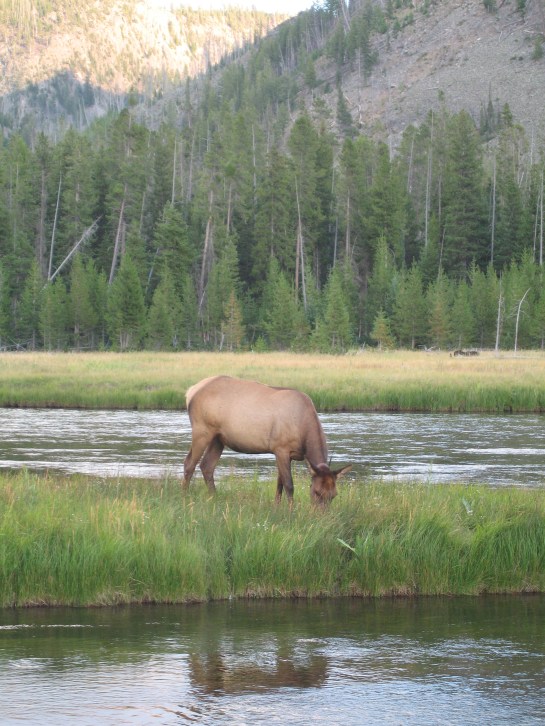
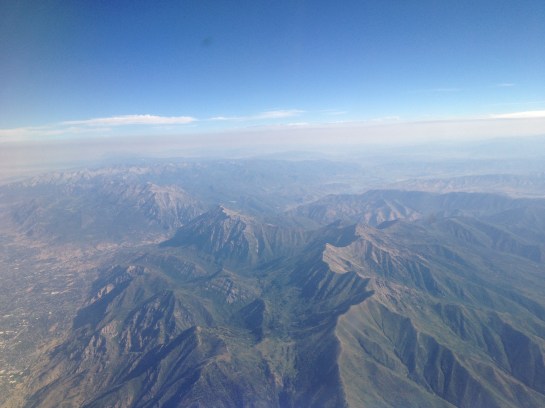
Just got home from a whirlwind Western vacation with my wife and parents where we spent time in Utah, Wyoming, Montana and Idaho seeing as much as we could of Grand Teton and Yellowstone National Parks and the surrounding area.

On Day 1 we flew into Salt Lake City, stopped for lunch at a great little diner – the Blue Plate, then made our way toward Jackson, WY where we would spend the next two nights.

IMG_1230

IMG_0994

IMG_1466

While in Bonneville cutthroat country, I made sure to stop at a roadside stream where I might be able to catch a new-to-me species of trout. Sure enough, on one of the first few casts into a beaver pond I caught a beauty of a Bonnie. It would prove to be the only fish landed on the short outing, but it made it worth the stop.

IMG_1001

IMG_1003

IMG_1004

IMG_1238

IMG_1237

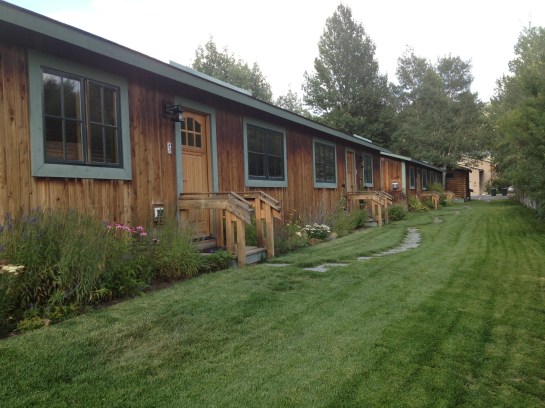
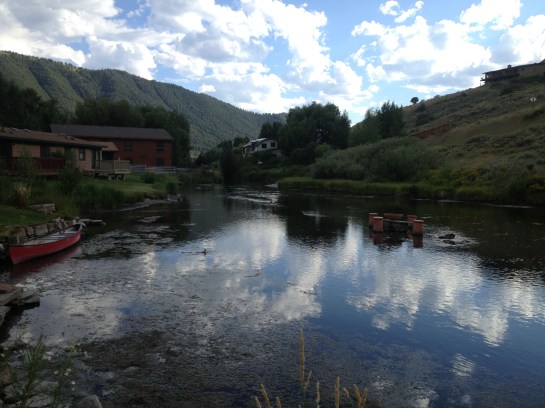
We continued through the Star Valley en route to Jackson, stopping to check out the Elk antler arch in Afton and the adjacent fly shop, Pioneer Anglers. After the town of Alpine, the drive takes you along the Snake River all the way up to Jackson, where we stayed in a creek side cottage run by the Alpine House, which proved to be an excellent place to stay for the four of us while in town. That night we checked out the town of Jackson and took it easy in anticipation of the Tetons the next day.

IMG_1240

IMG_1245

IMG_1246

IMG_1250

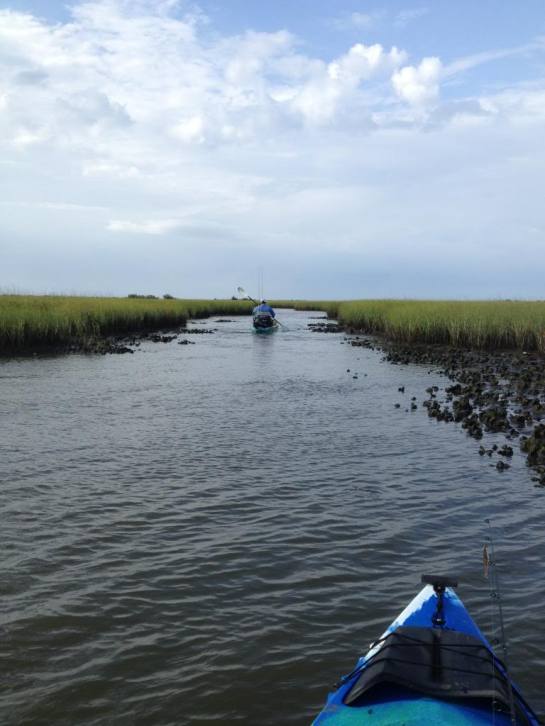
I parlayed the trip down to Leeville for the Slamboree into a week of work on Grand Isle. Blake came down to fish on Sunday, unfortunately the wind that morning was relentless and forced an early exit from the water for us.

IMG_1155

The wind let up a bit after lunch and I made my way to Elmer’s to see if I pick up a few trout in the surf. I caught some trout, mostly throwbacks, but the highlight of the day was this juvenile Jack Crevalle that came on the fly rod.

IMG_1156

The next day meant the start of my work week and I found myself on an island full of these little guys.

IMG_1157

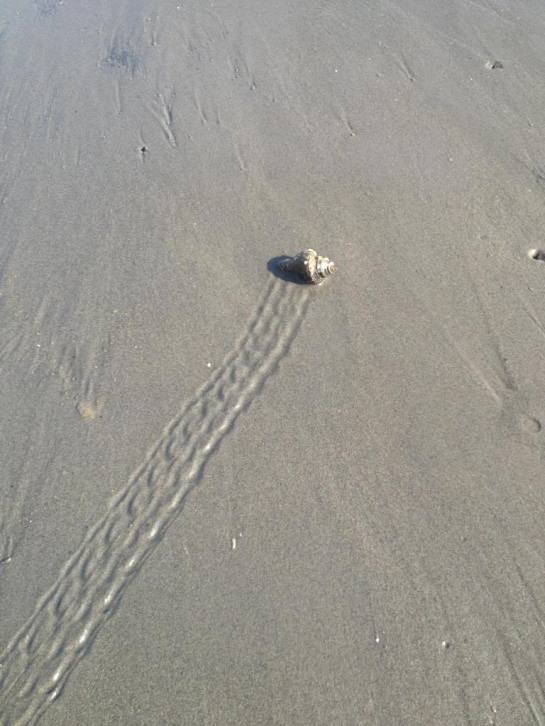
The tides were low and falling fast and had these little hermit crabs exposed on all the tidal flats. Low tides also meant potentially good sight fishing, so that evening I went back to where Blake and I had planned to fish and with better conditions I was able to boat three reds between 18-22″ long. They were tagged and released to fight another day.

IMG_1167

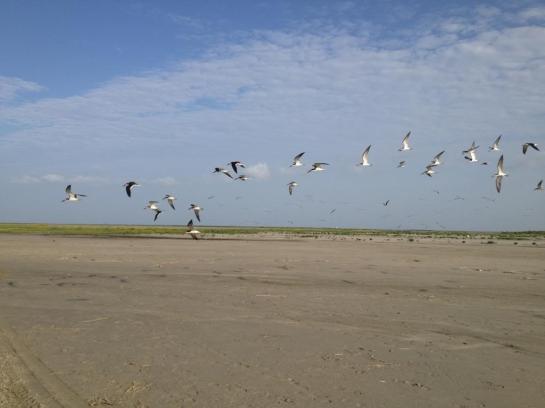
The next island I worked on was full of these black skimmers. They had a large nesting colony not too far from where we docked the boats. Most of their chicks had been fledged, but a few were still too small, including one stubborn guy who plopped down right in our work area.

IMG_1182

IMG_1211

A storm forced us off the island a bit early, but fear not, that just led to more specks in the surf – this time off of Grand Isle itself.

IMG_1192

IMG_1202

IMG_1194

That concludes another fun filled week on the island. It must seem like I don’t do a whole lot of work while I’m down there, but I’m actually putting in roughly sixty hour work weeks while I’m down there. I’ve realized that the extra twenty hours I work is the time I had set aside to update the blog, so forgive the dead air.

IMG_1205

July’s fly of the month is a variation on the deceiver fly originally created by the legendary Lefty Kreh. The deceiver is a fly that works anywhere, fresh or salt, nearshore or far. This is Blake’s version of the proven pattern.

Materials:

– Your favorite thread, somewhat heavy so you can put some pressure on it. I used 3/0.

– Lead Tape

– Saddle hackle

– Flashabou

– Chenille

– Bucktail

– Peacock herl

– Krystal flash

Step 1. Clamp hook in vise and wrap the shank with lead tape. Round lead wrapped around the shank will work also. Or no lead if you want a lighter fly. Start thread and lay a base over the shank and the lead. The lead tape that I use is sticky backed and normally used to stick on hard bodied floating lures to get them to sink or suspend.

IMG_0976

IMG_0977

Step 2. Select your desired amount of hackles for the tail. I normally use two feathers, but I decided to go with four on this one and dress it a little heavier than I normally would. Tie them in and wrap down to tidy up the hook shank

IMG_0978

Step 3. Tie in flashabou, a few strands on either side. Trim it so that it is a tad longer than the hackles.

IMG_0979

Step 4. Tie in chenille and wrap up the shank making sure to leave yourself enough room to finish the head.

IMG_0980

Step 5. Tie in a grizzly hackle on either side. I should have tied them a little longer along with the tail. Fish won’t care.

IMG_0981

Step 6. Select some bucktail fibers and tie them on the top of the hook. I like to press them down with my thumb to make them spread out around the top 1/3 of the shank.

IMG_0982

Step 7. Select some other color for the belly of the fly and tie it in. This clump is normally a little bigger than the top clump. Do the same as above and press the butts to spread them around the hook shank to fill in the other 2/3.

IMG_0983

Step 8. Tie in some peacock herl on the top.

IMG_0984

Step 9. Tie in some red krystal flash on the bottom.

IMG_0985

IMG_0986

Step 10. Tidy up the head and whip finish. Apply some super glue to the head and stick on eyes.

IMG_0987

Step 11. Once the eyes are tacked on there, mix up some epoxy and coat the eyes and head. Put it on a spinner to cure.

IMG_0989

Finished fly. Mine always look a little unruly off the vise. If you run it under a little hot water and let it dry hanging from the hook eye, it should tame some of the fibers. Also, you can curve the herl like you do ribbon (ask your significant other for assistance)

Before wet/dry:

IMG_0991

After wet/dry:

IMG_0997

Proof of concept – freshwater:

LMB_1a

LMB_3a

Enjoy!