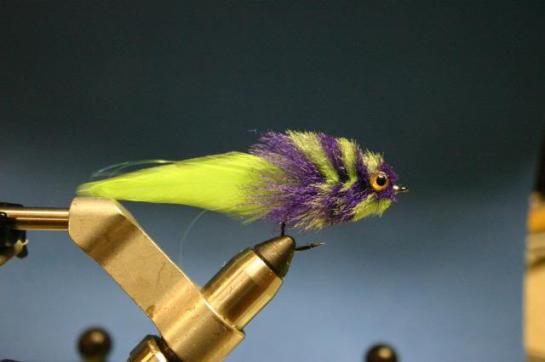
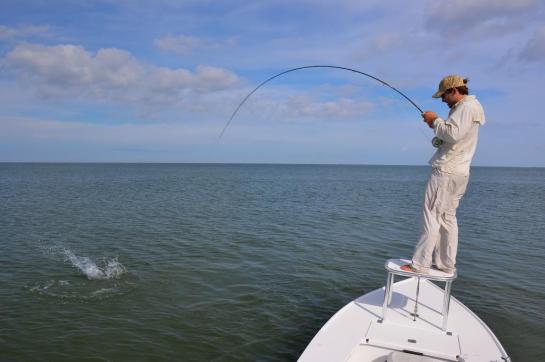
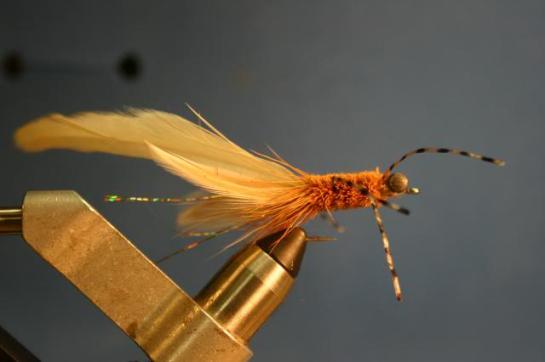
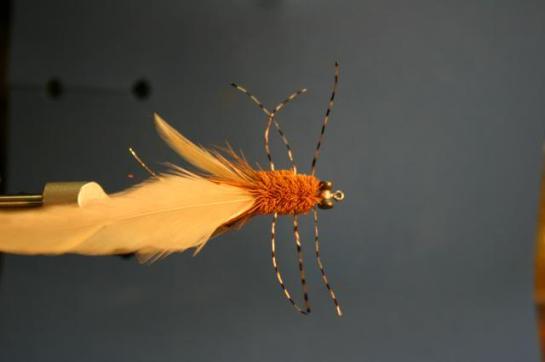
For January’s fly of the month, we present Blake’s version of a fly originally developed by Frank Smethurst for Baja roosterfish. I told Blake I wanted something for an upcoming trip so he had to make due with materials that he had on hand. You can find the original pattern here and to see how crazy Frank Smethurst is about roosterfish, watch this:
I won’t be running down the East Cape of the Baja Peninsula, but I am hoping to catch a roosterfish on the fly next month. The three main requirements of the pattern seem to be:
1. More natural with less flash
2. Black edge on tailing material
3. Big head to push some water
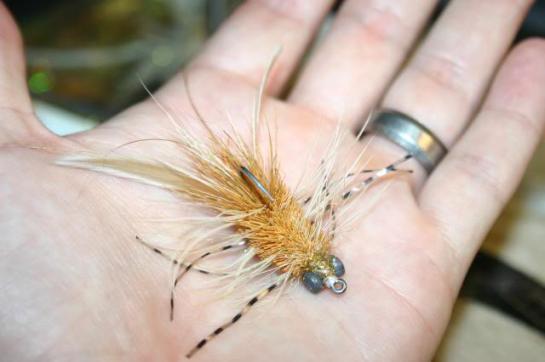
Materials used:
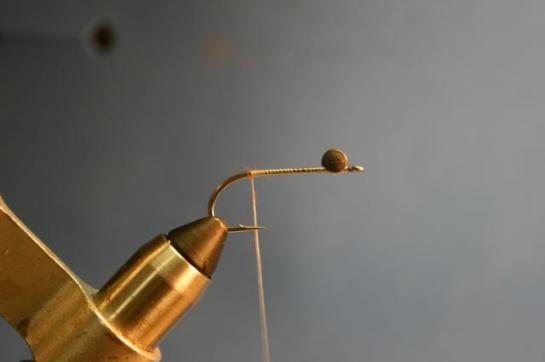
– Gamakatsu sc15, 3/0.
– .030 lead
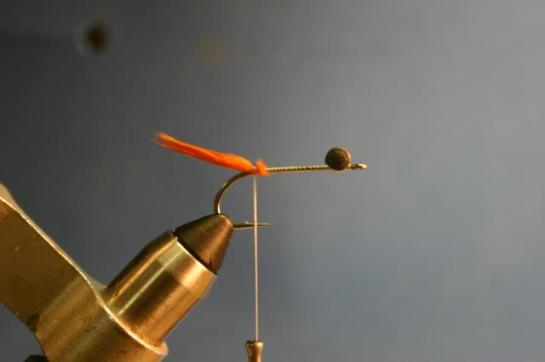
– Farrar flash blend
– EP foxy brush
– Pseudo marabou
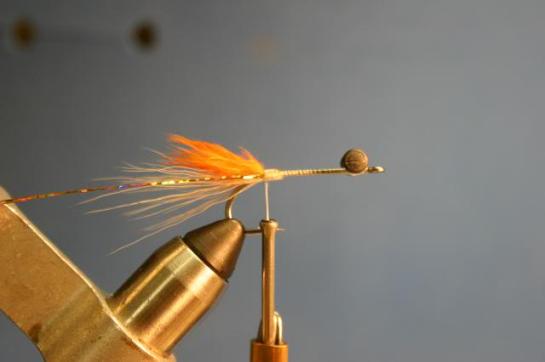
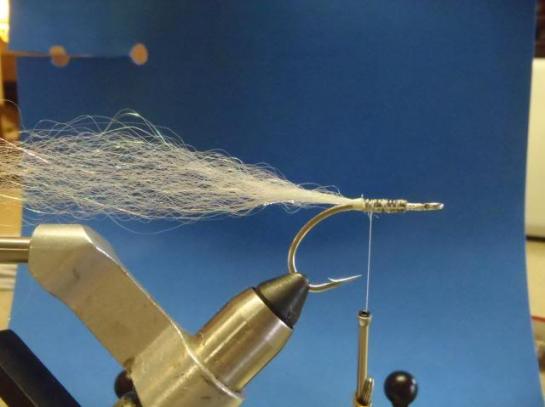
Step 1. Clamp hook in vise and put as much lead as is desired. Wrap lead with some thread to secure it. I like to add a little super glue to make sure it stays in place. Bring thread to the bend.
Step 2. Pull out an amount of flash blend that is half as much as you want on the finished fly. I tie it in in the middle of the material and pull the rest back to double the quantity. The pattern calls for super hair, or something like it, that has no flash in it. The flash blend has a good bit of flash, but it’s all i had. Fish around here normally don’t care about that sorta thing, we’ll see if roosterfish do.
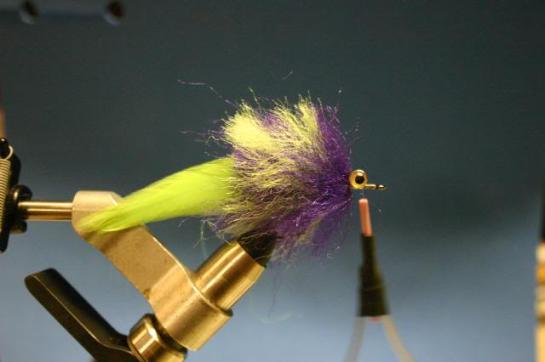
Step 3. I use some UV cure epoxy and hit the base of the tail to help prevent fouling. This is easier for me than tying in a mono foul guard or something like that. The body materials will cover the section that is glued.
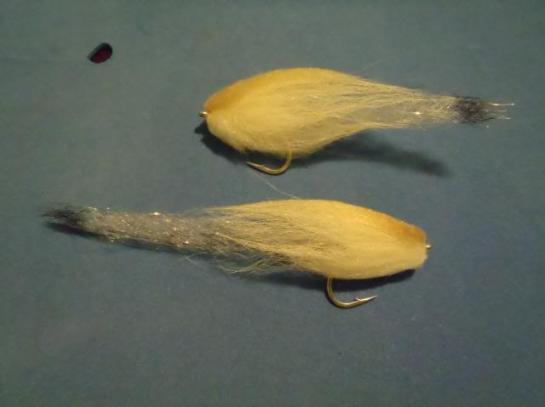
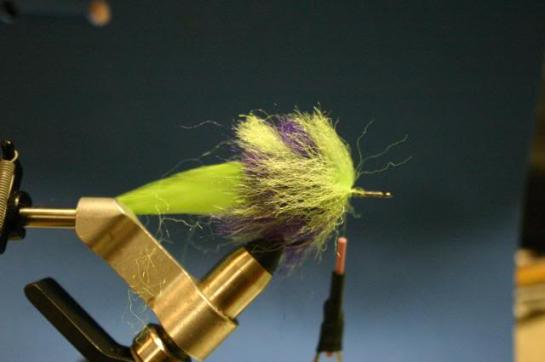
Step 4. Tie in the EP fox brush at the back of the hook and wrap up the shank of the hook. The tightness of these wraps will help to determine the thickness of the body of the fly. If you are trying to imitate a thick bodied fish such as a menhaden or shad, take more, less spaced out wraps. If going for a more mullet shape, spiral wrap the brush so that there is less material along the shank (see last picture for different body thicknesses).
Step 5. As with wrapping most materials, some of the fibers will become tangled. Use your bodkin to pick out the material
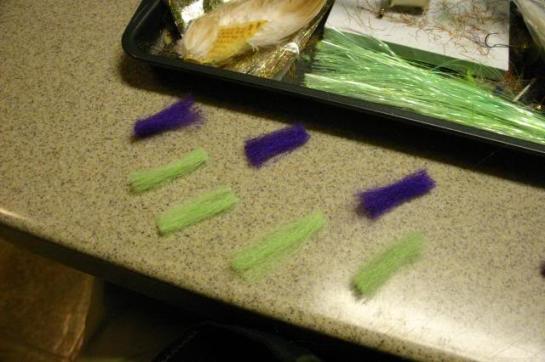
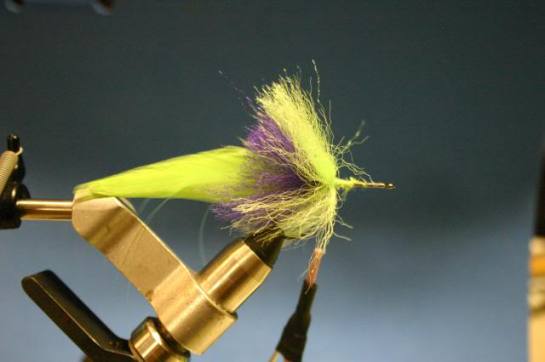
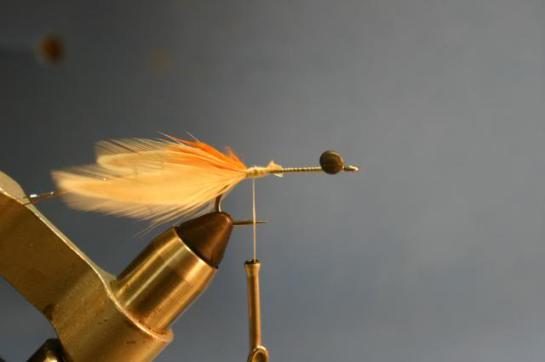
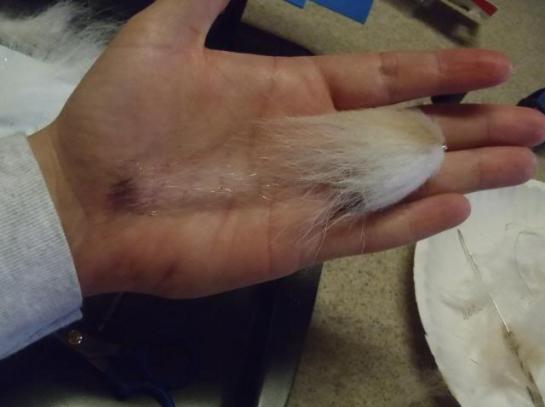
Step 6. Tie in a clump of pseudo marabou on the bottom side of the hook. I try to taper the ends of the clumps. (I found this material at Cabela’s in the Bargain Cave for cheap. I prefer it to synthetic wool as it stacks well to make a full head, but it doesn’t carry much water or weight)
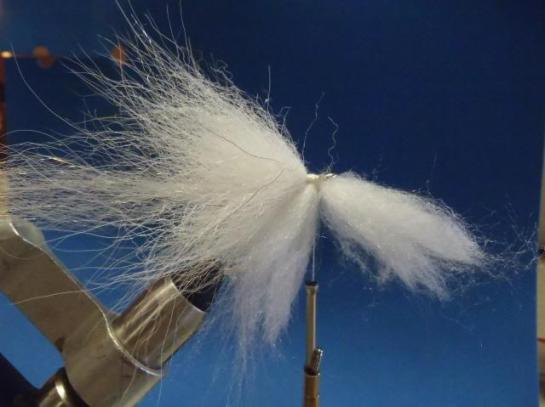
Step 7. Repeat Step 6 with your dorsal color. Make sure that the top and bottom colors meet on the sides of the shank to fully shroud the hook.
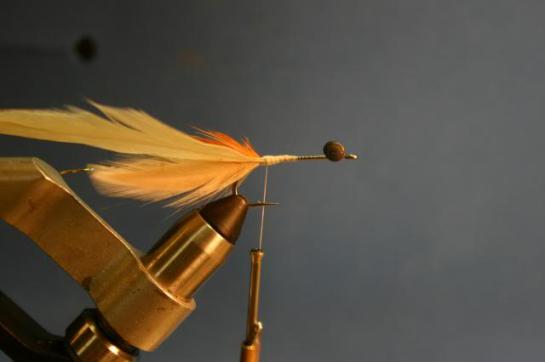
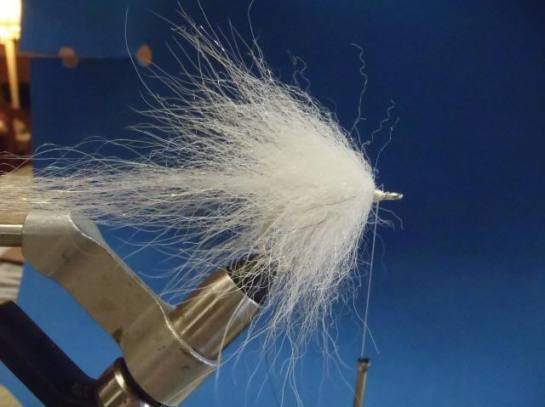
Step 8. Bring the thread to the front of the fly behind the eye and create a thread jamb to force the materials back. I also use my bodkin to pick out the material so that none is trapped. Part off thread.
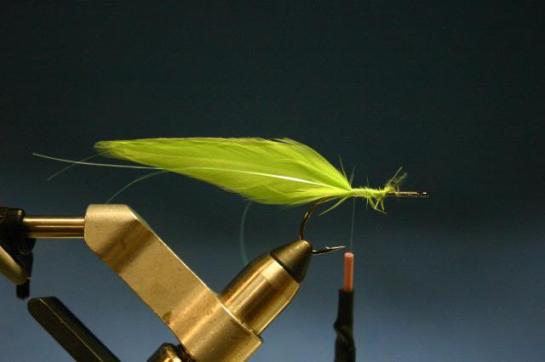
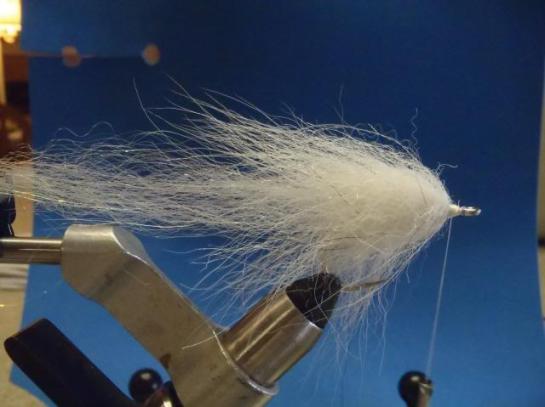
Step 9. Trim the pseudo marabou to the shape that you want. I was going for a more mullet look so i made the head a little more slender.
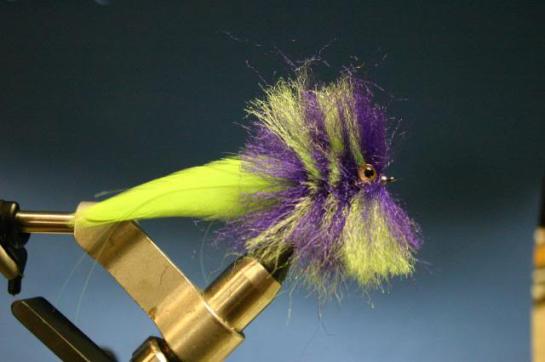
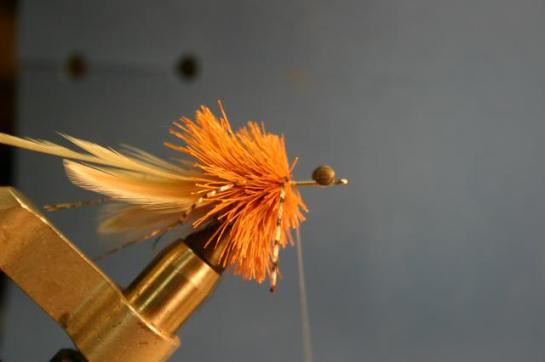
Step 10. Pull the tail material taught, decide the length you want (remember that the material will spring back and will be shorter than it is stretched), and mark the end with a black sharpie. I also made a few light marks along the tail to the body of the fly.
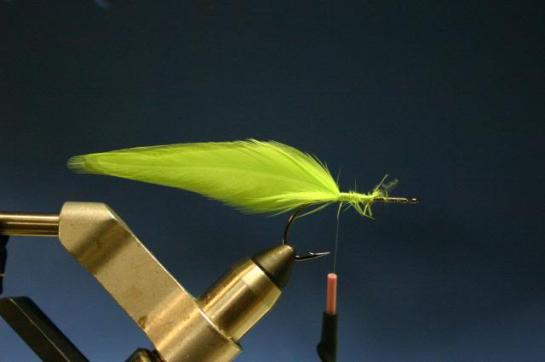
Step 11. Cut the tail at the back of the sharpied mark. Finished fly.
As with most unruly flies, I like to run them under warm water and hang them by the eyes to dry and fix a more realistic shape. See the different shapes of the following. The top fly had tighter brush wraps and two sections of marabou while the second is the fly tied with the above steps. Enjoy.
In keeping up with the winter bull red fly theme, December’s fly of the month is one that our friend Barret likes to tie up and use when fishing for bull reds in his skiff. This SBS though is Blake’s version of that fly. For more on Barret, here’s an article that makes him blush whenever you bring it up: Barret and the Spottail Diva
Materials:
– Hook: Gamakatsu B10S Stinger in a size 1
– Thread: Mono
– Tail: Hackle
– Flash: Flashabou
– Head: EP Fibers
– Eyes: Dumbbell weighted to your liking.
Step 1 – Start thread on the hook and make a thread base. I like to give this a coat of superglue to make sure it sticks.
Step 2 – Tie in some hackle feathers at the back of the hook. I like two for smaller flies and four for bigger flies. I also like to tie them with concave sides in, but you can also tie them to splay out. I used some bigger, webby hackles for this one because I was going for a deeper body. I would use something thinner if I was going to imitate an anchovy or something like that.
Step 3 – Tie in flash on either side and cut it so that it extends about ½” behind the tips of the hackle. I used three for either side.
Step 4 – Pull off some EP from the hank and cut it into 1.5” lengths. The more material per clump, the bigger the segments on the fly. The smaller the clumps, the smaller the segments which may also cause a more mottled look on the final product.
Step 5 – Push one of the clumps over the eye of the hook and to the point where the hackle was tied in. Take a loose gathering wrap or two and pull the thread tight cinching down the EP. Bring your thread to the front of the EP and make a few wraps around the shank.
Step 6 – Grab the other color of EP and do the same as step 5. Repeat until you get to the point where you want to tie in your eyes.
Step 7 – Tie in your eyes right up against the last clump.
Step 8 – Split a clump of EP and tie half in right behind the eye on the bottom of the shank and the other half on the top of the shank. Bring thread up front of the dumbbells.
Step 9 – Tie in the last clump. I used twice as much material for this clump to fill in the space that the dumbbells takes up on the shank. Wrap a decent sized head on the fly to push the fibers back and whip finish.
Step 10 – Comb out the fibers. This makes it a little easier to trim.
Step 11 – Trim the sides first. I trim them pretty short. Trim the shape to match the bait you are trying to imitate.
Step 12 – Trim the top and bottom. I like to round off the edges also. I find it easier to do this when the fly is not in the vice.
Bull red season is in full swing in Louisiana and the fly of the month for November should help you get one to eat, provided you make an accurate cast of course. It is Blake’s take on a Tim Borski classic, the Chernobyl crab, that he calls the Fukushima crab.
Materials:
Your favorite hook – I used a mustad 34011, size 2
Dumbbell eyes – pick a size suitable for your hook and the depth you wish to fish
Marabou
Deer hair for spinning
Hackle
Schlappen
Rubber legs
Step 1. Start thread, tie in dumbbell eyes and bring thread to the start of the bend.
Step 2. Tie in a small amount of marabou about as long as the hook shank. Wetting it slightly makes it easier to handle.
Step 3. Tie in a few strands of natural deer body hair on the underside of the hook. This should be the length of the entire hook.
Step 4. Tie in a few pieces of flash on either side of the hook shank. Later trim this so that it is a little bit longer than the rest of the materials.
Step 5. Tie in a hackle feather on either side of the shank. I like for them to splay out, but I’m sure they would be fine tied in the other way also.
Step 6. Tie in a schlappen feather.
Step 7. Cut, clean, and stack(even the tips) a small amount of deer hair, maybe ¾ of a pencil. We aren’t packing a popper here, so you don’t need a giant amount of material. Measure the tips to make a collar at the back of the fly and spin the deer hair around the shank.
Step 8. Tie in a set of rubber legs with figure 8 wraps. I like to add a little super glue for durability..
Step 9. Move thread forward of the legs and spin another clump of deer hair. No need to stack this one. I cut the tips off of it since I don’t need to form a collar which leaves less material to get in the way.
Step 10. Tie in another set of legs.
Step 11. Spin another clump of deer hair.
Step 12. Tie in the last pair of legs right behind the dumbbell eyes.
Step 13. Whip finish the thread and trim the body of the crab making sure not to cut the rubber legs, the schlappen feather, or the collar. I ended up trimming the collar on the bottom of the fly and leaving it on the top of the fly.
Step 14. Start the thread again and bring it behind the dumbbells. Palmer the schlappen up the shank and tie it in behind the eyes.
Step 15. Dub the head with a little dubbing of your choice and whip finish the thread between the dumbbell and the eye. I like to trim the hackle on the top and bottom.
Finished fly.
The Borski Chernobyl crab worked a few weeks ago for Blake and Barret, so I would imagine the Fukushima would have worked just as well.