November’s fly of the month is the fly I used last time out with success, though I have to admit, I think anything would have worked that weekend before Thanksgiving, fishing was insane. It wasn’t the fly I started out with on the day, that was another of Blake’s creations. I was having problems sticking fish with that first fly, you can see that in the video I just put up. I switched to the jack hammer minnow and proceeded to slay them though. It held up very well too, I didn’t have to tie on another fly the rest of the day. The sink rate on it is not too fast and not too slow, which is just right for those cruising reds. It’s got pretty good action underwater as well. So check it out, give it a shot, let us know what you think.
Materials:
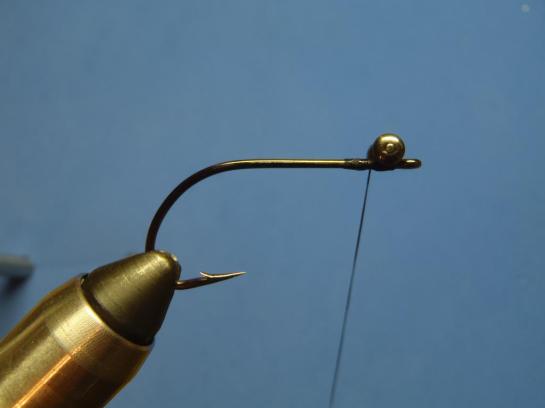
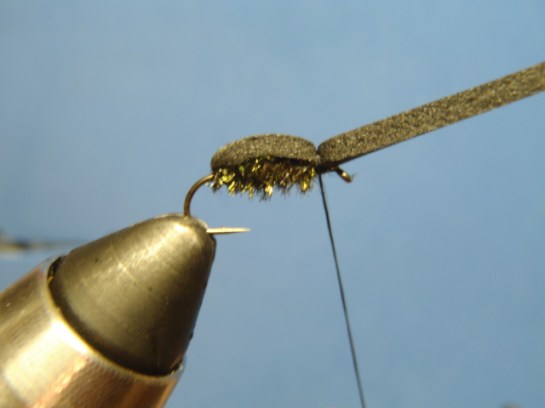
– Hook as seen in the picture below
– Lead wire
– Bucktail
– Flash
– Saddle Hackle
– Marabou
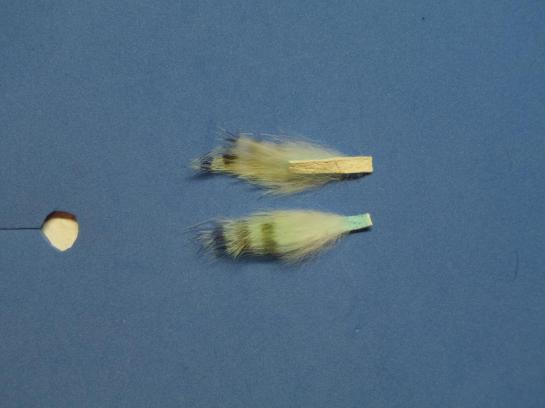
– Zonker strip
– Peacock Herl
– Stick on eyes
– Epoxy
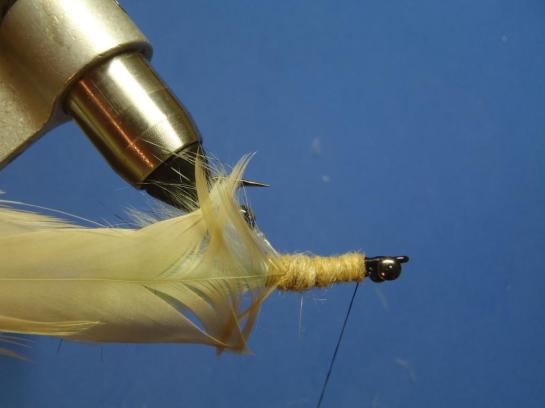
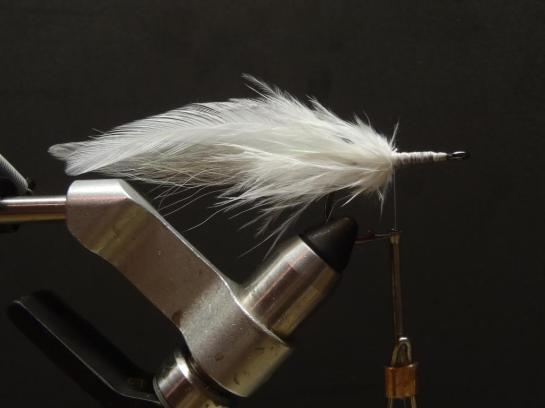
1. Insert hook in vise and wrap on a layer of lead. I like to use .015 lead wire so that I don’t build up the shank a whole lot. I also leave some open shank behind the eye and before the bend to tie in materials.


2. Start thread behind the eye and wrap around the lead to secure it to the shank. In order to keep the thread from going between the lead wraps, I will start behind the eye of the hook with touching wraps till I get to the front of the lead. From here, I will bring the thread all the way to the back of the lead and make a few wraps behind the lead before bringing my thread back to the front of the lead. This way I have a thread on either side of the shank (running parallel to the hook shank) that will keep my thread from sinking in between the lead wraps. Then cover the lead with thread and coat with super glue for added durability.

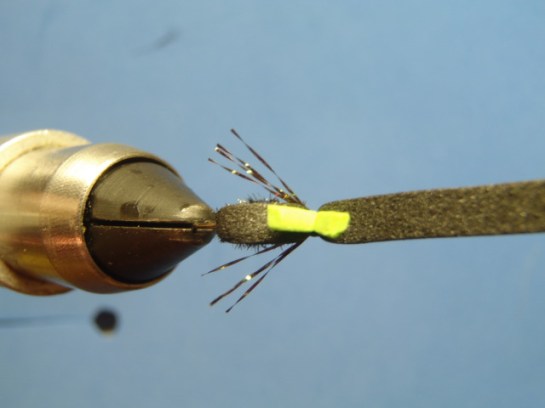
3. Tie in a small clump of buck tail. This will fill in the area of the shank that we left behind the lead and before the bend. Since its not a big tie in area, add a little super glue to make sure everything is locked in.

4. Tie in a few strands of flash, your choice. I used chartreuse flashabou.
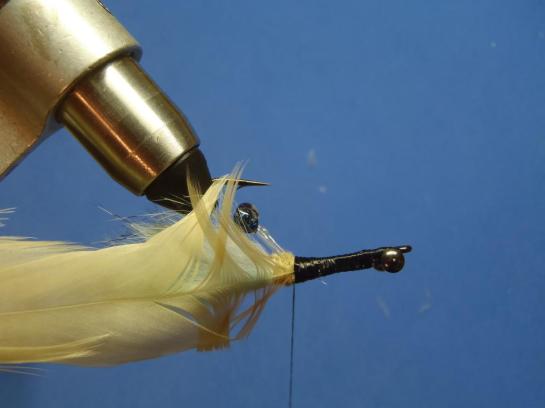
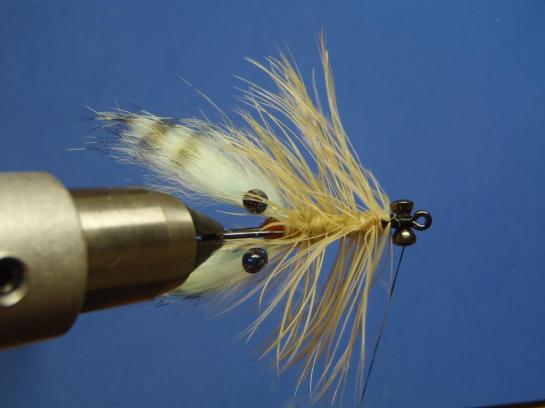
5. Select two matching saddle hackles and tie one on either side of the buck tail and flash. I like for them to extend past the buck tail. I normally want the flash to be the longest, but I under estimated the length of the flash.
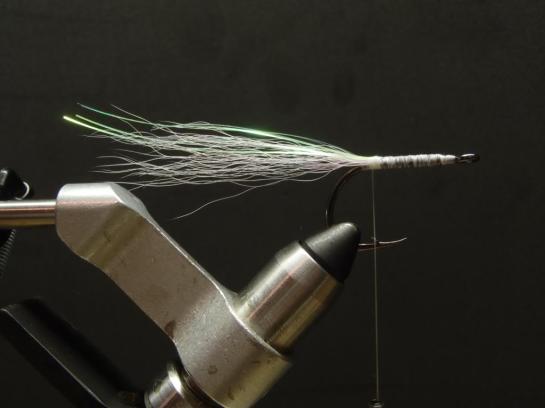
6. Put some marabou in a loop, spin it, and palmer it around the shank. I like for the marabou to extend a little less than half the length of the hackle.
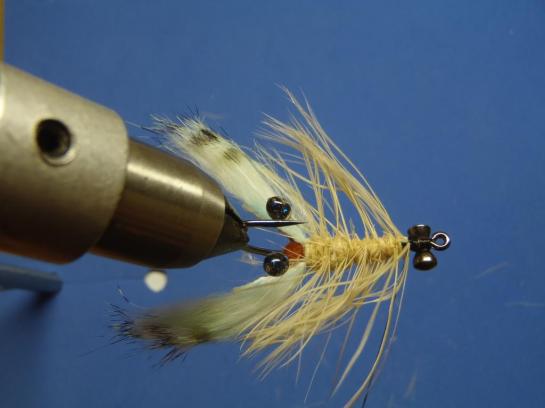
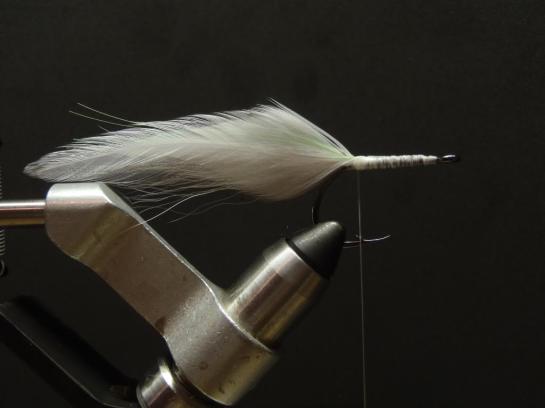
7. Put your choice of zonker in a loop, spin it, and palmer on to the shank. You can also tie in the zonker strip in and make a couple of wraps. I prefer the loop because I think the leather takes up too much space. Stop palmering the zonker with enough room to fit your eyes.

8. Tie in a few pieces of peacock herl on the top. I normally tie more than I want because some will inevitably break after a fish or two.


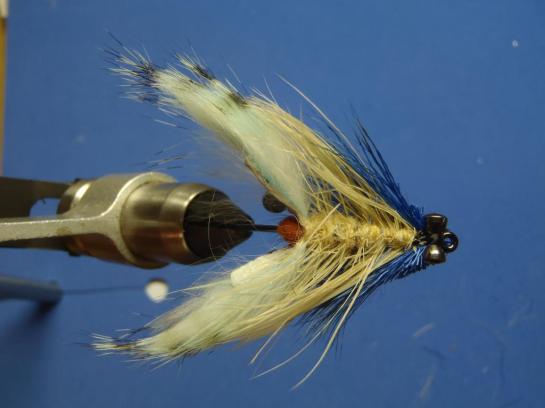
9. Tie in some red marabou for a throat. I will also use feather fibers for this as they are a little stronger. Either will work fine.

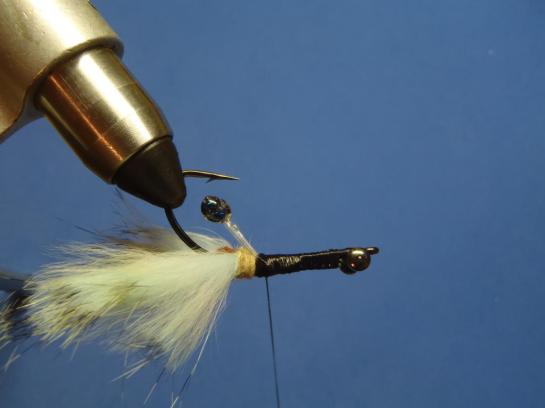
10. Tie off thread. Add your eyes of choice. I like to life like eyes but any (or none) will do just fine. I colored the thread behind the eyes black because I thought it looked better. I normally put down a layer of super glue to hold the eyes securely in place for the epoxy.

11. Layer with a coat of 5 minute epoxy (use 30 minute if you are doing these in batches. I can normally do two with 5 minute before it starts to set too much). Put in a dryer if you got one and let it spin till the epoxy sets.

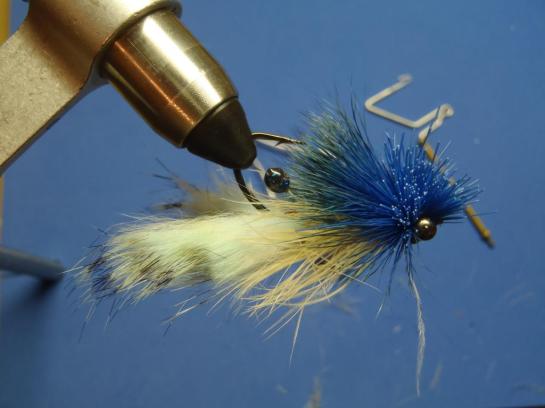
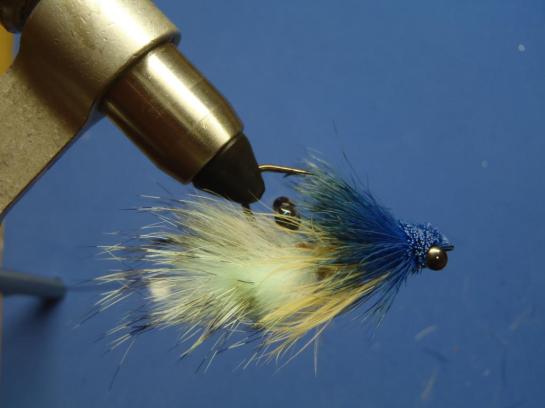
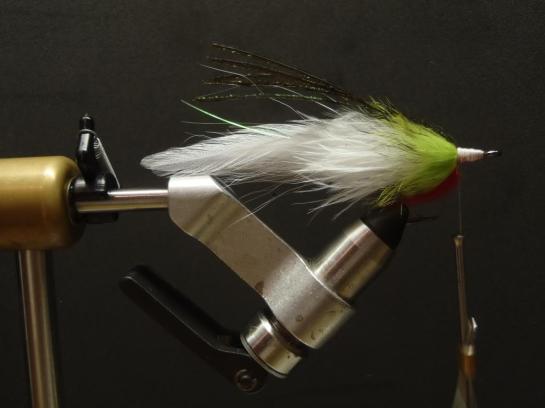
12. Finished fly. If I would have took my time a little more and let the epoxy settle before I put it on, that would have gotten rid of a lot of the bubbles in the head. That’s what I think anyway. But I don’t think the fish will care. Fly pushes a lot of water and has a big profile.


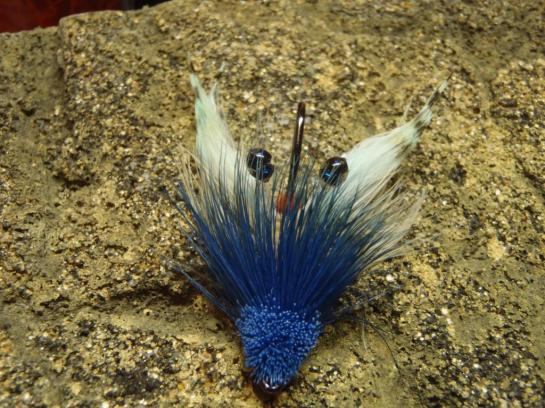
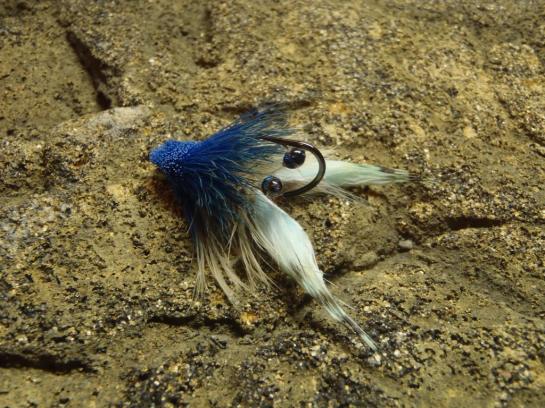
Proof of Concept