It’s Friday. JazzFest is this weekend. This is me smiling.

A face only a mother can love. Enjoy your weekend!
PS. That catfish fell for a mosquito wet fly earlier this week. Who knew?
It’s Friday. JazzFest is this weekend. This is me smiling.
A face only a mother can love. Enjoy your weekend!
PS. That catfish fell for a mosquito wet fly earlier this week. Who knew?
I’ve been out of town all week for work and haven’t had much time to update the blog. Flew back to Baton Rouge this morning and got a chance to upgrade the rack on the my truck with some Yakima products I purchased last week while picking up my Coosa at Pack & Paddle. I got the railgrabs and a boatloader. My crossbars had previously been held up by U-bolts I bought at the local hardware store. They worked great, never slipped, but the exposed screws would scratch my kayaks. I suppose I could have remedied that with some plasti-dip, but I figured I should just go ahead and do it right, hence the railgrab purchase. The boatloader should hopefully solve my issue with loading the Cuda by myself when coming off the water. It is just an extension bar I can rest the front of the kayak on, then load the back on top the rack, basically giving me another set of hands. I like to load my boats upside down on the crossbars, without any saddles or other accessories. The paddle stager on both the Cuda and the Coosa fit the Yakima crossbars perfectly, so the boat sits pretty nicely directly on the crossbars.
Before:

After:


Blake recently fashioned up a rod holder for his truck bed that should work better than, well, nothing at all. He documented the process and was nice enough to share it with us. His workflow is below:
I have broken a few rods in the back of the truck when it’s loaded with ice chests, kayaks, seats, and gear. To solve this broken rod problem, I moved the rods in the cab on the passenger side with the butts on the floor and the tips near the roof in the extra cab. This works, but I have three issues with this method of transport. The first issue is the fact that the hooks tend to catch into my seats. The second is that the passenger wasn’t comfortable and was always worried about hooking themselves. The third was the noise made by rods clanging and popping corks rattling. So, I set out to design a rod holder for my truck bed that would hold the rods out of the way when the truck is fully loaded. I didn’t like how any of the aftermarket rod racks pointed the rod up in the air above the top of the cab. I’m almost positive that I would go under a low clearance area and snap them all. Here is the design that I came up with. Haven’t tested it a whole lot, but I have driven with it fully loaded without issue.
Materials:
Tip: As with all pvc projects, it’s best not to glue anything until you are sure everything fits.
– 1 ¼ “ pvc
– 4 end caps
– 2 female to female 90 degree elbows
– 2 female to male 90 degree elbows
– 2 eye bolts and nuts
– 2 bolts, washers, lock washers and nuts.
– Berkley rod holder
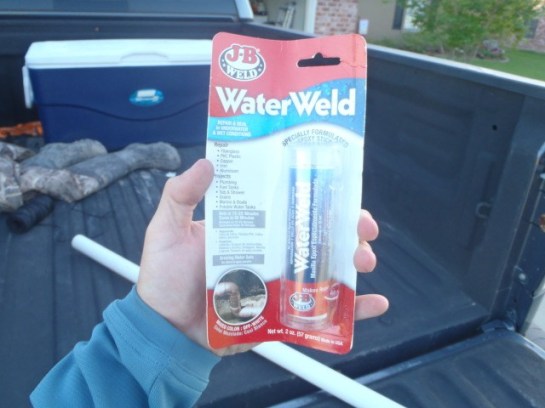
– JB water weld
– Exterior textured spray paint.
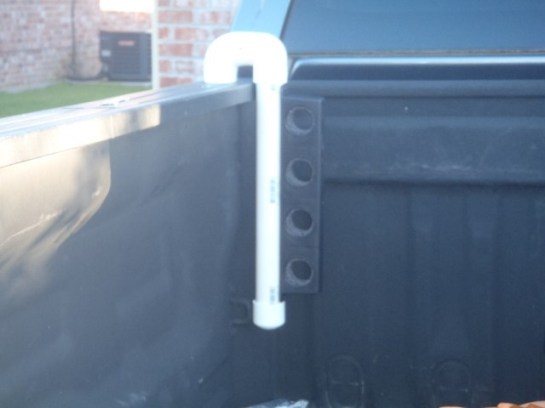
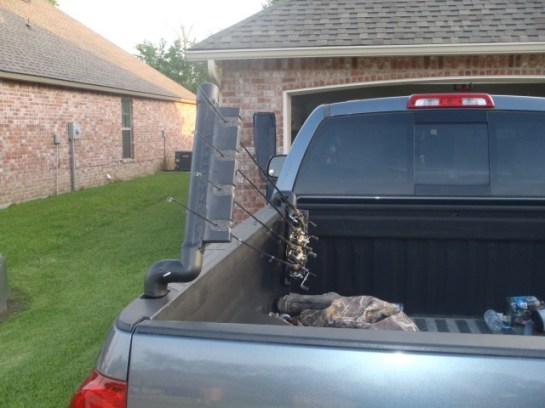
I decided to build the rod holder using the two over head rack mounting brackets located on the side of the truck bed.

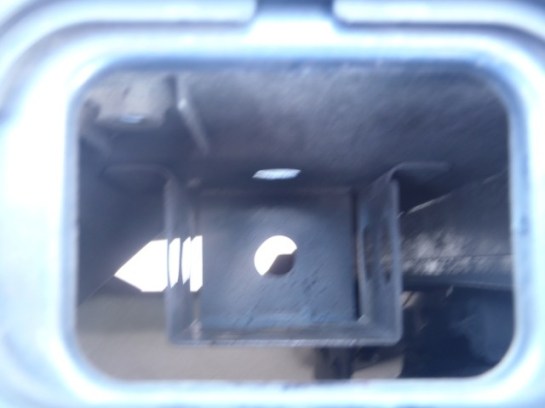

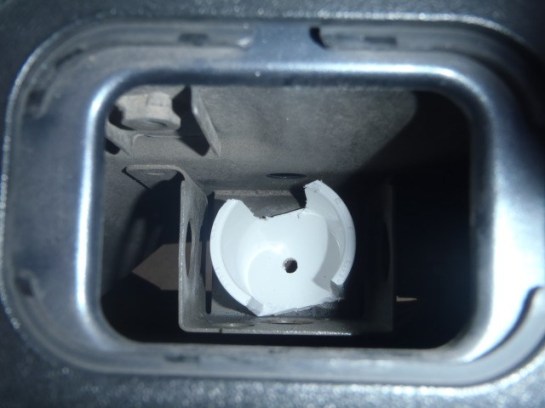
I mounted two of the end caps in the bottom of the bracket. This helped to take some of the play out of the bottom of the rod holder. I had to modify the caps to get them in the bracket. I used a dremel and a hacksaw. I used the bolts, lock washers, washers and nut to mount them. It was kind of tricky, but I was able to worm my hand up the side panels of the truck bed to get the washers and nuts on the bottom side of the bolts.

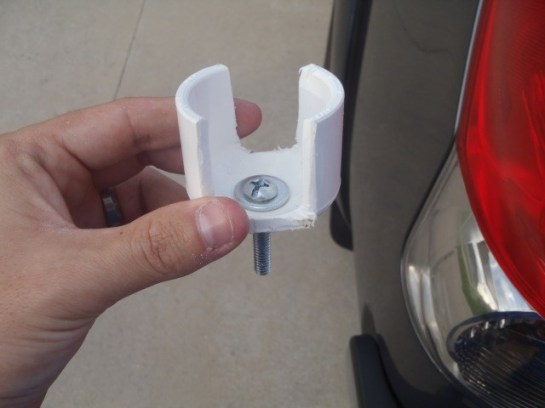
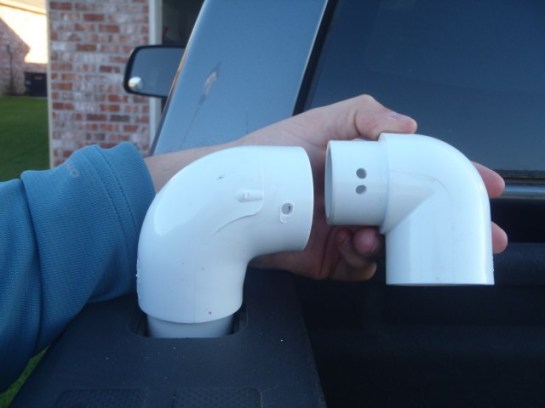
Measure two lengths of pvc to fit into the modified end caps and extend out of the bracket and above the rails of the truck bed. Then mount the 90 degree elbow.

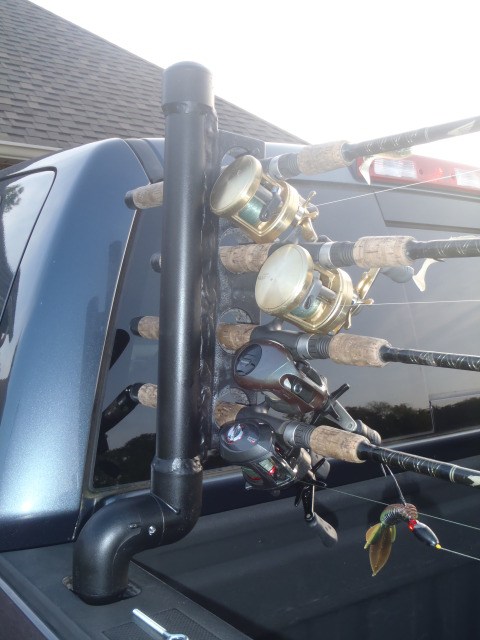
Now that the bracket is done, it’s time to start on the rod holder. I didn’t take a whole lot of pictures, but it should still be pretty self explanatory. Mount the M-F 90 elbow to one end of the pvc pipe. Then mount the rod holder to the length of pvc pipe. I initially used the wood screws that came with the rod holder and later changed them to short bolts and nuts for more security. Once the rod holder is mounted, the other cap can be fitted on the bottom. The reason for the holes in the elbows is to lock the rod holder arms in whatever position I want them in (I use the eye bolts and nuts for this).
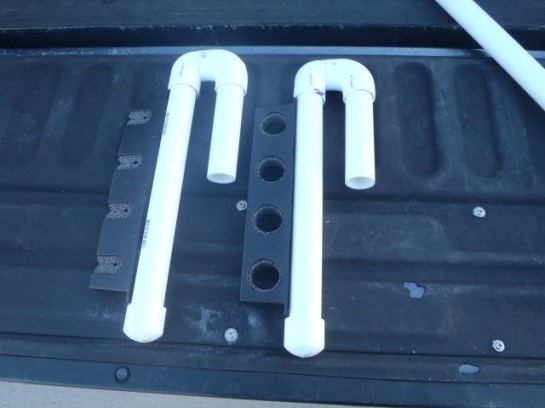
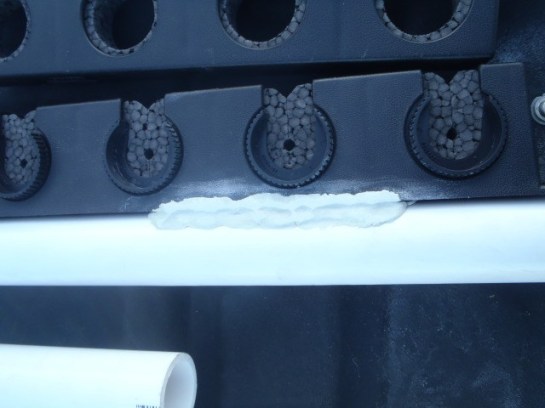
Once everything fits, it’s time for some gluing and finish work. I wanted to make these things appear as if they were welded and sprayed to match the sprayed bed liner that I have in my truck bed. I started by filling all the cracks with jb water weld. There may be better options for this, but I liked the fact that it is waterproof, sandable and paintable. Didn’t get a shot of it all puttied up, but I went around the whole rod holder and all the pvc connection areas. After a day of setting, I used an electric sander to sand it down to look like it was welded.
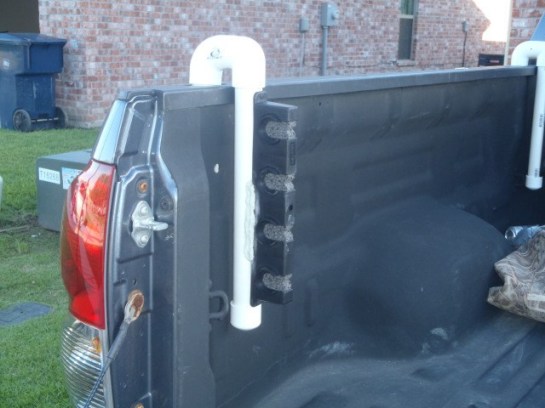
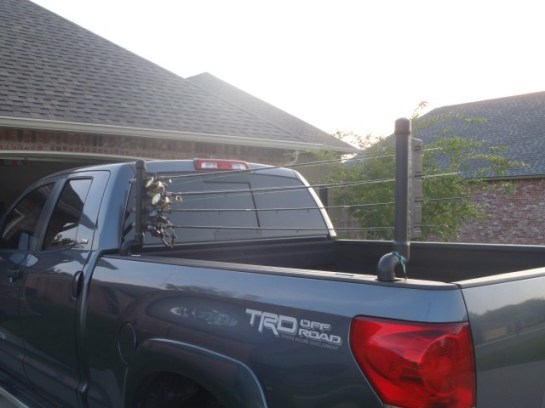
The final thing to do was spray paint it to look like the bed liner. Again, there may be a better paint for this, but it is what I had on hand. I bought some of the sprayable plastidip to try also. It just peeled off. One thing I like about the set up is that I can put it in three different positions to suit whatever circumstances that I am dealing with. See the final product below. One thing that isn’t included in the photos is that I used a hex head bolt to secure the rod holder in through the hole in the side wall of the truck bed (see earlier picture of inside of the truck bed). The hex head replaced the bungie cord that is in the pictures below.
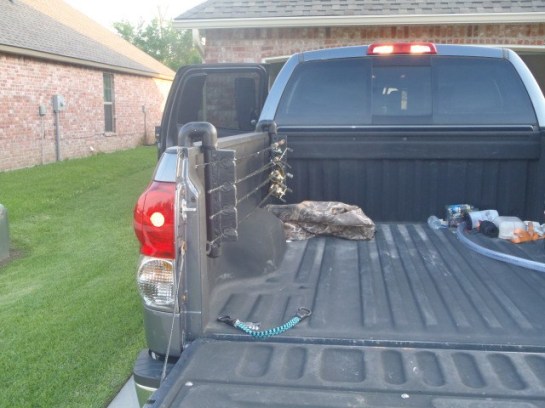
Option 1. Tailgate down. Kayaks on other side of the truck bed.

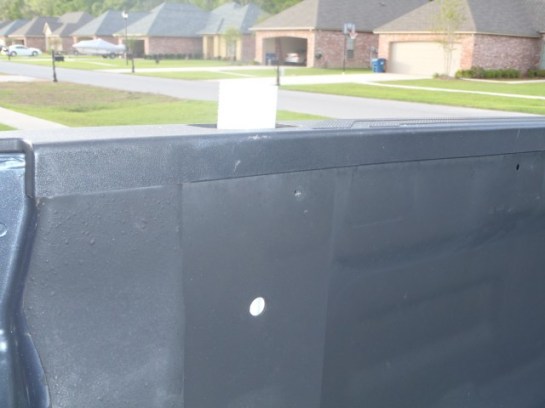
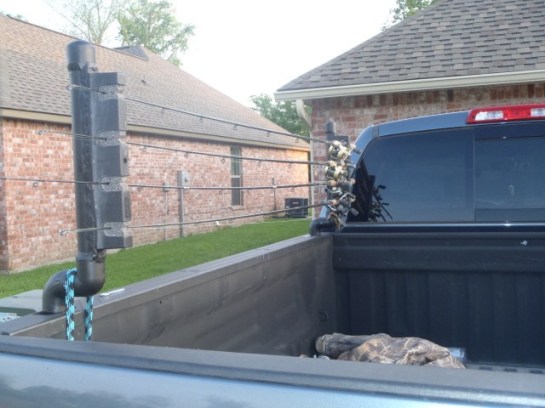
Option 2. Tailgate up. I use the holder in this position when I don’t have the kayaks
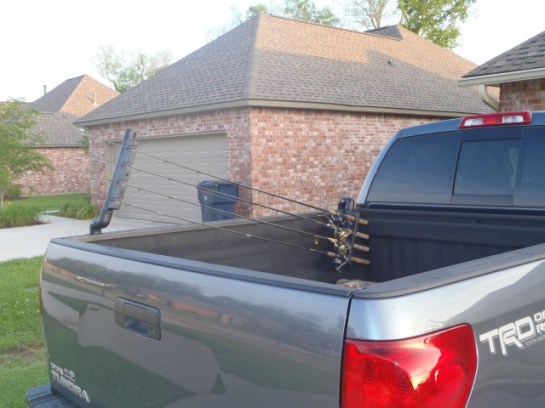
Option 3. Tailgate up. Truck bed full of stuff. Going camping or something like that.

Hope it works out for you . Enjoy.
