
Southern Trout Feb/Mar 2013
2 Comments
Made it back down to the marsh this weekend for some kayak fishing and this time Blake came along. We didn’t fish the same spot I fished two weeks ago, but chose to explore further a spot we’ve been hitting a lot this Winter. It’s a spot that I know has big fish potential, but the biggest I’ve caught here has only been 31″. A 31″ red is still a big fish, but I was hoping to get into reds in the 40″ class here.
The weather was pretty nice for a February day with temps in the 60’s and winds under 10 mph. Cloud cover was an issue throughout the day, but we were able to take advantage of those times when the sun peeked out.
The first pond we got in was crystal clear, shallow and covered in oysters. It was still early in the morning to really effectively sightfish, but I did manage to catch one 27″ red there with a nice little round belly on him. I got an out of focus picture of him below.
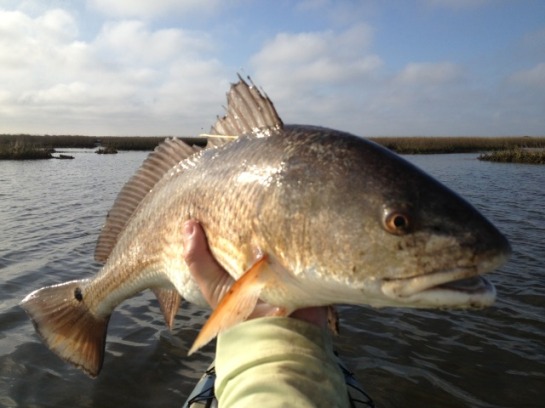
I spooked a bunch of other reds in that pond but failed to catch any more. The reds were schooled up in this pond, so once I spooked one, they all took off. Shallow, clear water is a double edged sword. You can see the fish better, but they can see you better as well, they are quick to spook in conditions like that. The cloud cover didn’t help either. I wasn’t seeing fish until they were too close and by then it was too late. We moved on into a bayou and followed it toward a large bay.
The paddle through the bayou was really cool. The bayou was deep and clear, meandering it’s way through the marsh. Narrow in parts, it had shallow flats along every bend. We didn’t see a whole lot of fish in the bayou itself, but I did almost collide with a porpoise. It amazes me that they make it as deep as they do into the marsh. As we neared the end of the bayou a large redfish appeared toward the surface and momentum had me headed right for him as he swam toward me. I pitched a jig in front of him and he took a swipe at it, missing the first time, but hooking up the next. I fought him for a bit, but soon the hook came loose and he was off. It was unfortunate, but still gratifying because it was a bull red in a place where I hoped he would be.
We pushed on and it wasn’t long before Blake was hooked up on a big fish. As he was fighting it, I spotted another big red. This time I threw a fly in front of him and had him hooked. However, much like the last fish, he threw the hook. Luckily Blake was able to land his, after a nice drag singing fight.
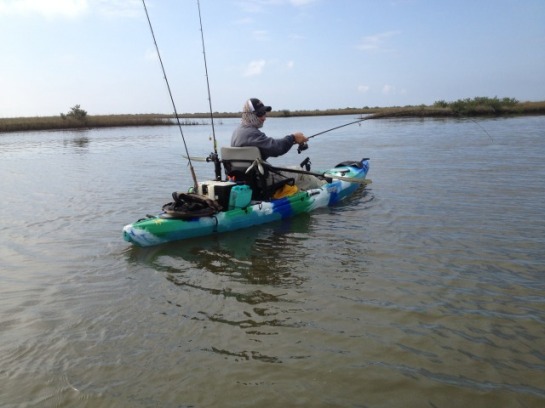
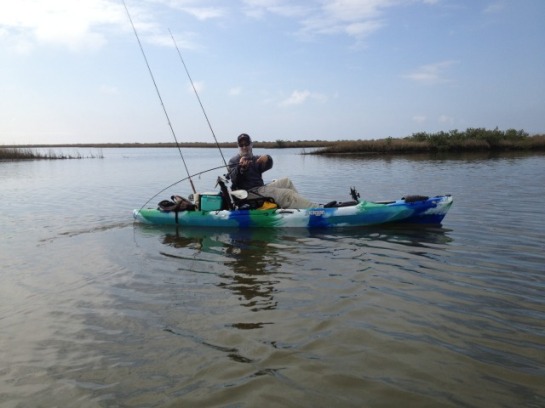

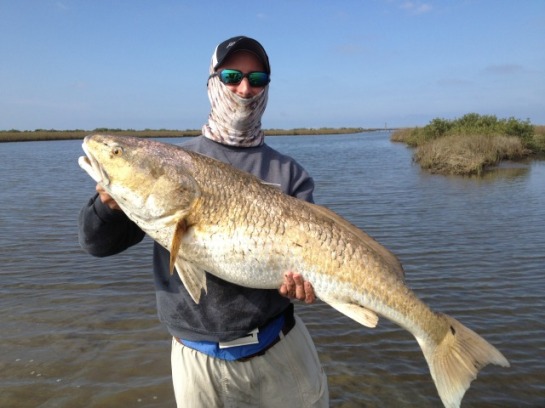
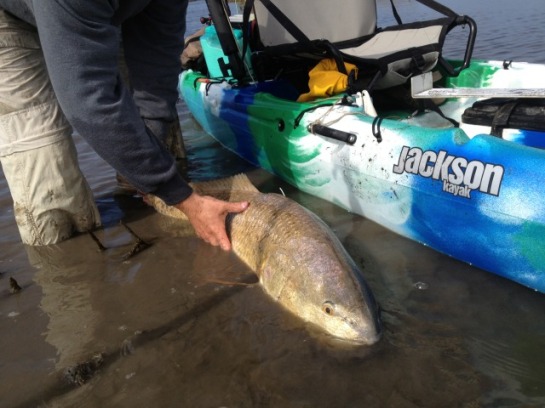
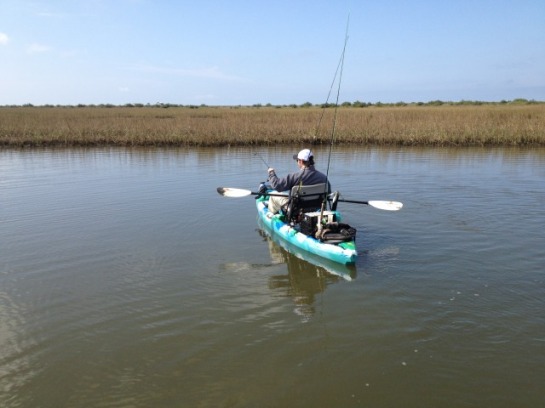
What a fish! A 39.5″ beast with a gigantic head, Blake’s personal best redfish. What was great about this fish was that it was crawling along the shore with his back was out of the water. As you can tell from the pictures Blake was in my boat. He sold his Malibus and put in an order for a Cuda 12 of his own. So I let him use my Cuda 12 this weekend to get a good feel for the boat while I paddled my old Coosa. After tagging and releasing that big redfish, we stood back up on our boats and went back to sightfishing. In no time again, Blake hooked up with another giant and the fight was on.

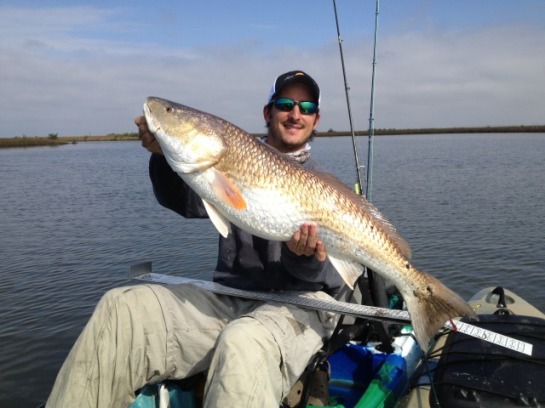
I think this one taped out at 36″. Another big redfish for Blake and within minutes of the last one. If you’re keeping count, we had shots at 4 reds over 35″, all in the same area, all within probably 30 minutes. Talk about being in the right place at the right time.
We moved on into a canal to avoid the windy open water conditions of the bay. Unfortunately this canal was long and featureless and shots at fish dried up. I broke the dry spell with a 28.5″ leopard red I caught on the fly in a little pocket in the marsh grass.
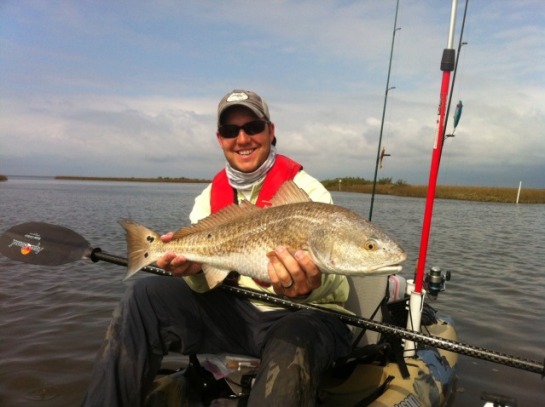
That was only the second fish I landed on the day and that is how it would end. The cloud cover thickened and the wind would pick up on us again and prevent us from getting into another bay where we’ve had a lot of luck in the past, so we headed back to the launch.
As you can see in the picture I was using a new paddle today, an Aqua Bound Surge Carbon. An incredibly light paddle, it slices through water like a hot knife through butter. It is a little noisier than the Sting Ray Hybrid while paddle poling, but seems to be just as strong. I look forward to using it more and hopefully can give a gear review in the future.
You would think I would be somewhat disappointed with a two fish day, but it was actually the opposite, I was ecstatic. To be there when Blake landed his two personal best reds in the kayak, my kayak at that, was awesome. That Cuda 12 has some serious mojo. It was really gratifying to get on bull redfish at a spot that I scouted on my own. I’ll never forget the epic trip from two weekends ago, but that was with Brendan’s help. This was a place I scouted via Google Earth, then made several trips paddling to different areas each time out. There weren’t any fish last time I came through this spot, but I knew it had serious potential. What else is great about it is that we weren’t soaking cracked crab in a pass either to catch these bulls. We found a place to sightfish for these behemoths in a kayak that perhaps few other people are even aware of. Kayak fishing can be very rewarding sometimes and this past weekend was one of those times.
Edited just the video of the biggest red. The beginning is slowed down so you can get a good look at the eat, he actually takes two swipes at the fly before I set the hook. Look for the shark cruising by at around the 3:50 mark.

