Archive

Fly Fishing

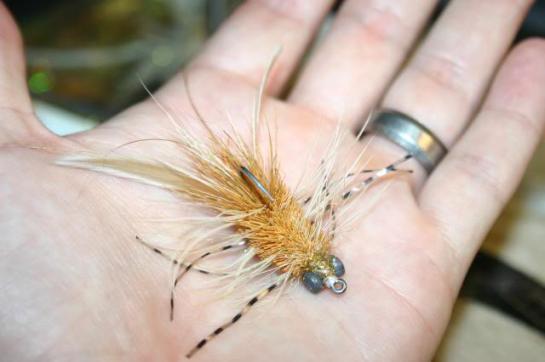
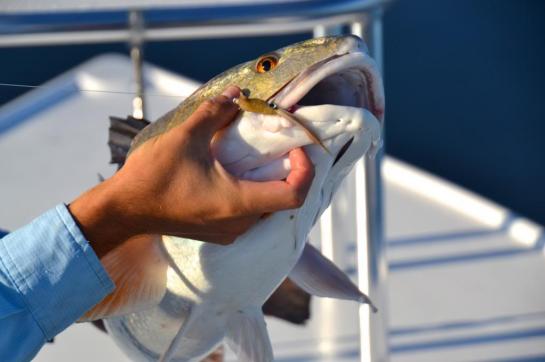
Bull red season is in full swing in Louisiana and the fly of the month for November should help you get one to eat, provided you make an accurate cast of course. It is Blake’s take on a Tim Borski classic, the Chernobyl crab, that he calls the Fukushima crab.

Materials:

  • Your favorite hook – I used a mustad 34011, size 2

  • Dumbbell eyes – pick a size suitable for your hook and the depth you wish to fish

  • Marabou

  • Deer hair for spinning

  • Hackle

  • Schlappen

  • Rubber legs

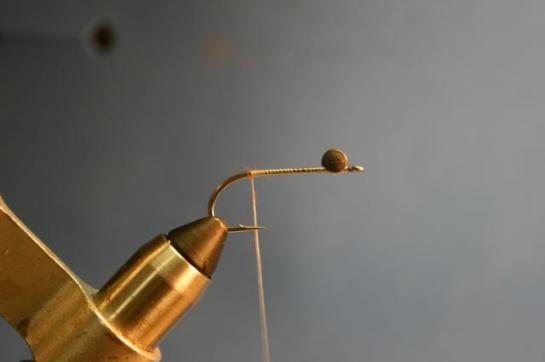
Step 1. Start thread, tie in dumbbell eyes and bring thread to the start of the bend.
IMG_1522

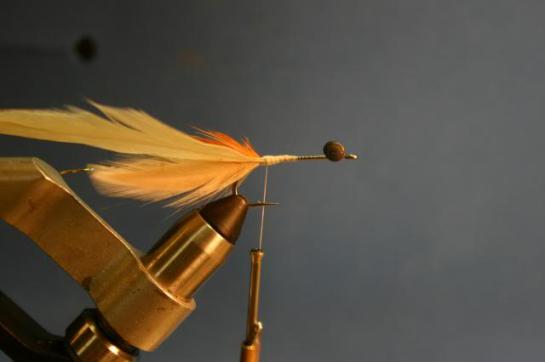
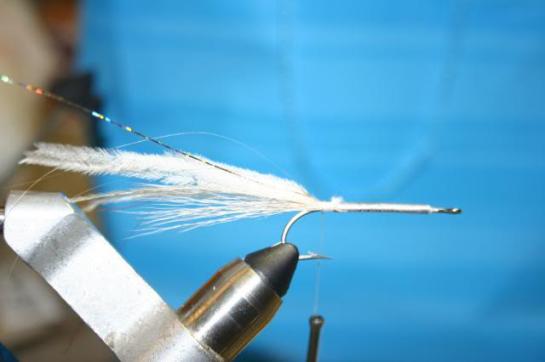
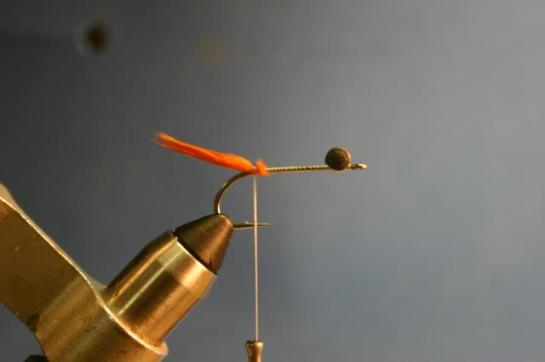
Step 2. Tie in a small amount of marabou about as long as the hook shank. Wetting it slightly makes it easier to handle.
IMG_1523

Step 3. Tie in a few strands of natural deer body hair on the underside of the hook. This should be the length of the entire hook.

IMG_1524

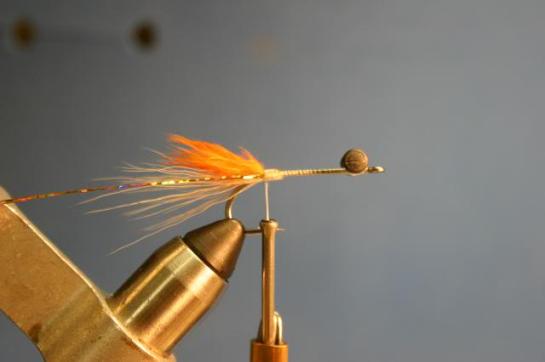
Step 4. Tie in a few pieces of flash on either side of the hook shank. Later trim this so that it is a little bit longer than the rest of the materials.
IMG_1525

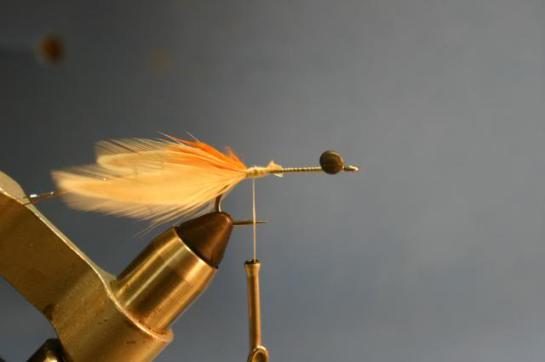
Step 5. Tie in a hackle feather on either side of the shank. I like for them to splay out, but I’m sure they would be fine tied in the other way also.
IMG_1526

Step 6. Tie in a schlappen feather.

IMG_1527

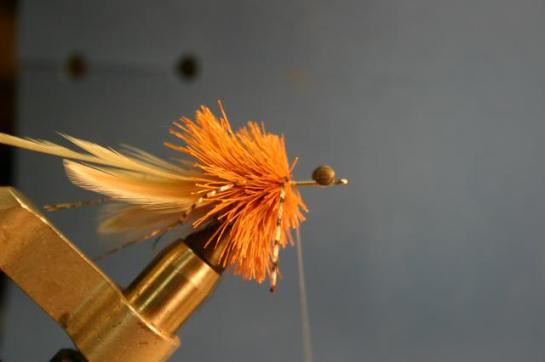
Step 7. Cut, clean, and stack(even the tips) a small amount of deer hair, maybe ¾ of a pencil. We aren’t packing a popper here, so you don’t need a giant amount of material. Measure the tips to make a collar at the back of the fly and spin the deer hair around the shank.

IMG_1528

Step 8. Tie in a set of rubber legs with figure 8 wraps. I like to add a little super glue for durability..

IMG_1529

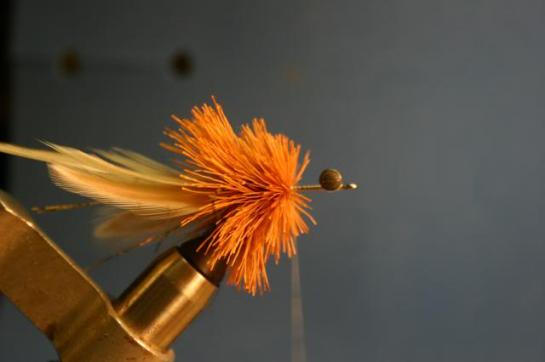
Step 9. Move thread forward of the legs and spin another clump of deer hair. No need to stack this one. I cut the tips off of it since I don’t need to form a collar which leaves less material to get in the way.
IMG_1530

Step 10. Tie in another set of legs.

IMG_1531

Step 11. Spin another clump of deer hair.

IMG_1532

Step 12. Tie in the last pair of legs right behind the dumbbell eyes.

IMG_1533

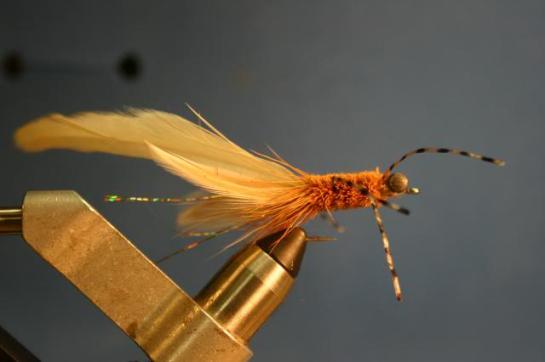
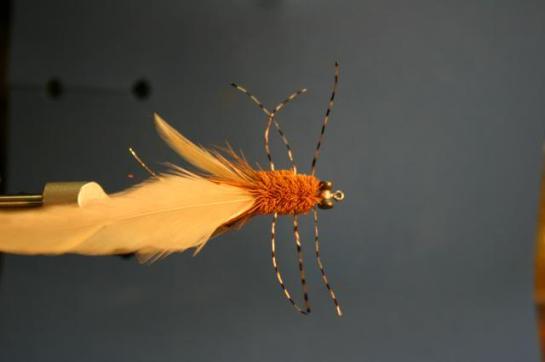
Step 13. Whip finish the thread and trim the body of the crab making sure not to cut the rubber legs, the schlappen feather, or the collar. I ended up trimming the collar on the bottom of the fly and leaving it on the top of the fly.
IMG_1534

IMG_1535

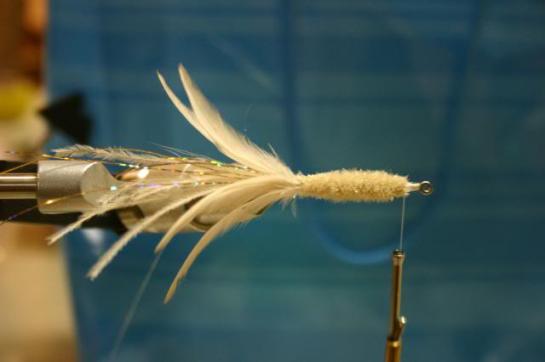
Step 14. Start the thread again and bring it behind the dumbbells. Palmer the schlappen up the shank and tie it in behind the eyes.

IMG_1536

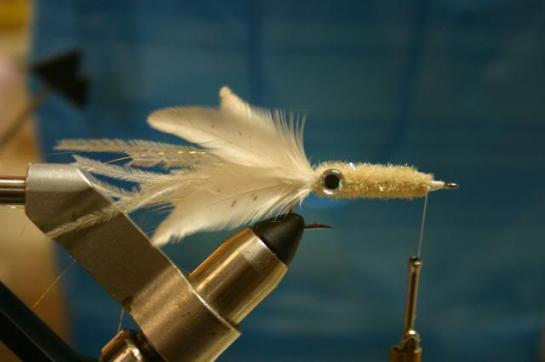
Step 15. Dub the head with a little dubbing of your choice and whip finish the thread between the dumbbell and the eye. I like to trim the hackle on the top and bottom.

IMG_1538

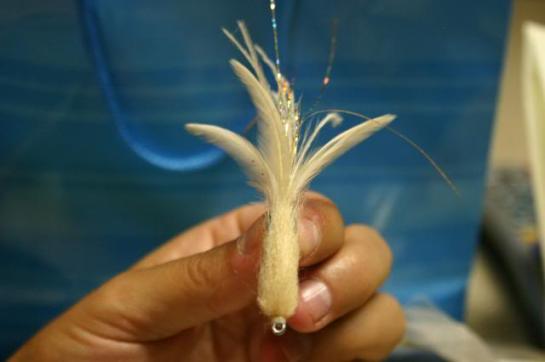
Finished fly.

IMG_1543

The Borski Chernobyl crab worked a few weeks ago for Blake and Barret, so I would imagine the Fukushima would  have worked just as well.

DSC_1477

Enjoy.

October’s fly of the month is Blake’s take on a bait that we don’t often talk about here, squid. We don’t talk about it much because we fish a lot of brackish water where you won’t find many squid, however, there’s no doubt in my mind that redfish like to eat squid and this may be the best time of year to throw this pattern, as we begin to target big bulls that are making their way inshore. It looked to be a good fly choice this past weekend for Blake as he and Barret had a pretty good day catching slot and bull reds.

Materials (in order of application):

  • Lead tape (same tape that was used here: Blake’s deceiver variant

  • Your favorite long shanked streamer hook

  • Bucktail

  • Ostrich herl

  • Flash

  • Saddle hackles

  • Flash chenille

  • Stick-on eyes

  • Pseudomarabou

Step 1. Cut a piece of lead tape so that it covers the shank of the hook. Leave yourself enough room at the bend to tie in the tailing materials and leave room at the front to finish off the fly. Cover the tape with a layer of thread.

IMG_1404

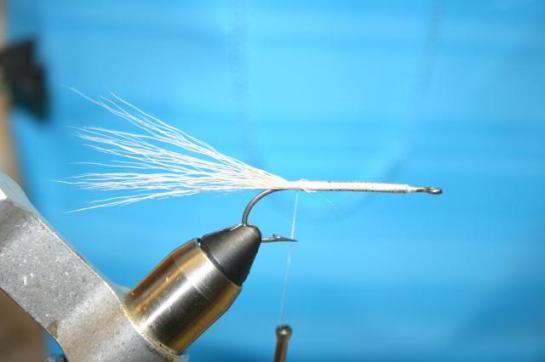
Step 2. Bring thread to a spot right before the bend of the hook. Tie in a small clump of bucktail.

IMG_1405

Step 3. Tie in a few ostrich herls over the top of the bucktail. I like this to extend farther than the bucktail.

IMG_1406

Step 4. Tie in a few pieces of flash either on top or on either side of the fly, your choice.

IMG_1407

Step 5. Find four somewhat small and webby saddles and tie them in, splayed out, with two on either side of the fly. I used some cheap saddles that I got from one of those Cabela’s feather grab bags. Tidy up the shank a little.

IMG_1411

Step 6. Tie in chenille at the back of the fly and palmer it forward. I like to coat the shank with super glue or SHAN before palmering the chenille to make the fly a little more durable. Tie the chenille down leaving some room at the eye.

IMG_1412

Step 7. Trim the chenille to a point at the front of the fly. This will help the veil lay back rather than splay out in a future step. Cut the back ends of the chenille body flat on either side to make a good base to glue the eyes.

IMG_1415

Step 8. Glue the eyes on the base that you made. I use the stick on eyes and glue them on using household goop. Notice the pointed end of the chenille at the front of the hook. I should have used some bigger diameter eyes for this fly because squid have huge eyes for their size, but I didn’t have any.

IMG_1416

Step 9. Tie in a clump of pseudo marabou at the eye. I do this by making a cylinder with the material, making a small hole in the middle of the cylinder, and pushing it over the front of the fly until the material is as far back as I want it. Take a few gathering wraps of thread , push the butt ends back and tie everything back on the shank.

IMG_1418

Step 10. You could leave the fly as it is in the previous pic, but I decided to trim the collar down. I just want it to show a little motion in the water.

IMG_1423

Finished Fly:

IMG_1432

IMG_1429

Proof of concept:

DSC_1454

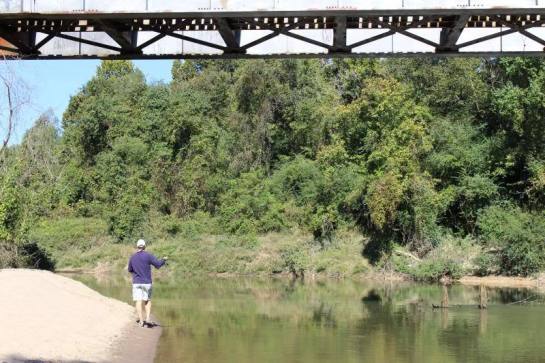
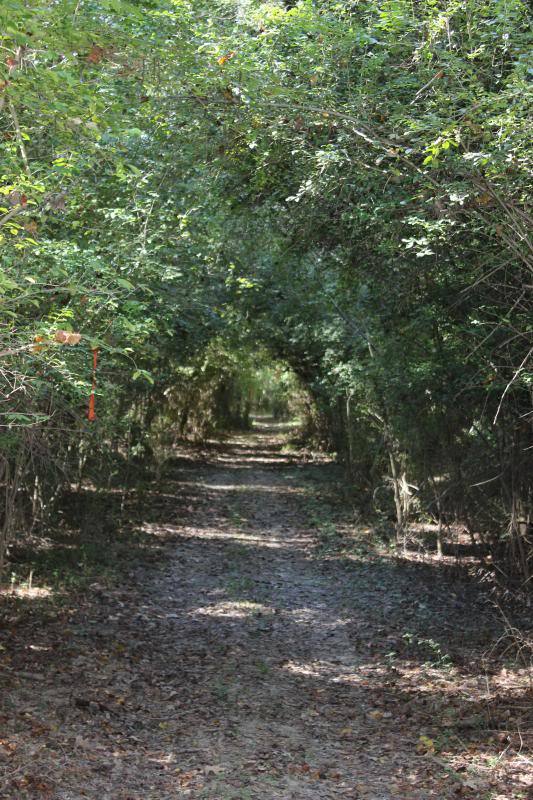
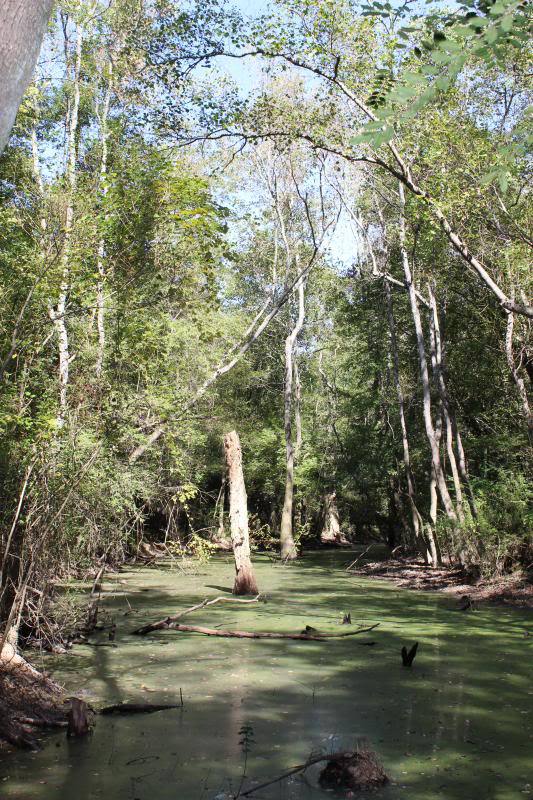
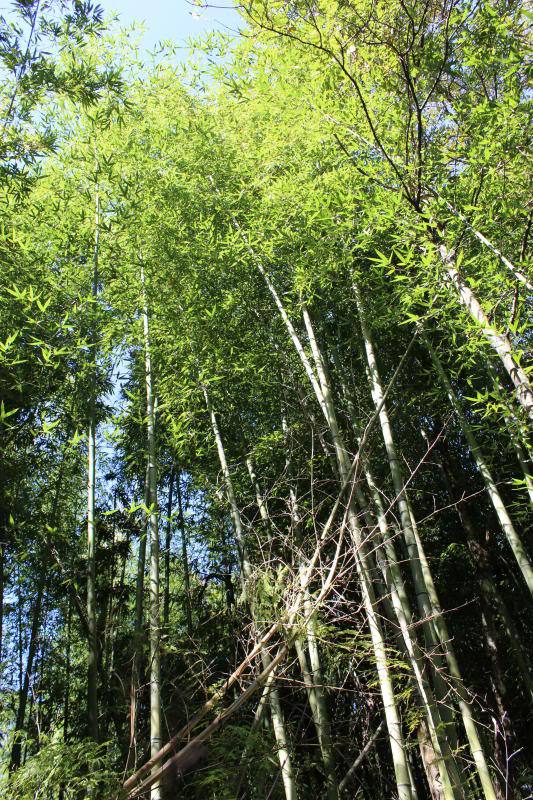
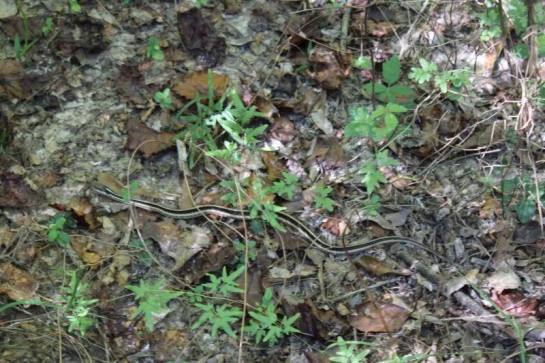
This past Saturday Amanda and I had a chance to check out BREC’s newest park, the Frenchtown Road Conservation Area, which is the biggest conservation area in the system at 495 acres. It encompasses most of the land between the Amite and Comite Rivers, south of the Illinois Central Railroad. Currently there are a little over three miles of hiking trails on the property through mostly bottomland hardwood forest.

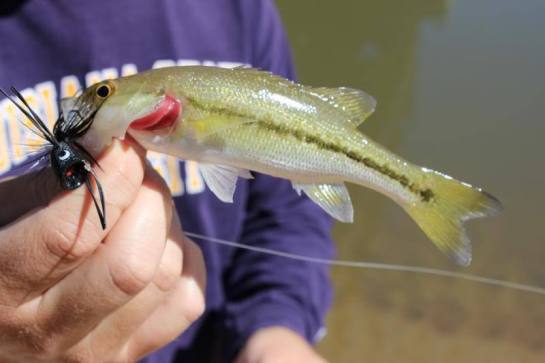
These trails are just the beginning of the park’s intended development. I’m hopeful that established kayak/canoe launches are in the master plan, as it sits now the only river access that is available is via a 0.7 mile railroad trail to a beach on the Amite River at the park’s NE corner. Any new access to our area’s scenic rivers is a good thing, but it looks like I’ll have to invest in a cart before I can give this stretch of water a proper go. I did manage to get a few mid-hike casts off from the beach and was rewarded with a little spotted bass for my efforts.

IMG_0029

IMG_0040

IMG_0053

IMG_0057

IMG_0068

IMG_0078

IMG_0085

IMG_0087

IMG_0100

IMG_0104

IMG_0111

IMG_0112

It was a nice day for a hike and I look forward to using this area more in the future. There was a little confusion on the trails though. Seems a nearby property owner was not too pleased at the location of the big loop trail in the park and “No Trespassing” signs were placed toward the end of the trail turning this loop into a long one way. According to the park’s facebook page it sounds like a bypass trail has been added and the area can be avoided. You’d think they would figure these things out before opening the park, but live and learn I guess.