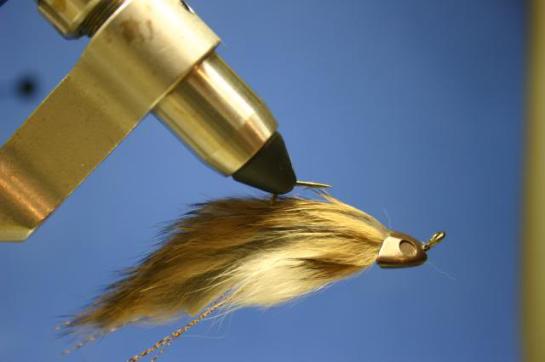
The fly of the month for August is the first we’ve had featuring Fish Skull products, Blake writes, “I’ve caught a few reds that had gobies in their belly, so I figured that I would give one a shot using the sculpin helmets that I bought. I ended up with the SS (Simple Sculpin) Goby.”
Materials:
- Your favorite jig hook (The Mustad 34011 will also work, just bend it into a jig hook)
- Magnum and crosscut zonker strips
- Flash
- Thread
- Sculpin head
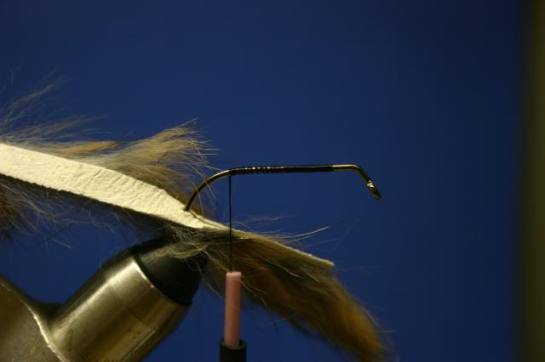
Step 1. Puncture a hole in the zonker hides using a bodkin and push the hook point through from the skin side to the hair side. Mount the hook in the vise.

Step 2. Start thread and lay down a good base along the hook shank.
Step 3. Tie in flash on either side of the shank.

Step 4. Tie in the crosscut zonker skin side up with the fibers pointing away from you. This will ensure that the fibers will lay back toward the bend when palmered up the shank.

Step 5. Palmer the zonker down the shank in overlapping turns. I lay down a layer of super glue on the shank to help things stay in place. Tie in the strip leaving enough room behind the eye to fit the sculpin head. I like to slide the head on now and make sure that I have enough room.
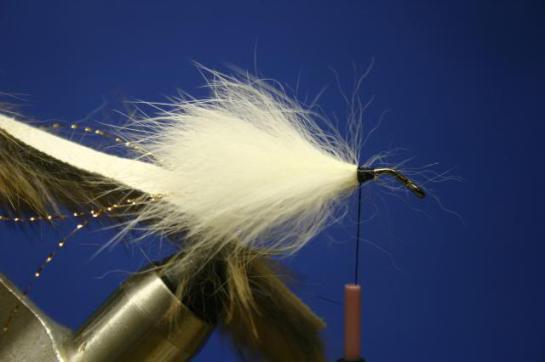
Step 6. Bring zonker strip over and tie in at the same spot.
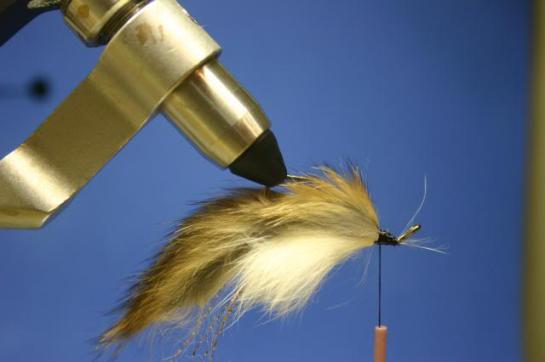
Step 7. Tie in a clump of rabbit hair on either side of the fly at the same spot that everything else is tied in. The tie-in area doesn’t need to be neat and tidy as the helmet will cover everything up. Just make sure that the tie-in area is not too bulky as to inhibit the head from fitting snug to the materials. Tie off the thread.


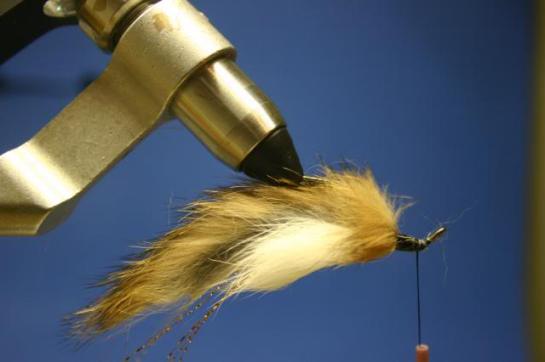
Step 8. Coat the tie in with superglue. I also like to put some superglue in the inside of the sculpin helmet. Push the helmet on to the fly making sure to butt it up nicely against all the rabbit hair.

Step 9. Start thread in front of the helmet and wrap a thread dam to keep the head in place.

Step 10. Add a small amount of super glue in each eye socket and place the eyes in their spots. Coat the thread wraps with some SHAN and the fly is ready to go. Finished Fly


