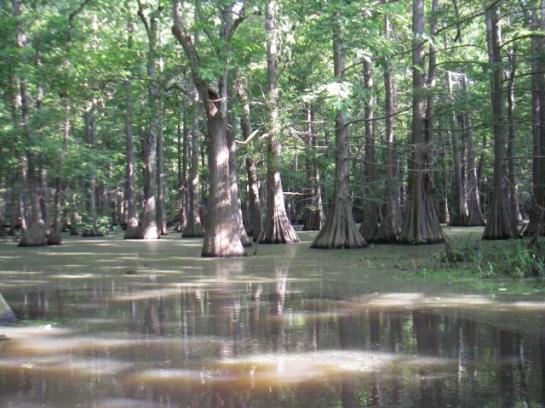
Steve and I set out last Saturday in search of Largemouth bass with a penchant for topwater frogs. We’d heard from a friend that a certain swamp to the west of town held good numbers of them and was the perfect place to try our luck. So we ignored the urge to head to the marsh and went bass fishing in the swamp instead.

It was a beautiful day, winds were fairly light, and temps hovered in the low 90s, which also meant the mosquitos were out in force. We set out around sunrise and when we reached our destination we were greeted with some super fishy looking water, which always gets the adrenaline going. Steve didn’t waste any time getting onto the water. As always, I was a little slower.

IMGP8150

IMGP8154

IMGP8158

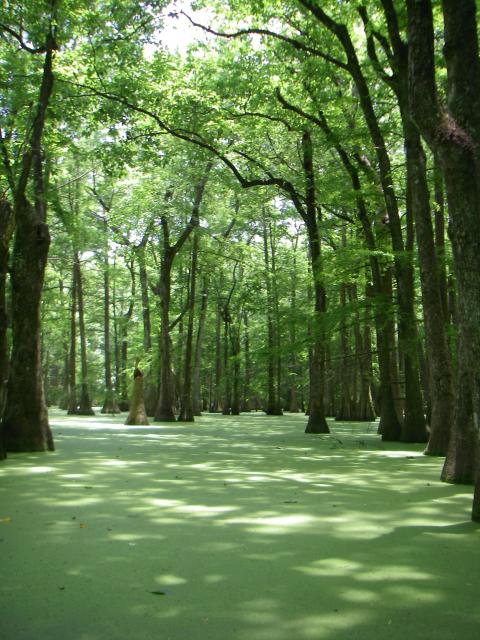
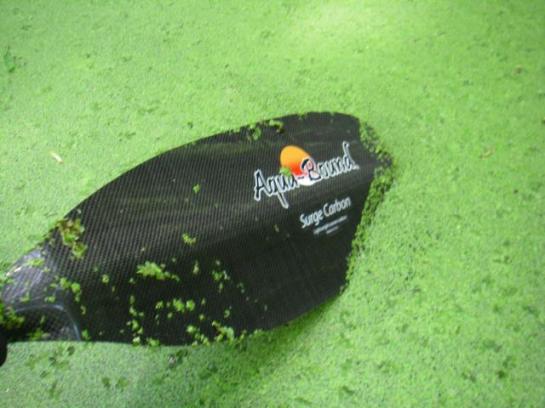
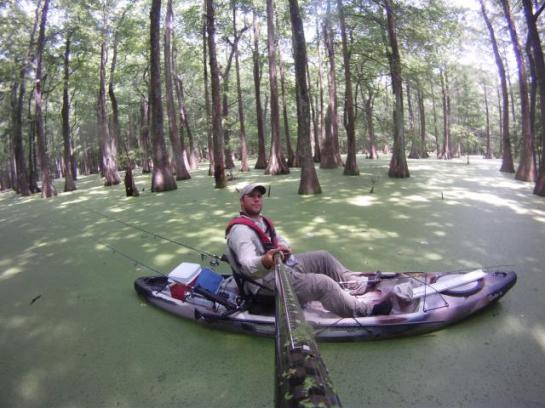
I’m almost ashamed to admit, especially living in Louisiana, but I can’t remember the last time I fished water like this. Despite being surrounded by them, I generally avoid still, swampy waters like this because they are tough to see through and there’s no telling what the oxygen levels are like. However, I was pleasantly surprised to see excellent water clarity, that is, under the duckweed. Of course the duckweed covered most of the surface like a bright green blanket – which is why we would be frog fishing.

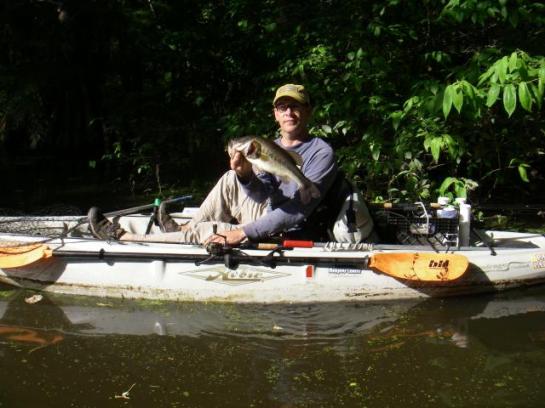
Steve got on the board early on with an 18.5″ LMB on a frog and I followed up with a 24″ choupique on a texas rigged soft plastic, which proved to be the only fish I’d land on the day.
IMGP8157

GOPR2705

I threw the soft plastic in places where the duckweed was more broken up, however where it was thick, the frog was our best bet, in fact it was the only bait that even elicited a strike from a LMB. Steve had better luck than I did throwing the frog and ended up landing a few, all around 18″ if I’m not mistaken. I came up short on the hook set on every fish that hit. Being new to frog fishing, I was under powered and over anxious, throwing medium tackle with light braid and setting the hook way too early. Still it was a lot of fun to watch the toilet bowl flush and feel a taught line, even if it was just for a few seconds.

IMGP8166

IMGP8159

IMGP8161

IMGP8165

GOPR2750

Each of us did have our exciting moments though. I hooked and fought a nice 18-20″ bass for a short while, only to lose him right next to the boat, in mid air – it had my heart racing. Steve, however, lost a true beast.

We were fishing parallel to each other, with some distance in between. I was on the opposite side of where he was working his frog when I heard a huge blow up. I looked over and all I see is a giant tail and a portion of his body breach the surface as the fish leaped from the water, Steve’s line went loose during the acrobatics. It was a very large bass, one of the biggest I’ve seen in public water, “dangs” and “dagnabbits” were definitely uttered.

Fishing the swamp really opened my eyes to the opportunities I often overlook. It was tough fishing and even though I only landed one fish it was still rewarding. Above average bass are certainly there. Next time I head that way I’ll be better equipped and hopefully my stories won’t be about the one that got away.

GOPR2763

GOPR2730

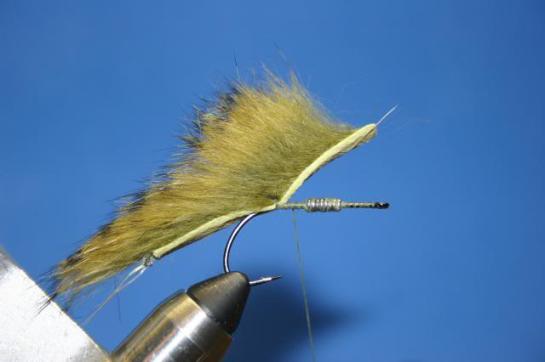
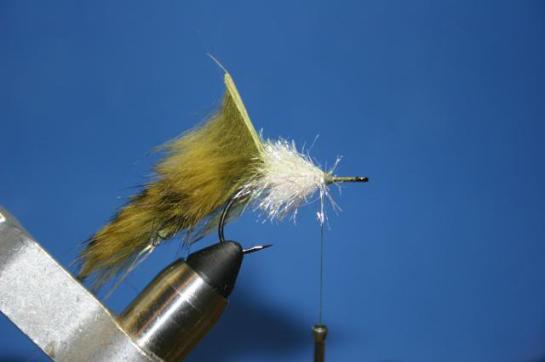
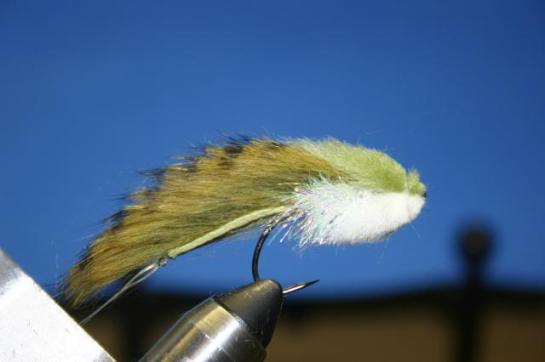
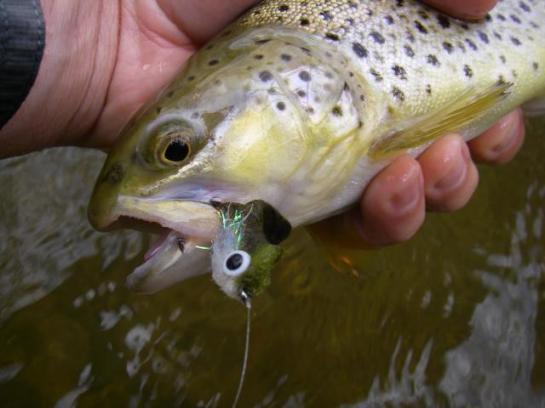
June’s fly of the month is one that I had some success with for trout in Georgia back in April, it should also be a killer bass and redfish fly though as it’s one of the most realistic looking flies I’ve seen in the water. Blake tied this up and provides his instructions below:

Materials:

– Flashabou

– Zonker strip

– Flash chenille

– Wool roving

– Doll eyes

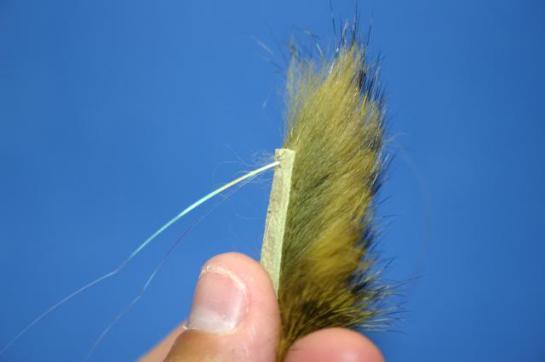
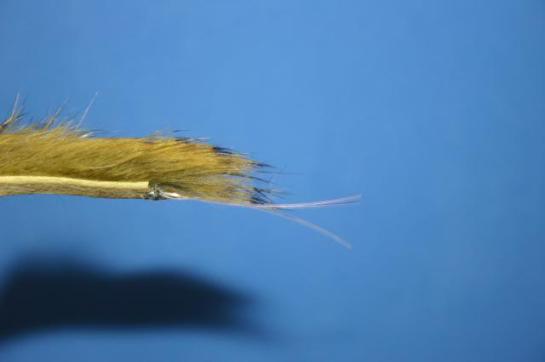
Step 1. Use your bodkin to punch a hole at the end of the zonker strip. Use your bobbin threader to pull a few pieces of flash through the hole.

IMG_0785

IMG_0786

IMG_0787

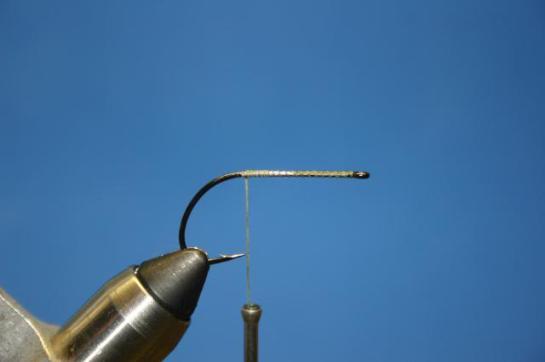
Step 2. Mount a needle in the vice and start the thread on the end with only a few wraps.

IMG_0788

Step 3. Tie the flash together behind the zonker keeping it from falling out. I’m sure I could have just tied it in to the shank of the hook, but I just wanted a little flash at the back of the fly, so I did it this way.
IMG_0789

Step 4. Whip finish, pull the whole thing off the needle, use your choice of cement on the threads.

IMG_0790

Step 5. Mount hook in vice and lay down a thread base to the bend of the hook.

IMG_0791

Step 6. Add whatever amount of lead that you want along the hook shank and cover with thread.

IMG_0792

Step 7. Tie in zonker with a couple wraps at the start of the hook bend.

IMG_0793

Step 8. Tie in the flash chenille and palmer up the fly leaving enough room for the zonker tie in and the head.

IMG_0794

IMG_0795

Step 9. Do your best to part the flash on the top of the hook, pull over the strip, and tie it in.

IMG_0796

Step 10. Use whatever material you like to make the head. I used some wool roving that I got from Joann fabric. It’s a lot of material. I don’t remember the cost, but since it isn’t made for fly tying, I’m sure its cheap. I skipped some steps here by accident. I tied one clump of white on the bottom, then one clump of green on the top. Pull back and make a couple wraps on the shank to secure, and then repeat behind the hook eye. I only used 2 separate tie ins, but if you use less material, you may need more. You end up with something like this.

IMG_0797

IMG_0798

Step 11. Whip finish behind the hook eye and trim the fly to the desired shape. I like to go pretty tall on the top and bottom, and pretty short on the sides.

IMG_0799

Step 12. Cut the extra plastic off the back of a doll eye and glue on. I like to use household goop. It doesn’t run, gets in the fibers well, and holds the eyes on well. A little more trimming after the eyes are on and I’m left with a finished fly.
IMG_0802

IMG_0804

Enjoy, and as always, a little proof of concept:

IMG_0720

IMGP7872

IMGP7878

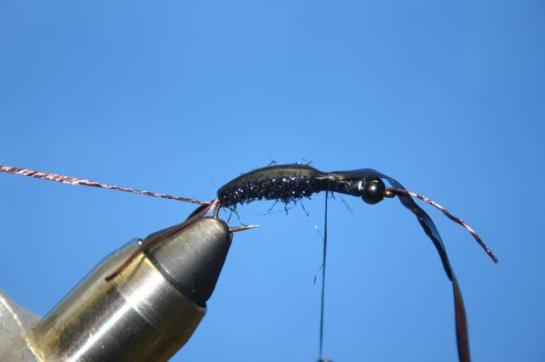
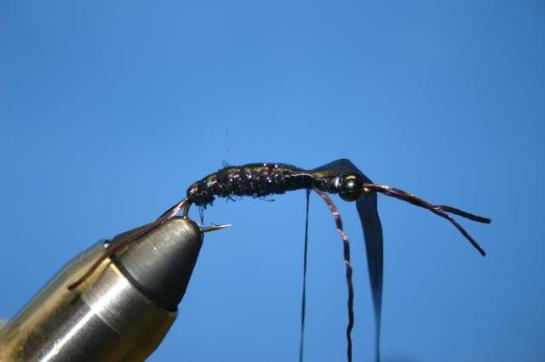
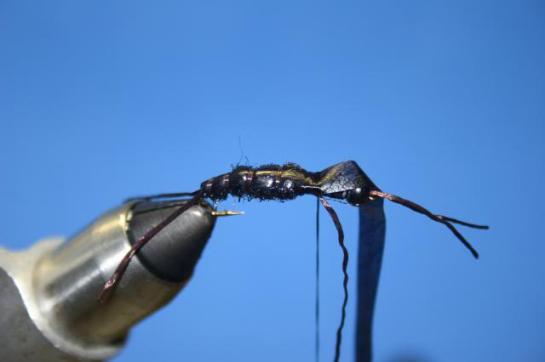
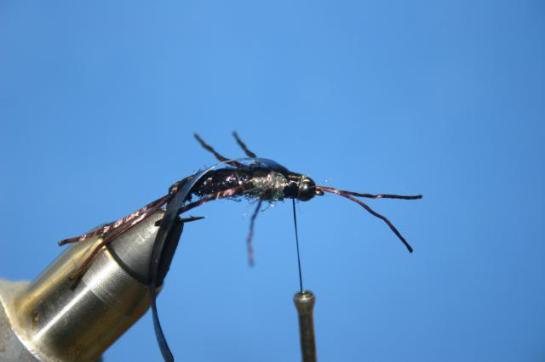
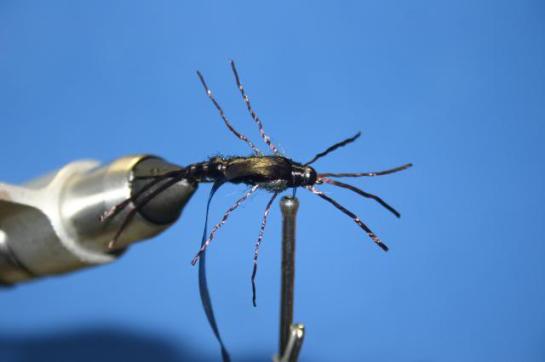
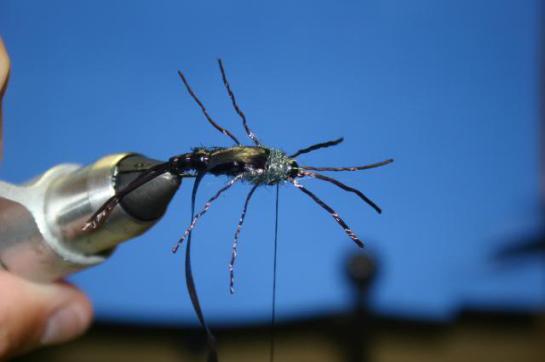
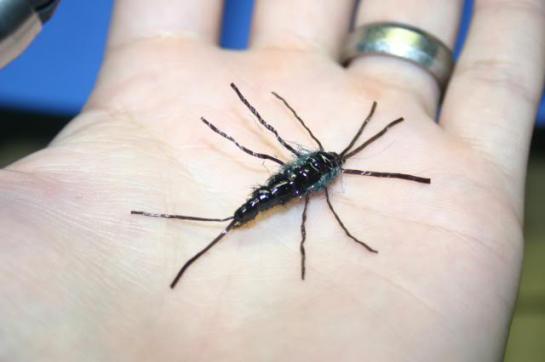
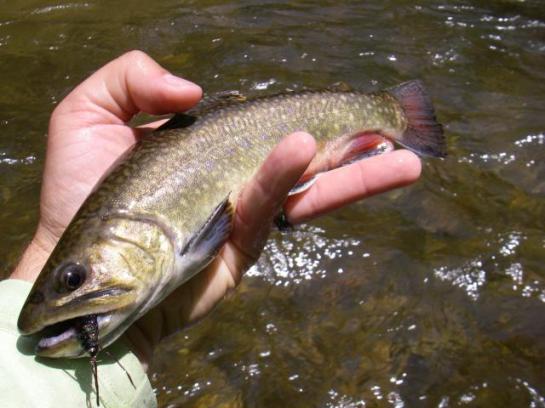
May’s fly of the month is a stonefly pattern that Blake had tied up that proved very effective on the trout at the cabin. Blake notes that “this fly is an amalgam of several different patterns. I just chose the different things I liked from them and put them all together.” Truth is, this wasn’t the pattern that slayed them on Thursday, that was a Pat’s Rubber Legs, a much easier tie, but what fun is that for a SBS.  Pick whichever you prefer, as Blake so eloquently stated, “or you could just tie the easier and equally effective “pickle” and not be as ticked off when you lose one on a snag.”

Materials:

– 3x long curved shank hook

– Spanflex legs and ribbing

– Stretch skin for back and casing

– Black and peacock ice dub

– Bead

– Lead wire of various sizes 

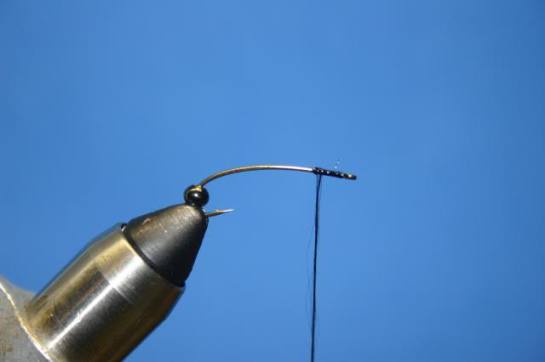
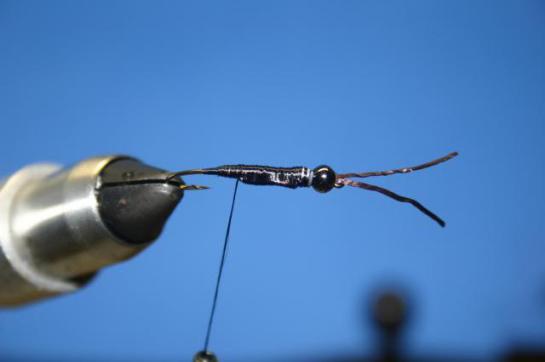
Step 1. Put bead on hook and start thread behind the eye. Make a small thread base and coat with glue.

IMG_0753

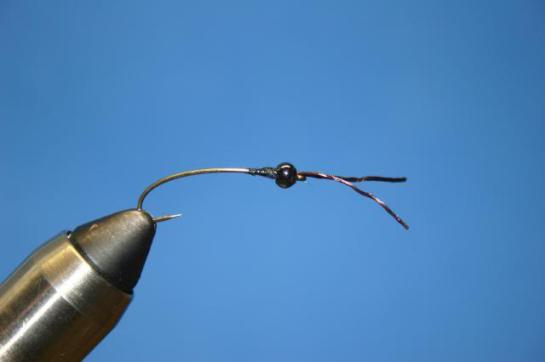
Step 2. Tie in legs to create two antennae. Push bead up over the tie in area to make sure that it will fit. Pull bead back, then whip finish and part off the thread. Add some glue to the tie in area and push bead to the eye to secure it.

IMG_0755


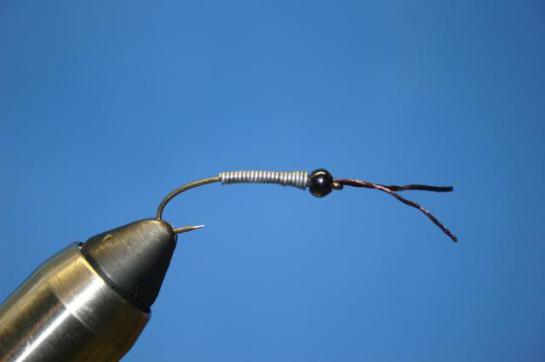
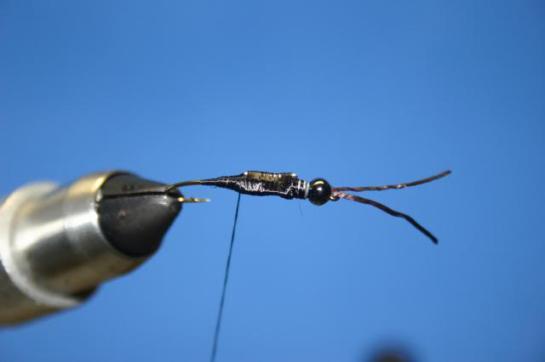
Step 3. Start to build up the body with a layer of lead along the shank up to the back of the bead. I use a good bit of lead on this fly to reduce the amount of shot that I have to put on the line to get it down to where the fish are.

IMG_0756


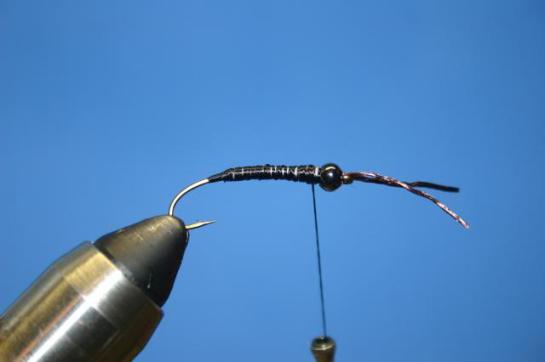
Step 4. Start thread and lay down a layer over the lead.

IMG_0757


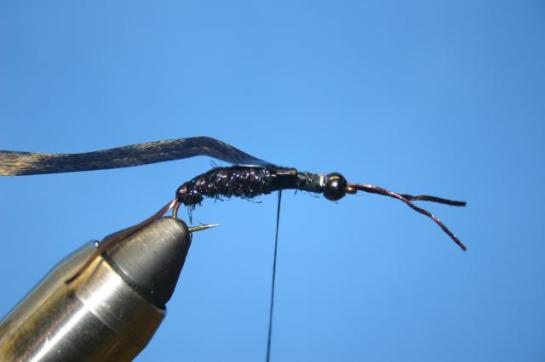
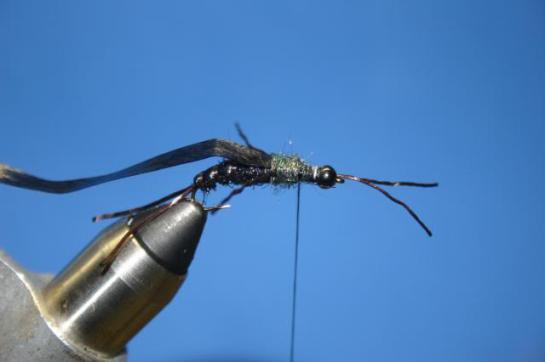
Step 5. Tie in a piece of lead length wise along either side of the hook shank. I used a larger diameter lead wire here. My goal is to make a heavy, vertically compressed body shape with a gradual taper from tail to head.

IMG_0758

IMG_0759

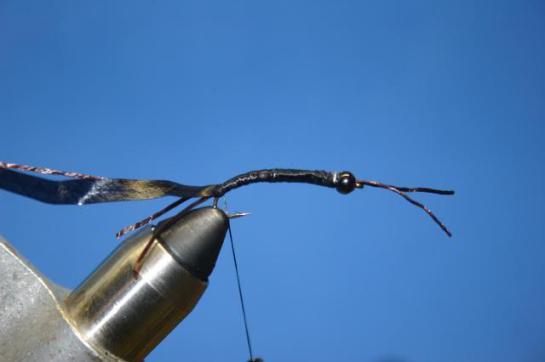
Step 6. Tie in two legs at the back of the fly just as you did at the eye. Notice the shape of the body from the top view above to the one below,  vertically compressed with a gradual taper from tail to head.

IMG_0760

Step 7. Tie in another piece of spanflex for the ribbing.

IMG_0761

Step 8. Tie in the stretchy nymph skin for the back/casing.

IMG_0763

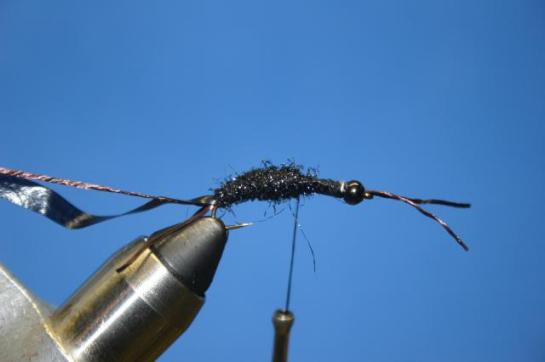
Step 9. Dub the body to a point a little over half way point. I like to make a little contrast between the abdomen and the thorax so I used black ice dub here and peacock ice dub in a future step.

IMG_0764

Step 10. Pull the shell back up and tie it in.

IMG_0765

Step 11. Rib the abdomen.

IMG_0766

IMG_0767

Step 12. Cut off the ribbing material and pull the casing back. Tidy up the shank to the spot right before the dubbing starts.

IMG_0768

Step 13. Tie in a leg on either side. Dub around the legs and a little down the hook shank.

IMG_0769

IMG_0770

Step 14. Pull the shell casing over and tie it in. then pull it back and prepare the hook shank for the next leg tie in.

IMG_0771

Step 15. Tie in another set of legs, dub, then pull shell casing forward same as you did above.

IMG_0772

IMG_0773

IMG_0774

Step 16. Tie in two more legs. I tied them more forward facing. Dub between the bead and the casing. Pull casing over and tie it in between the legs and the bead.

IMG_0775

IMG_0777

IMG_0778

Step 17. Whip finish and you have a completed fly.

IMG_0782

IMG_0780

Enjoy, but first some proof of concept.

IMGP8095

IMGP8108

IMGP8120