Archive

Coldwater

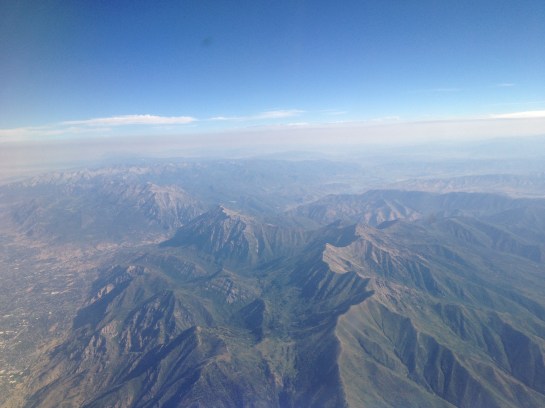
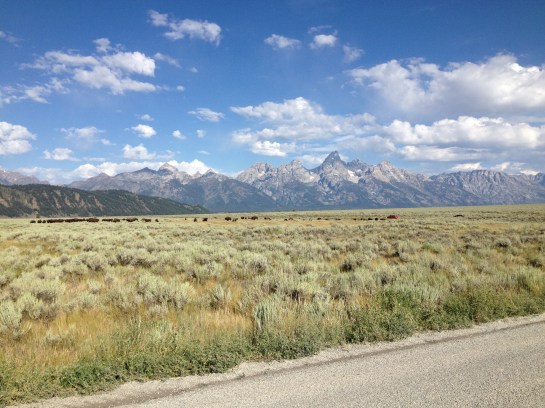
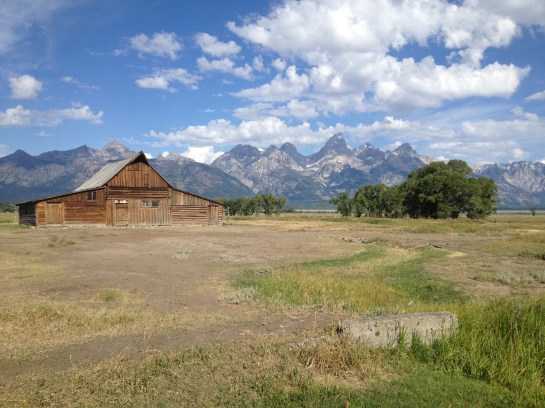
On Sunday we checked out of our cottage in Jackson and made our way to our cabin in Last Chance, ID. Our drive would take us up through Grand Teton and into the heart of Yellowstone National Park then out to West Yellowstone and down to Island Park, ID. I decided to go a different route through Teton taking us along Mormon Row – it paid off with our first glimpse of a wild bison herd.

IMG_2683

IMG_1336

IMG_1339

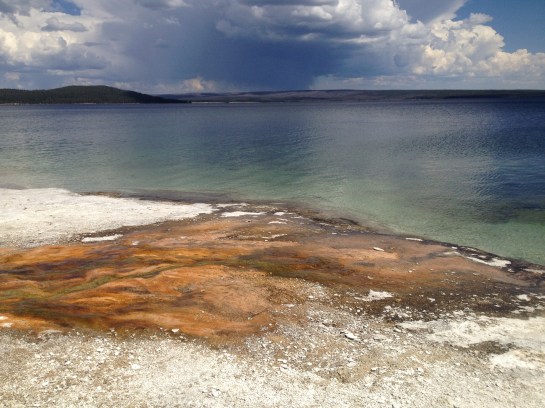
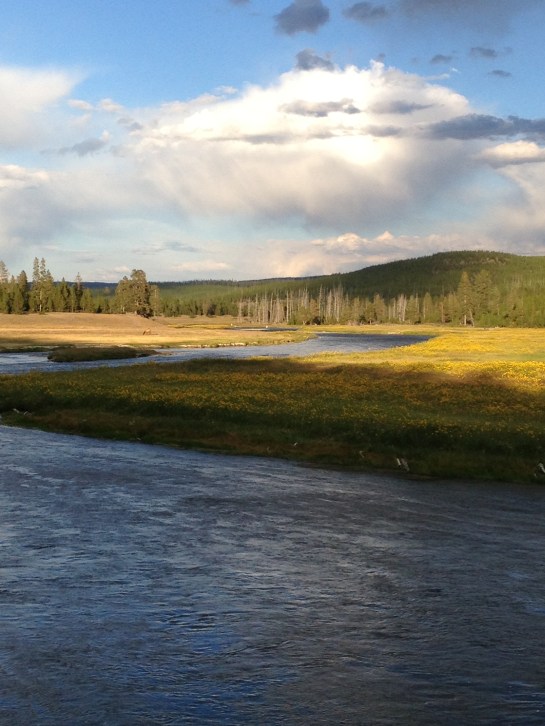
It was really cool to see buffalo in the wild, but I’ll be honest, they are not very exciting creatures. It was kind of like watching cattle in a field. It was still a cool experience because like trout, they live in beautiful places. We continued up following the Snake River through the Tetons on up into Yellowstone, where we were now following the Lewis. We had a short stop at Lewis Falls as we made our way to West Thumb Geyser Basin. There we got our first taste of the geothermal activity that Yellowstone is known for.

IMG_1344

IMG_2686

IMG_2689

IMG_1353

IMG_1371

As you can probably tell in the pic of my wife(which was my favorite of the whole trip BTW), we are expecting our first child in November. We are very excited! Just trying to fit in as many trips as we can before that day arrives.

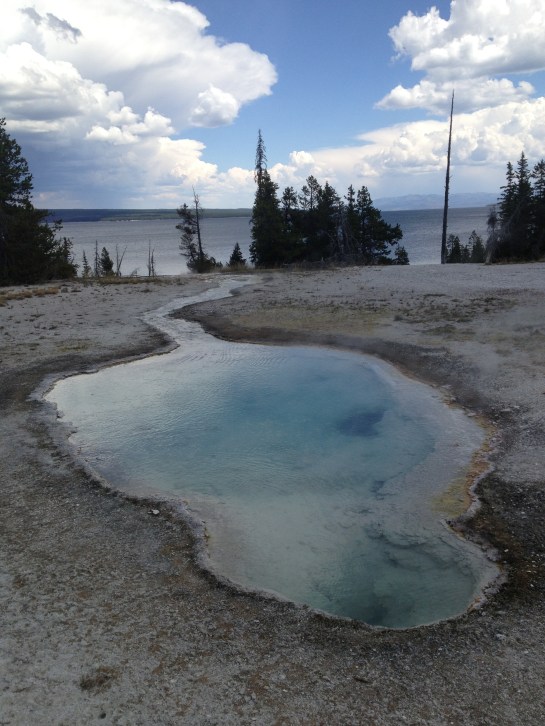
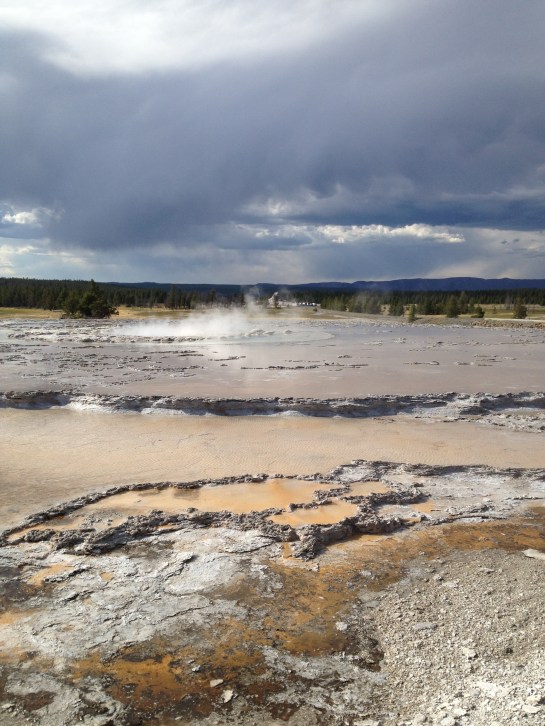
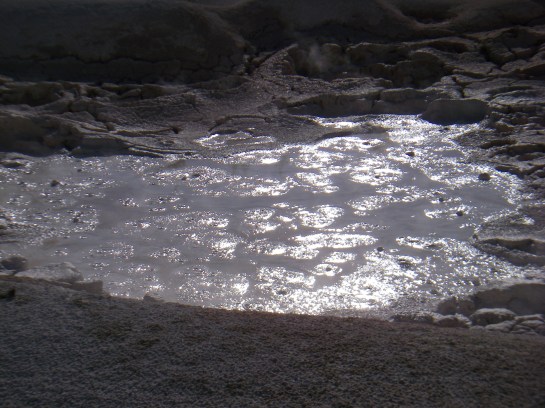
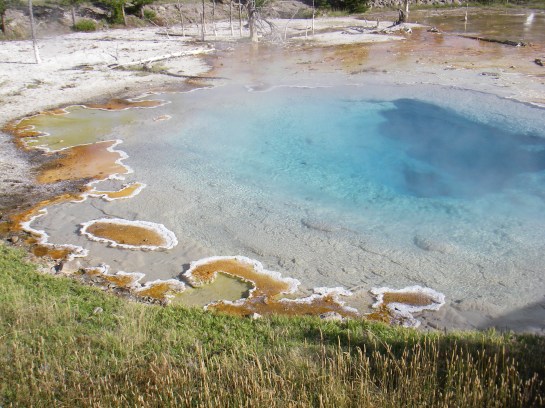
After West Thumb, we made our way toward the busiest part of the Park, Old Faithful. We had a little time to kill before the next eruption so we walked around the Upper Geyser Basin a bit. It didn’t take long to see why the Firehole River was named so.

IMG_1382

IMG_1388

IMG_1402

IMG_1405

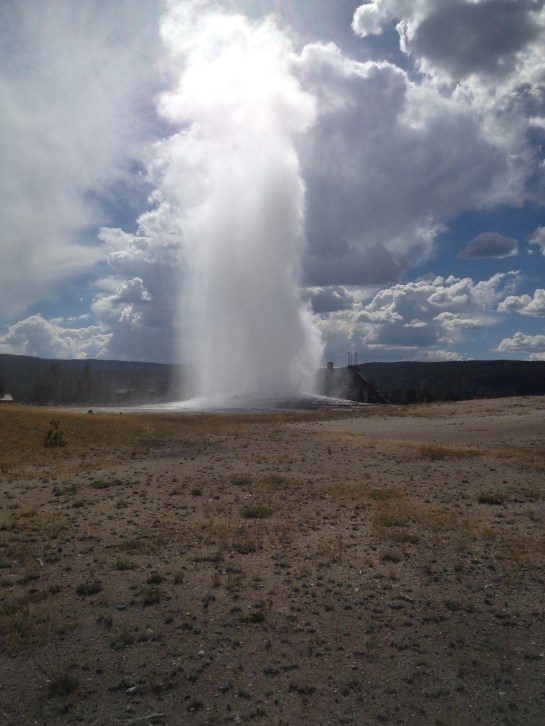
Catching Old Faithful in person was definitely cool to experience, but I think I only need to do it once. In a different way, the inside of the Old Faithful Inn was just as impressive to see. We hopped back in the car and headed toward Grand Prismatic Spring. It was a bummer to find out that the boardwalk alongside the spring had collapsed that previous week and was being rebuilt so the site was closed to pedestrian traffic. We found more geysers, springs, and the Fountain Paint Pots just up the road at the Lower Geyser Basin.

IMG_1416

IMG_1430

IMGP8240

IMGP8243

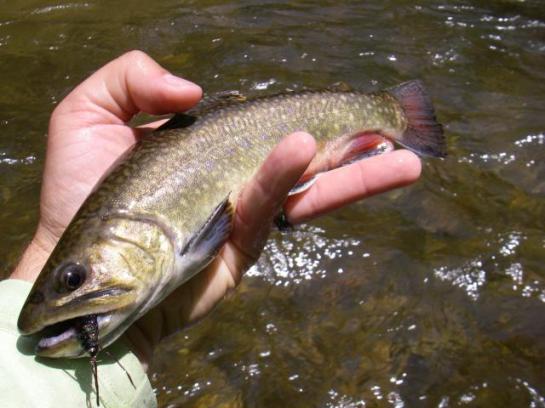
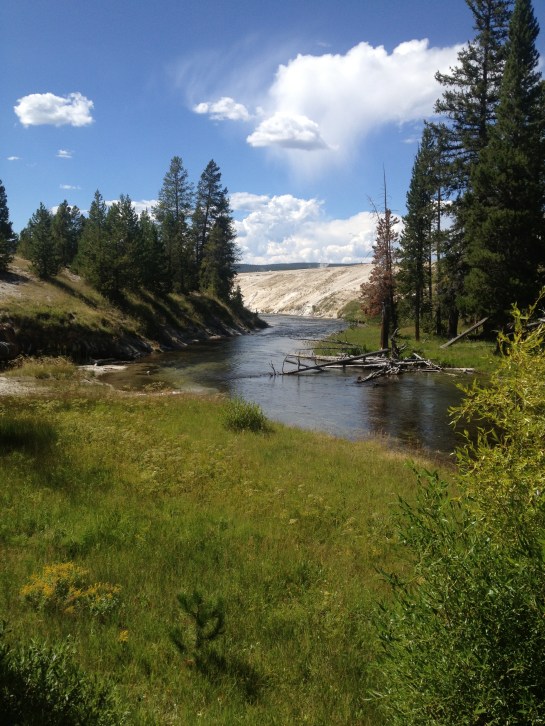
We made one more detour as we approached Madison to go check out the Firehole Falls. As soon as we got in the canyon I had to pull over to cast my line against a giant rock wall. It just seemed like a cool place to fish that had to be holding something. Sure enough I caught a little rainbow and missed another a little bigger right at the foot of the wall.

IMG_2714

IMG_2710

IMG_2726

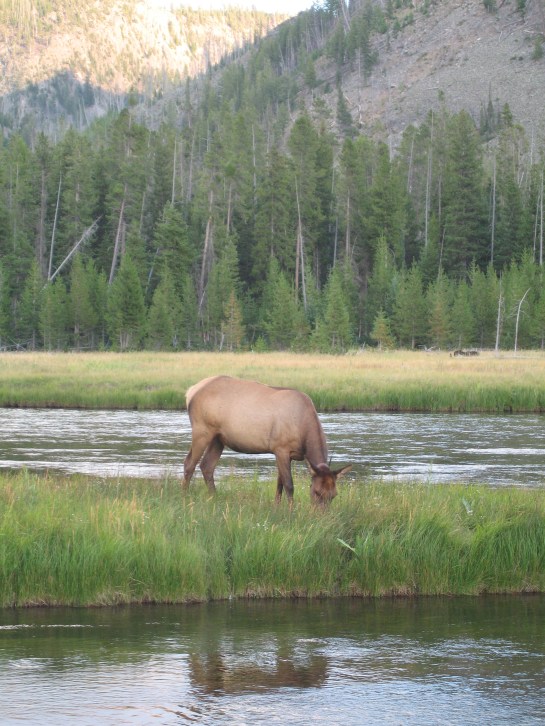
On our way out of the Park, following the Madison River now, we stopped to check out the elk that were grazing in the meadows. It was kind of funny to see a “wild” animal with a giant antenna protruding from his head.

IMG_1439

IMG_0710

IMG_1451

It was a long day touring Teton and Yellowstone National Parks, finished off perfectly at the Madison Crossing Lounge. The beer was cold, the food was good, and the bartender was top notch. I’d recommend it to anyone headed to West Yellowstone.

IMG_1453

Just got home from a whirlwind Western vacation with my wife and parents where we spent time in Utah, Wyoming, Montana and Idaho seeing as much as we could of Grand Teton and Yellowstone National Parks and the surrounding area.

On Day 1 we flew into Salt Lake City, stopped for lunch at a great little diner – the Blue Plate, then made our way toward Jackson, WY where we would spend the next two nights.

IMG_1230

IMG_0994

IMG_1466

While in Bonneville cutthroat country, I made sure to stop at a roadside stream where I might be able to catch a new-to-me species of trout. Sure enough, on one of the first few casts into a beaver pond I caught a beauty of a Bonnie. It would prove to be the only fish landed on the short outing, but it made it worth the stop.

IMG_1001

IMG_1003

IMG_1004

IMG_1238

IMG_1237

We continued through the Star Valley en route to Jackson, stopping to check out the Elk antler arch in Afton and the adjacent fly shop, Pioneer Anglers. After the town of Alpine, the drive takes you along the Snake River all the way up to Jackson, where we stayed in a creek side cottage run by the Alpine House, which proved to be an excellent place to stay for the four of us while in town. That night we checked out the town of Jackson and took it easy in anticipation of the Tetons the next day.

IMG_1240

IMG_1245

IMG_1246

IMG_1250

May’s fly of the month is a stonefly pattern that Blake had tied up that proved very effective on the trout at the cabin. Blake notes that “this fly is an amalgam of several different patterns. I just chose the different things I liked from them and put them all together.” Truth is, this wasn’t the pattern that slayed them on Thursday, that was a Pat’s Rubber Legs, a much easier tie, but what fun is that for a SBS.  Pick whichever you prefer, as Blake so eloquently stated, “or you could just tie the easier and equally effective “pickle” and not be as ticked off when you lose one on a snag.”

Materials:

– 3x long curved shank hook

– Spanflex legs and ribbing

– Stretch skin for back and casing

– Black and peacock ice dub

– Bead

– Lead wire of various sizes 

Step 1. Put bead on hook and start thread behind the eye. Make a small thread base and coat with glue.

IMG_0753

Step 2. Tie in legs to create two antennae. Push bead up over the tie in area to make sure that it will fit. Pull bead back, then whip finish and part off the thread. Add some glue to the tie in area and push bead to the eye to secure it.

IMG_0755


Step 3. Start to build up the body with a layer of lead along the shank up to the back of the bead. I use a good bit of lead on this fly to reduce the amount of shot that I have to put on the line to get it down to where the fish are.

IMG_0756


Step 4. Start thread and lay down a layer over the lead.

IMG_0757


Step 5. Tie in a piece of lead length wise along either side of the hook shank. I used a larger diameter lead wire here. My goal is to make a heavy, vertically compressed body shape with a gradual taper from tail to head.

IMG_0758

IMG_0759

Step 6. Tie in two legs at the back of the fly just as you did at the eye. Notice the shape of the body from the top view above to the one below,  vertically compressed with a gradual taper from tail to head.

IMG_0760

Step 7. Tie in another piece of spanflex for the ribbing.

IMG_0761

Step 8. Tie in the stretchy nymph skin for the back/casing.

IMG_0763

Step 9. Dub the body to a point a little over half way point. I like to make a little contrast between the abdomen and the thorax so I used black ice dub here and peacock ice dub in a future step.

IMG_0764

Step 10. Pull the shell back up and tie it in.

IMG_0765

Step 11. Rib the abdomen.

IMG_0766

IMG_0767

Step 12. Cut off the ribbing material and pull the casing back. Tidy up the shank to the spot right before the dubbing starts.

IMG_0768

Step 13. Tie in a leg on either side. Dub around the legs and a little down the hook shank.

IMG_0769

IMG_0770

Step 14. Pull the shell casing over and tie it in. then pull it back and prepare the hook shank for the next leg tie in.

IMG_0771

Step 15. Tie in another set of legs, dub, then pull shell casing forward same as you did above.

IMG_0772

IMG_0773

IMG_0774

Step 16. Tie in two more legs. I tied them more forward facing. Dub between the bead and the casing. Pull casing over and tie it in between the legs and the bead.

IMG_0775

IMG_0777

IMG_0778

Step 17. Whip finish and you have a completed fly.

IMG_0782

IMG_0780

Enjoy, but first some proof of concept.

IMGP8095

IMGP8108

IMGP8120